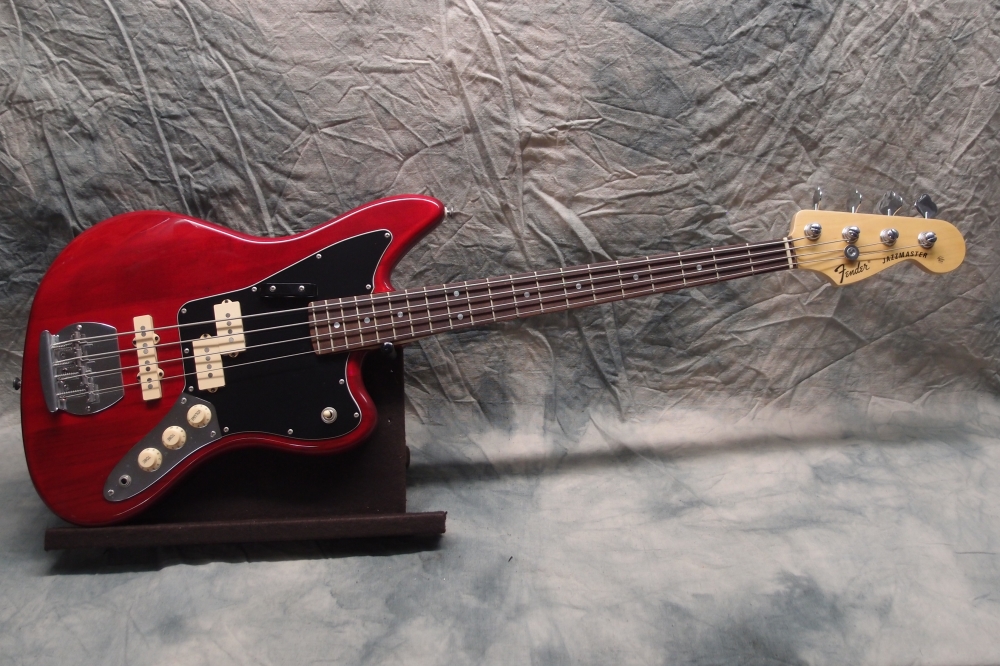
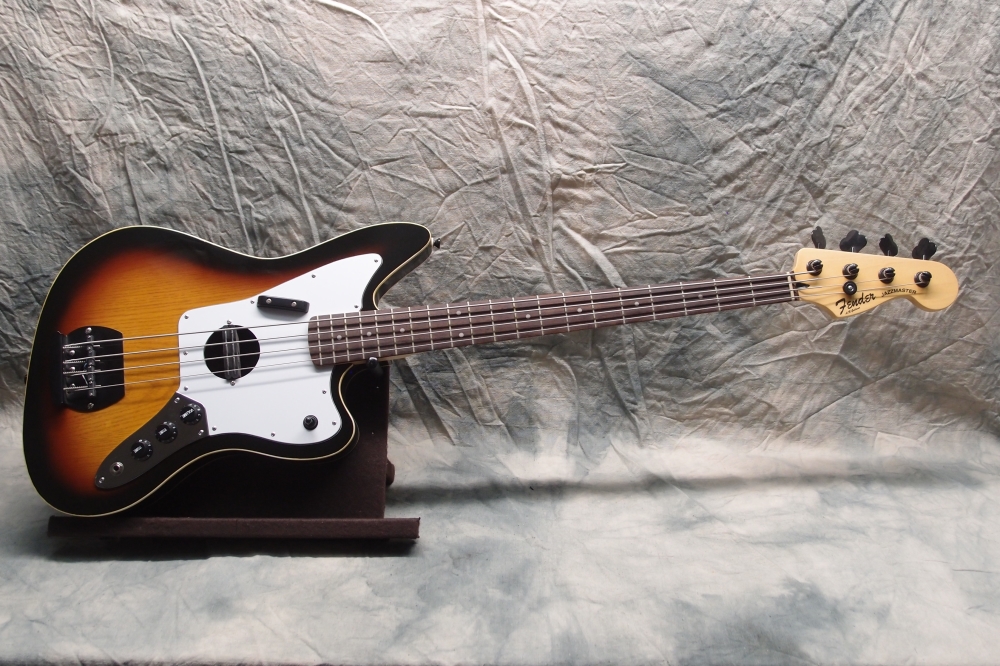
Jazzmaster Bass 3 (2/5)
Dec 2015
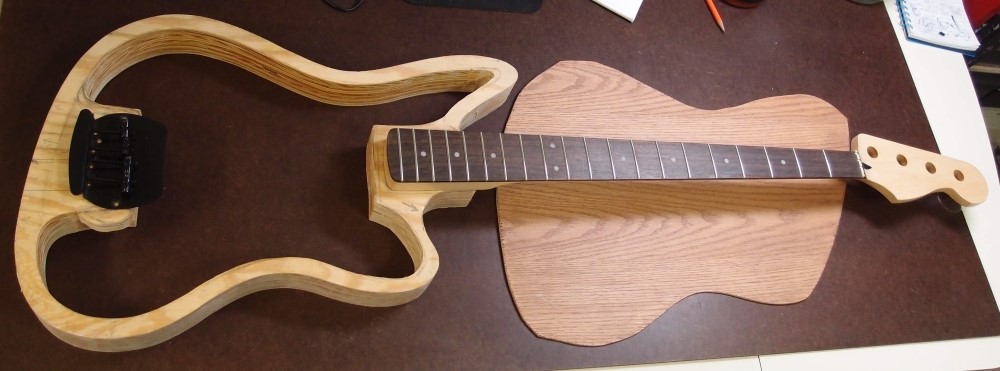
The plywood is discarded commercial shelving. As soon as I saw it there by the dumpster, I realized it was tonally superior, and threw the whole lot in the back of the truck. I figure it only got rained-on a couple of times, so the tone has not washed away. I have enough for several more like this before I need to go trash-picking for tonewoods again.
At this point, the outer contours are done, and the plywood is sealed with Minwax 2-part grain filler, which is just like I remember Bondo from my teenage years repairing an old Mustang. What a stink. The larger gaps in the plywood I first filled with popsicle stick wood, which worked great. The finish will be a two-tone sunburst, with white binding.
The top and back will be 1/8" plywood. I found this stuff at Lowes in the kitchen department, far away from lumber; I think it is cabinet facing, oak veneer, and was less than ten bucks if I remember right. You can see the top under the neck. I grain-filled it with walnut color, which stained the whole thing slightly. I will add some braces inside to stiffen the top and back, like a proper acoustic. The final body thickness will be just over 2 inches, so it will be thin enough to play comfortably, and should fit in a regular bag or case. I don't want some giant Mariachi thing, my goal is an instrument that is more electric than acoustic, but can still be played unplugged.
For pickups, I will use a set of Ghost piezo saddles in the bridge, and a Strat rail humbucker in the soundhole near the "P" position. The electronics will be active, as dictated by the piezo, but I haven't decided what type yet. The humbucker will be switchable between series/parallel/single-coil, which gives a surprising array of tones. The strings will be standard nickel, not acoustic. The piezo couldn't care less what kind of strings, but the humbucker wouldn't work very well with phosphor bronze.
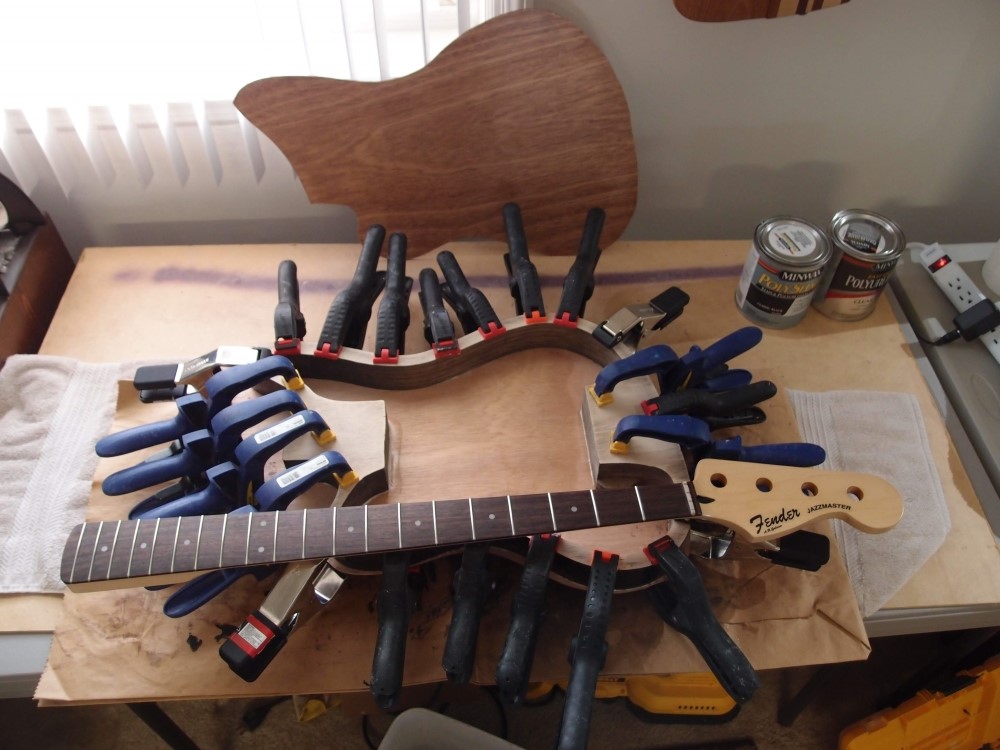
And it's getting better all the time. After black primer, I sprayed about an ounce of Black MinWax PolyShades on the body edge as a base. So you might ask, how much blacker could it get, and the answer is - none more black. Then I sanded off the overspray and glued the top on. There are 23 clamps there. I need a few more; those metal ones are something I just found at Home Depot - very strong, and won't break in the cold like the plastic ones.
The headstock now has nice laser-printed faux Fender decals ( I signed it as well, not trying to perpetrate a fraud, just like the look. Please don't sue me, Fender. Come on - I'm prototyping for you ! ) There is a thick coat of polyurethane over the decals that will get sanded flat, and then a thin finish coat of satin. I like satin for necks, it is slippery like bare wood, not sticky like gloss, and also very easy to get a nice result.
The MinWax PolyShades black is my new secret weapon. It will spray through my PreVal airbrush undiluted at about 40 psi. You can see a can of MinWax "Fast Drying" poly next to it. That is essentially the same stuff without pigment. Both are oil-based. I have messed around with a number of different polyurethanes, with mixed results. The water-based ones are awful. I wouldn't use them for anything except refreshing the top of the workbench. The oil-modified ones are a mixed bag. The good ones are ok, but most of them are no better than the water-based junk, and I can't find the good kind anymore. Considering that the usual advice is that water-based formulations are better for spraying than oil, they spray horribly, and adhesion is very poor.
I think for airbrushing purposes like this, the gloss works best, as it does not contain any of the 'flatting agents' that the semi and satin do. These are generally just very fine grit particles that the sprayer probably wouldn't like much. If I want a final satin finish, I can always spray it from a rattle can. These same finishes are also available in aerosol cans.
Both these MinWaxes are readily available at Home Depot and work great with a sprayer. The PreVal is a terrific unit, also available at Home Depot, although it is expensive. It is an airbrush on steroids, halfway to a touch-up gun. The fact that you can push this goop through it undiluted is kind of incredible. The next step will be mixing up some red from clear poly and pigment, and spraying the sunburst. Then more black to finish the burst, and some clear to protect it. I will dilute the sunburst coats to get a nice fade. Once everything is good and hard, I will route the edges and install the binding, then finish with enough clear to smooth everything out.
This is the reverse of the usual binding installation, but I don't see why you should spray the color coats over the binding and then scrape it off. I've never done this before, can anyone tell me why it would be a horrible mistake?
This was also my first test of my scuba tank spray system. There's a lot of clean dry filtered air in a 3000 psi scuba tank. I use an old scuba regulator that I no longer use for diving. That outputs about 150 psi, and drives a second regulator that steps it down to 20-80 psi; the airbrush works well at 40 psi, sometimes temporarily popping it up to 60 to get the siphon going. The flow rate is more than adequate, and I used about 1/5 of the tank for this and another project. Oh, I should mention and the wonderful quiet - no compressor roaring in the background.
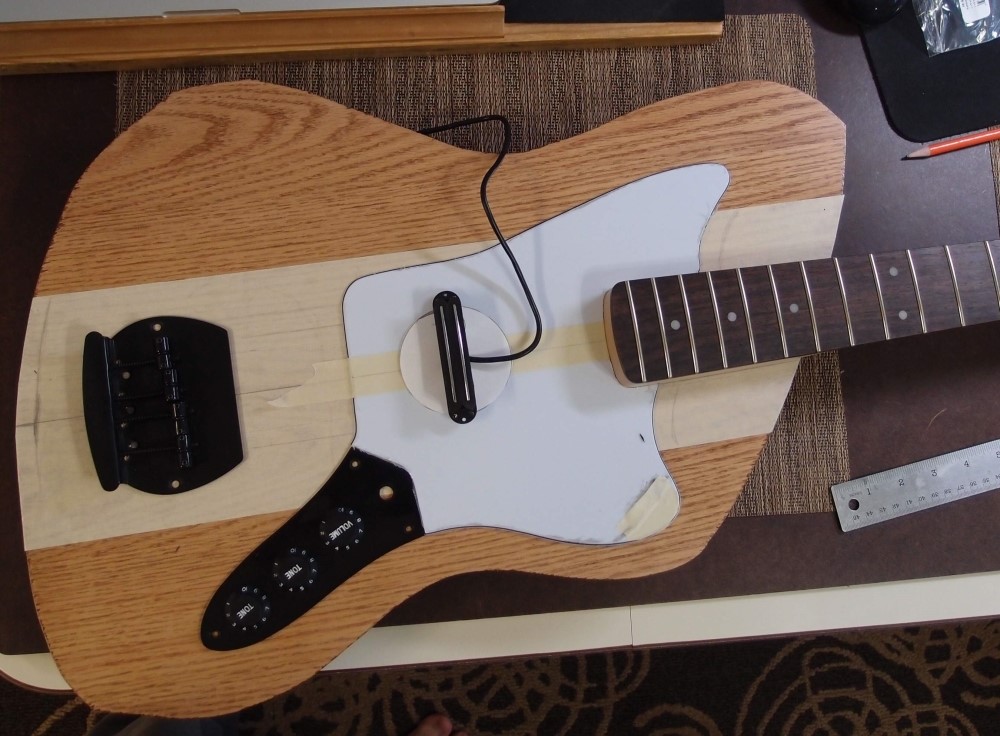
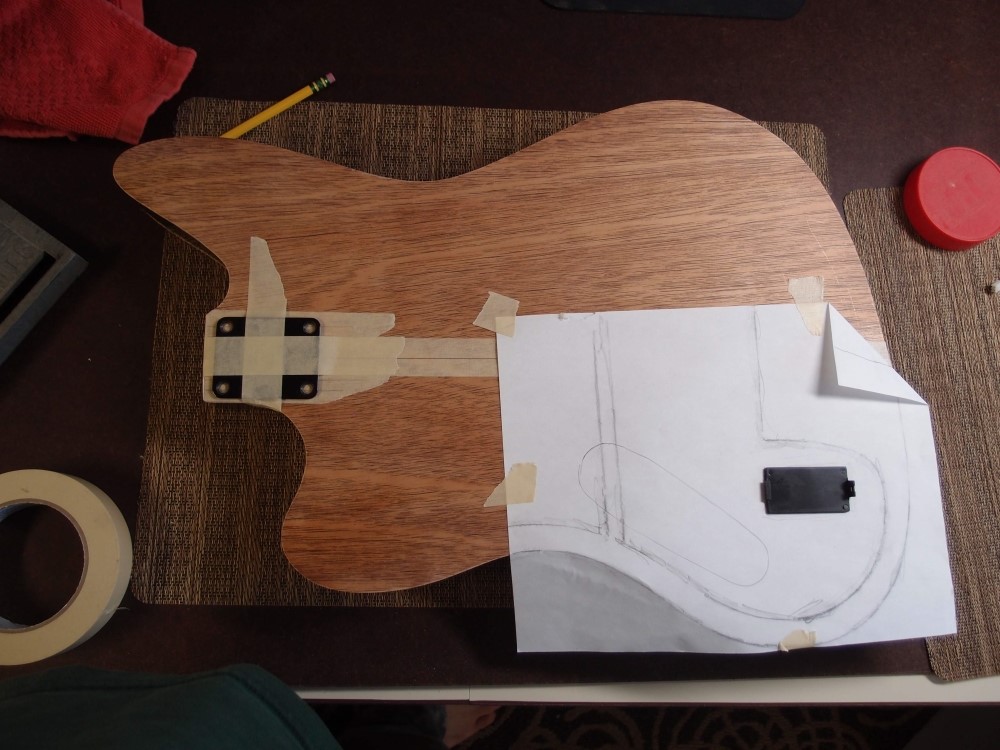
Time for some test-fitting and layout - lots of masking tape. The edges are still rough - I want to give the poly at least a few days to harden before I take the router near it. I pre-drilled the aft strap button hole and a dimple under the neck heel to mark the centerline of the body. Otherwise, it would get lost in all the painting and assembly. Also, notice how I left myself a big shelf of material between the horns. This will make routing the neck pocket much more stable. A couple of little tricks I've picked up, probably not at all original.
The sound hole is sized and spotted to do double-duty as the pickup mount, therefore it is roughly in the "P" position, rather than a more traditional acoustic location. Also, I don't want a big hole that my fingers might fall into. I traced it off a drinking glass that was the right size. The soundhole only needs to be neat in the pickguard, the hole in the body will be covered up. Acoustically, I don't think any of this makes any difference, any soundhole is going to project something, and there is no way this thin body could be tuned to resonate at bass frequencies. However, this sort of hollow design is guaranteed to feed back at stadium volumes; that is not a great concern for me.
I've decided to hardwire the magnetic pickup in series mode, or rather, just leave it that way, with no switching options. That, together with the location, should give a very Precision-like tone in addition to whatever the piezos sound like. With a pickup selector switch in the lower horn and active bass and treble controls, it should be very interesting and versatile. There's no neat easy place to locate an extra pickup mode switch, and it would require a bunch of extra wiring and a switch inside the body, most of it fished through the soundhole, which is more fun than I want.
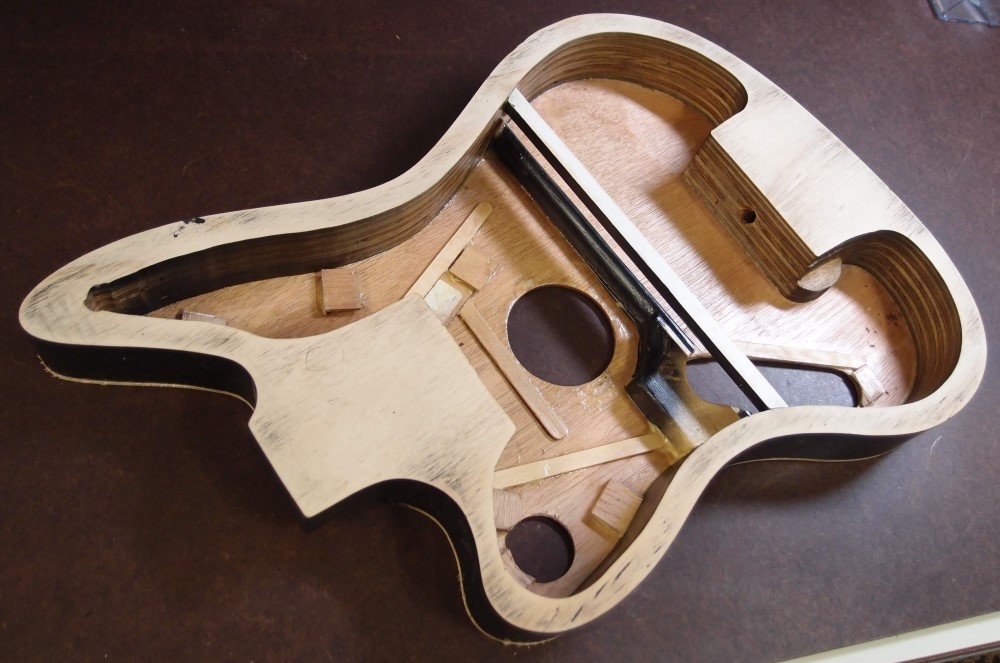
Here's a last look inside before I close it up. The top is on, the neck pocket routed, and the soundhole is done, as well as a generous 3/8" hole under the bridge for the four piezo wires and the ground. The bridge plate is drilled to match. The piezo leads have little connectors on the ends that I don't want to cut; instead, I got the doohicky that collects all the leads together, and will just solder two wires to that. I wonder about phasing between the mag and piezo pickups? The holes for the controls and toggle switch are also cut. I taped the pickguard and control plate in place and drilled all the screw holes through both into the body, so they are guaranteed to line up.
I installed transverse braces for the top and back, as the plywood is very thin, only 1/8", and flexible in that direction, and I don't want it to bow. ( 'Oil-canning' is the technical term. ) I could install a post between the top and back, but I want to maintain the sense of an acoustic, even though it really doesn't matter. The control opening cuts through the top brace, necessitating the extra block of pine there to hold the cut end of the brace. The little squares are extra bits of material to back up the locations of all the pickguard screws. Plywood is good for this as it resists splitting.
The old engineer in me doesn't completely trust this uber-thin three-ply plywood, so and I added some light bracing to the highest stress areas around the neck pocket and soundhole. Considering the entire body simply as a beam, the top is in compression, while the bottom is in tension, or at least less compression. So the top is most at risk of deforming, while the bottom would be more likely to pull straight, and therefore needs no extra bracing. When the glue is dry, I expect this box will be solid as a rock, and should easily carry the string tension without deforming. Extra points for the first person who can identify my bracing material. Finally, I gave the interior a quick coat of poly, to try out a new brush, and because I don't want any damn (ply)wood pores breathing on my time, no sir !!!
I did the soundhole the right way - I made a template, and then a test cut on a piece of scrap. The size turned out to be a can of GumOut. I taped the pickguard down to the body and then routed through both at once. That template may come in handy in the future. The control openings were routed out freehand and then cleaned up with a bastard file. The edges were sealed against splintering with a bit of poly, especially the soundhole, which will show. Finally, time to put on the back, but first I made a paper etching of the frame around the control area, like making an impression of a coin using the side of a pencil lead. Tracing it through the paper to the other side will give me a guide to use when siting the battery box. I also blackened the inside of the back with the same primer I used on the sides, for a nice black soundhole that will look sharp in the middle of the white pickguard, with all the rest of the hardware black as well.
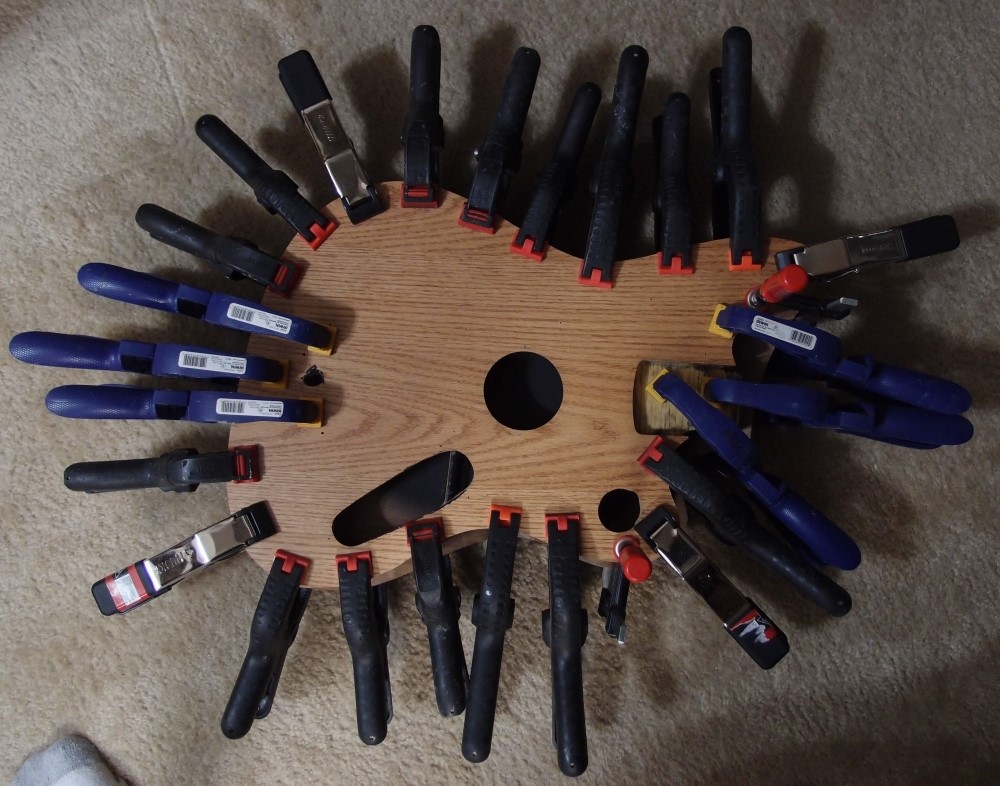
This time I found a few more clamps, for a total of 27. But I would still use more if I had them. I put a bead of glue all around the frame, including the internal brace, and spread it out into an even not-too-thick layer, giving me a case of yellowfinger. Fortunately, that's not too serious. Then I pushed the back on and smushed it around a bit to spread the glue, and then put all the clamps on and spread them around evenly. Note how the big blue ones are used to reach in deep for the bridge block and neck pocket. I got good glue squeeze-out pretty much everywhere, but not too much. Looks like some kind of weird ugly flower, and must weigh 25 pounds. The dog barked at it once and left the room.
Once this dries, I can route off the rough edges, but then I think the weather is going to stop cooperating and finally turn into winter, so it may be a while before I can shoot the three-tone sunburst I have in mind.
I don't think I will use this facing material again, 1/4" plywood or 3/16" masonite is much easier to work with. But this basic style of construction is great - easy and strong. Since I can do either round-overs, standard bindings, or Danelectro-style tape binding, there is really no end to the variations that are possible. It is really great for experimenting - if something doesn't work out, just toss it in the fireplace, you are out ten bucks. In fact, I have already decided to scrap the Ric 325 bass body, and have converted the neck to a more standard mounting on a similar but bigger body that I will build later. I never even wired up that project, I just didn't like it and decided to use all the hardware for a better one that will be up to my standards. I learned a lot though.
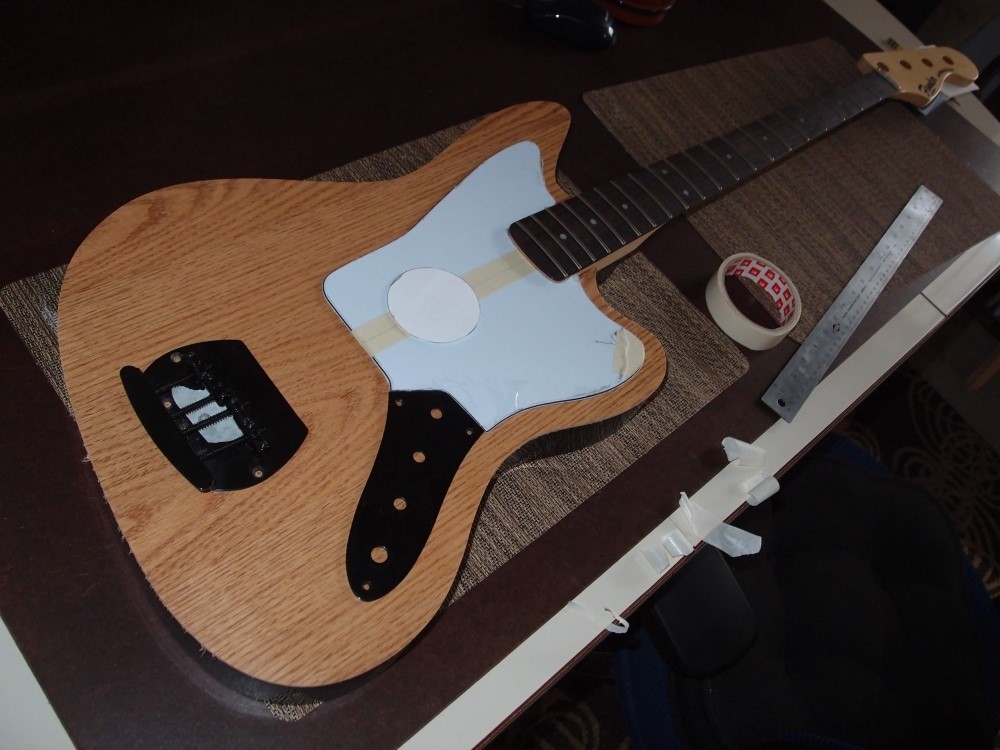
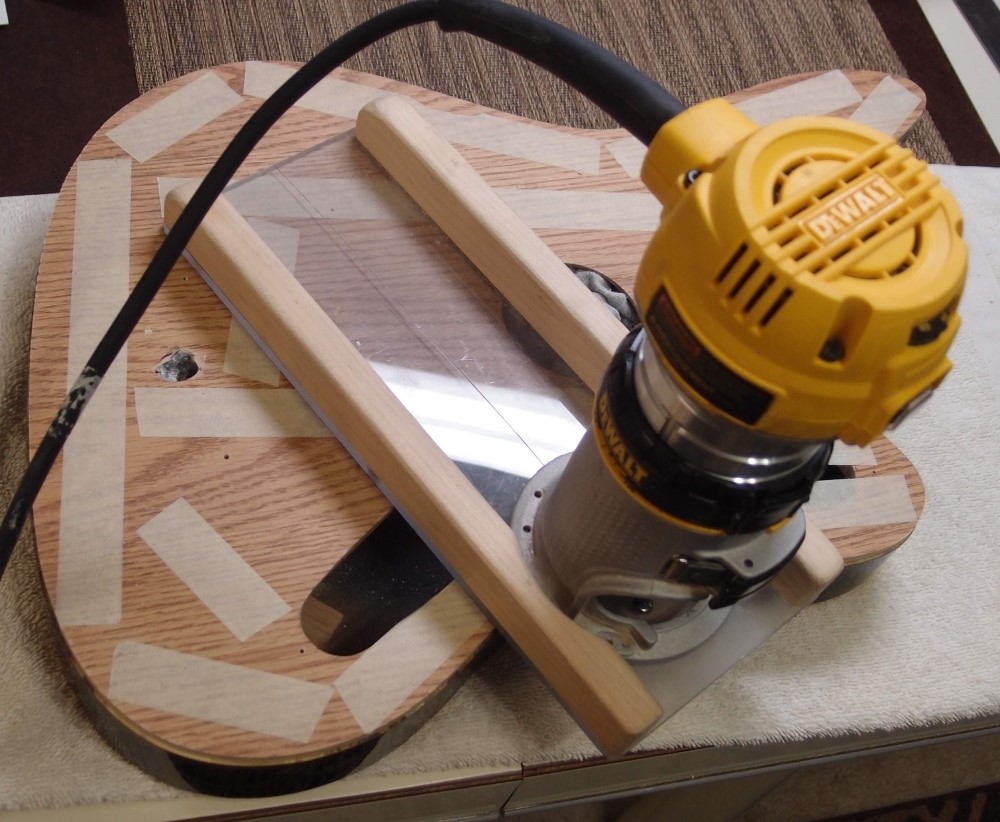
And now the binding slots are cut. The tape on the body assures that the router doesn't scratch the finish. There is some danger to this as well - I have had tape pull finish off in large patches, although that was crummy water-based poly that seems to adhere by static electricity. This is all oil-based.


