Drill Press (2/2)
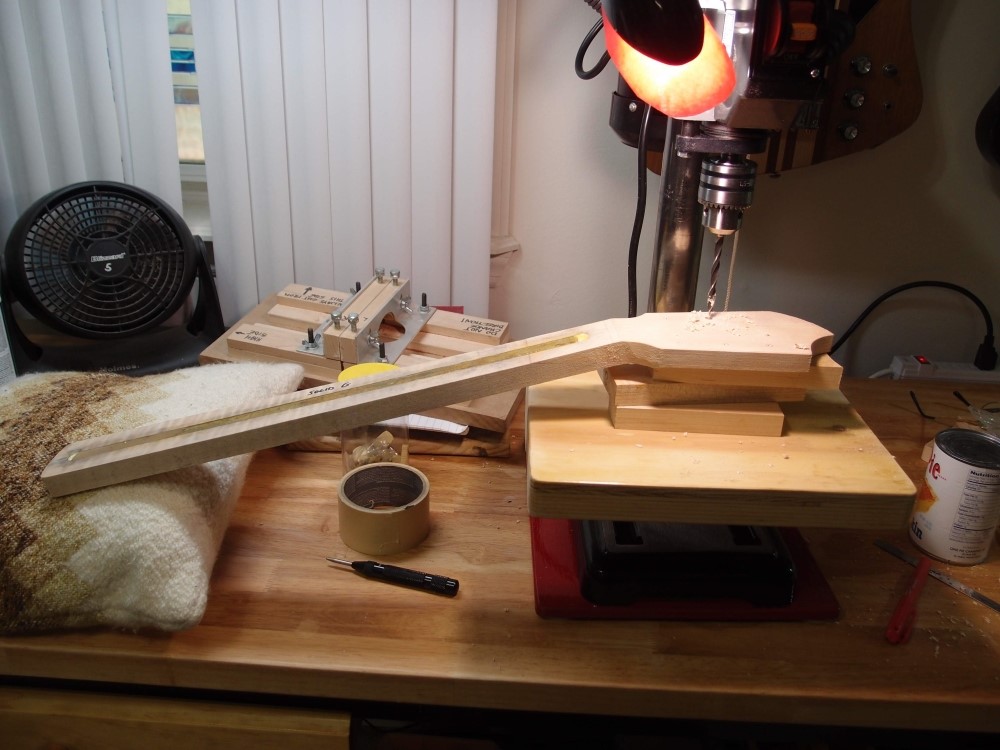
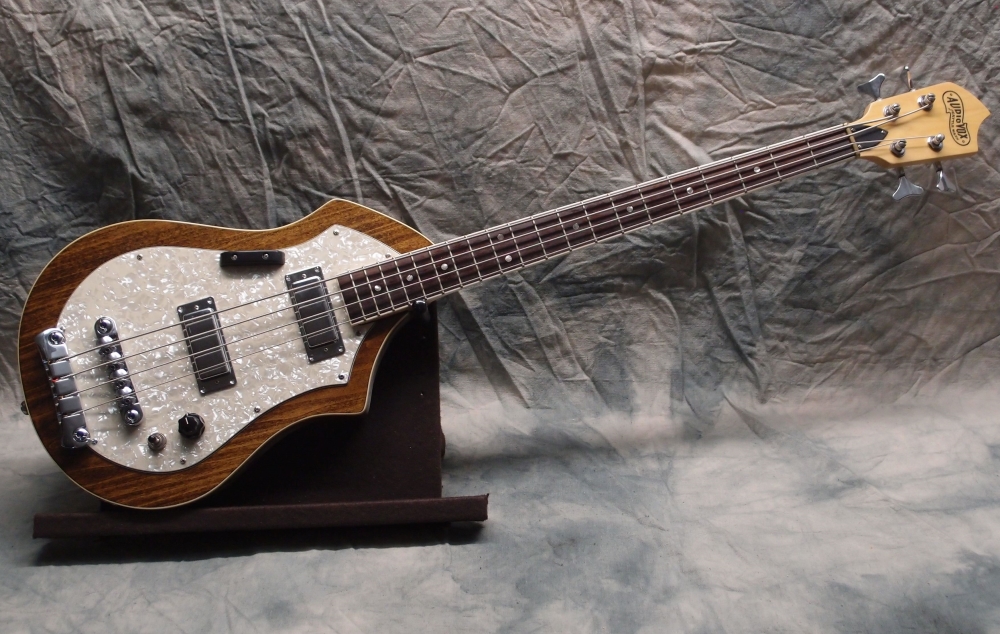
Putting it all together, drilling tuner holes for my Audiovox project. The angled headstock is already thicknessed and smoothed enough to lie flat on the stack of scrap blocks that make clearance for the neck. The pillow partially supports the other end, so you don't have to hold the whole weight with your left hand. It is working very well so far. Remember, these holes will be reamed-out for bushings later, so they don't have to be super-precise now, but it always pays to be as neat and clean as you can. You can see the steel bar glued into the neck for a truss rod, and the geometry of the angle joint.

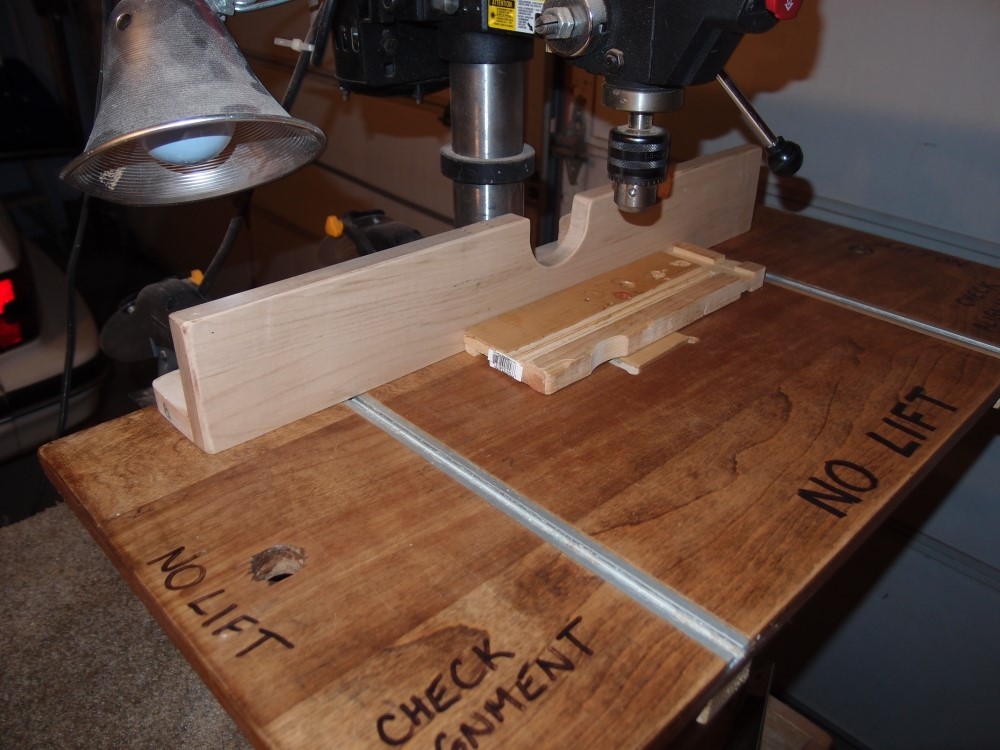
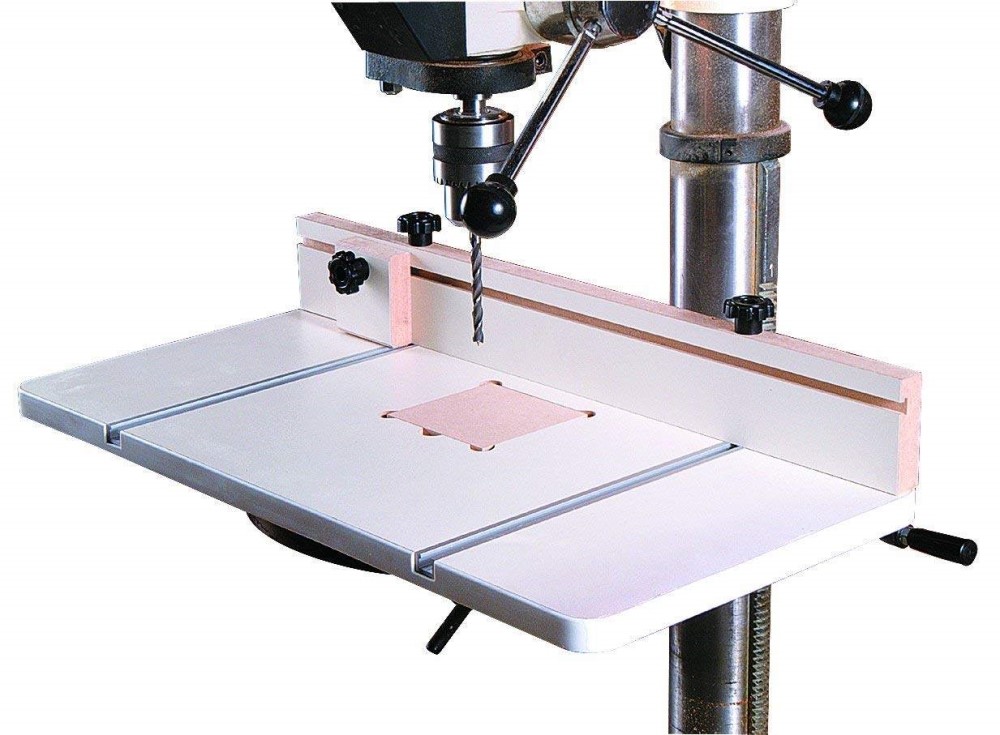
The hat trick is drilling side tuners for the 12. The holes need to be centered and perpendicular to the edge. My little fence contraption is not as accurate as a proper fence, but it is strong enough to use as a guide. Each hole is set up individually with shims and clamps, checking for square in all dimensions. The tape on the drill bit marks the depth of the hole.
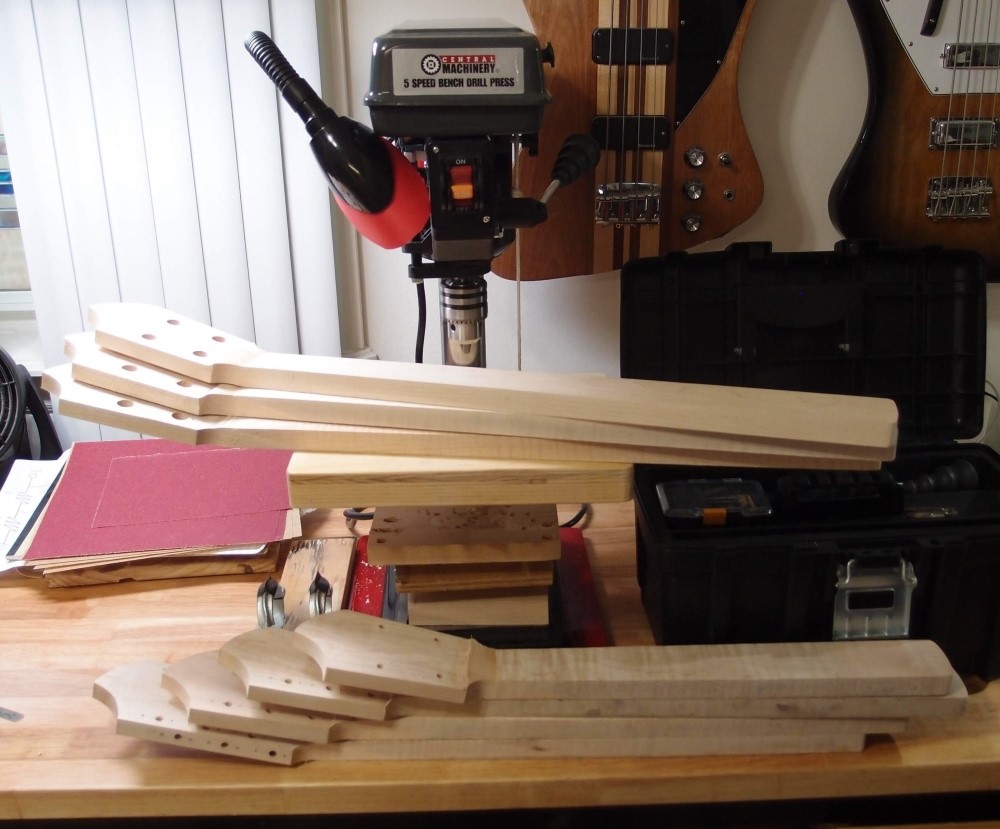
And the final result: 108 tuner holes drilled, from 1/16" to 9/16", no mistakes, no excitement, and all done air-conditioned. For a crappy little drill press, it worked just fine, and its work is far from finished. Its next test will be some fretwork. If you are building a workshop, a good drill press should be your first investment.
Back to testing the drill press, I made some test pits in hard maple with a 1/4" Forstner bit, for marker dots. I pre-punched dimples in the wood, and let the bit find its own center. The result is perfect, as good as my big drill press. I got a big bag of 1/4" pearl marker dots from an eBay seller in Taiwan for the price of a dozen of them from StewMac. The Taiwan dots are actually thicker and better than StewMac's.
A final test is drilling for side marker dots, which is always a fussy business. I scribed a line on the edge of a piece of scrap and reinstalled my fence. In this case, being exactly square is not important. I chucked a 1/16" drill bit so just 1/4" protruded, adjusted the fence to hit the line, and had at it. Again, excellent results, and the same with a 3/32" bit.
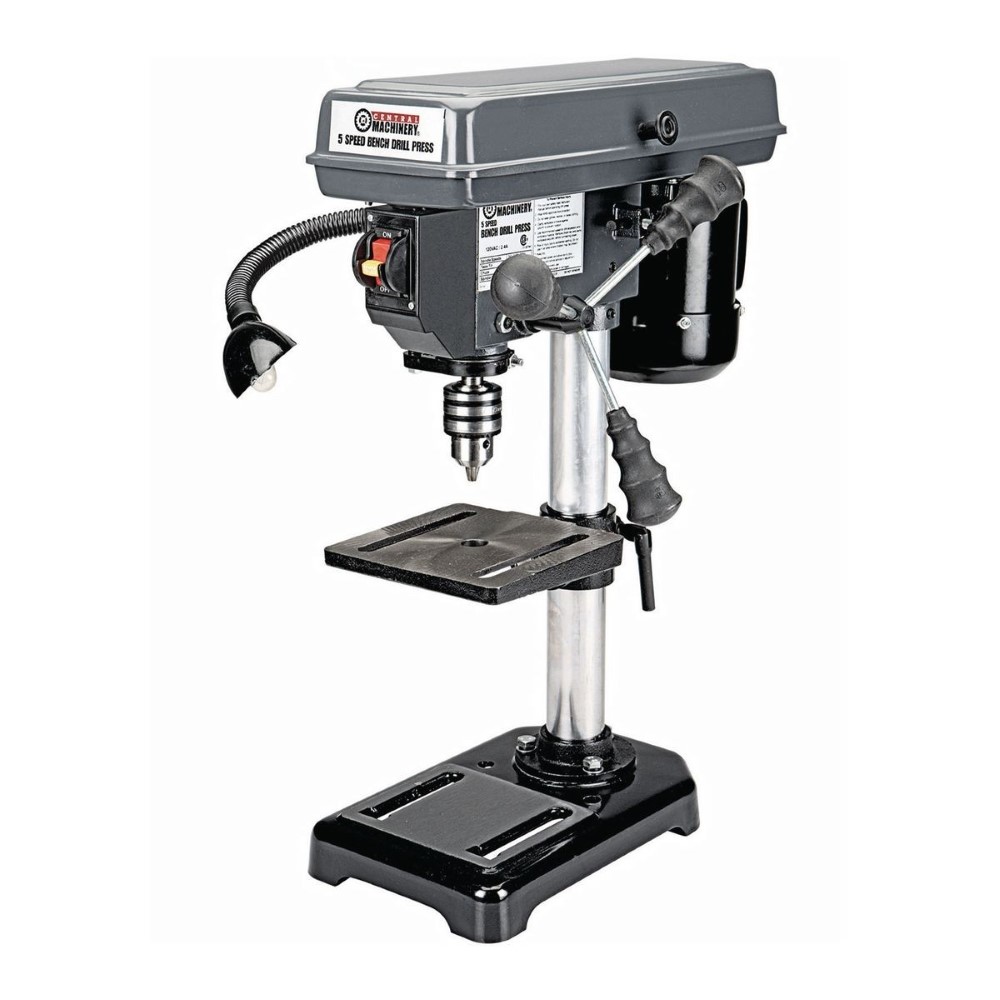
I am more and more pleased with this thing, it is turning out to be a great guitar-building workstation. I had good reason to be leery of it, but it exceeds all expectations. The gooseneck light is much more useful than the idiotic 'lasers' on my other press, which are just a good way of quickly drilling off-center, and are kind of blinding when they're on, so you can't even see what you're doing. I'm sure the guys in marketing thought it was a great idea, though.
I'm going to pick up some new drums for the old sanding kit that I've had lying around for years, and see how that works for small jobs. I also found a small grinding wheel at the bottom of the tool cabinet, a wire wheel, a polishing wheel, and a few other things. I'm gathering all these parts in a toolbox to keep handy by the new press. The little press and a box of accessories will eventually give about 90% of the capability of the big press in the workshop. Similarly, I have a cheap little B&D drill in addition to my massive DeWalt concrete smasher. For light jobs, the little drill does just fine, especially overhead, when the DeWalt gets pretty heavy pretty fast.
I also ordered an inexpensive 1/4" Forstner bit to add to the kit, so I don't have to continually strip the one out of my main set - that's a good way to lose it. That is a part that will see plenty of use - lots of guitar tuners and marker dots - so it is worth five bucks to have a spare. In a pinch, the 1/4" brad point will do the job, but the Forstner gives a nicer flat-bottomed hole. The larger Forstner bits see much less use and cost more, so one of each will do.
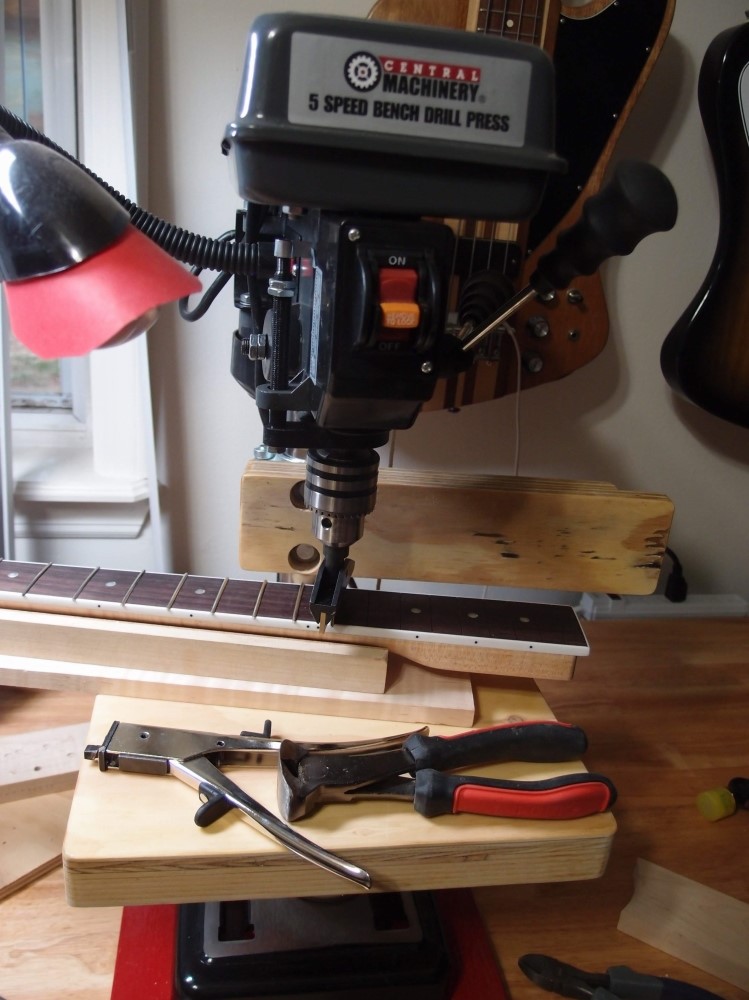
And here is the last report on the little drill press. Using StewMac's fret press arbor and neck support caul, I fretted two necks with no problem. The force required to set a fret is really not that much, and well within what the little drill press could do. In front is a fret cutter and fret tang nipper, made from standard inexpensive tools. The tang nipper is just a sheet metal nibbler with a strategically placed slot ground into the face to fit a fret. The cutter is simply a set of dykes with the face ground down flush. A smaller version of the same makes a fret puller.
I also got a chance to try out the sanding drum to do some touch-ups on a headstock, which worked perfectly. You're not going to make a whole neck on a drill press, for that a real belt sander is needed, but for minor adjustments, it is very handy. Substituting a small grinding stone or cutting wheel allows light metalwork. This little drill press has already become indispensable, and I'm sure I'll find other uses for it as well.
I actually have a bigger better drill press, but I seldom use it anymore, his little one does everything I need of it.


Questions or Inquiries?
Just want to say Hello? Sign the .