Single-Acting Truss Rod (1/2)
This is my favorite truss rod design. It is not my most advanced, but it is the simplest to build. Although it is a single-acting rod, a little forethought in routing the channel makes it reversible, effectively double-acting. That requires some disassembly of the guitar, but you only need to change the direction of the rod once or twice in the life of an instrument, until it settles in to a mature shape.
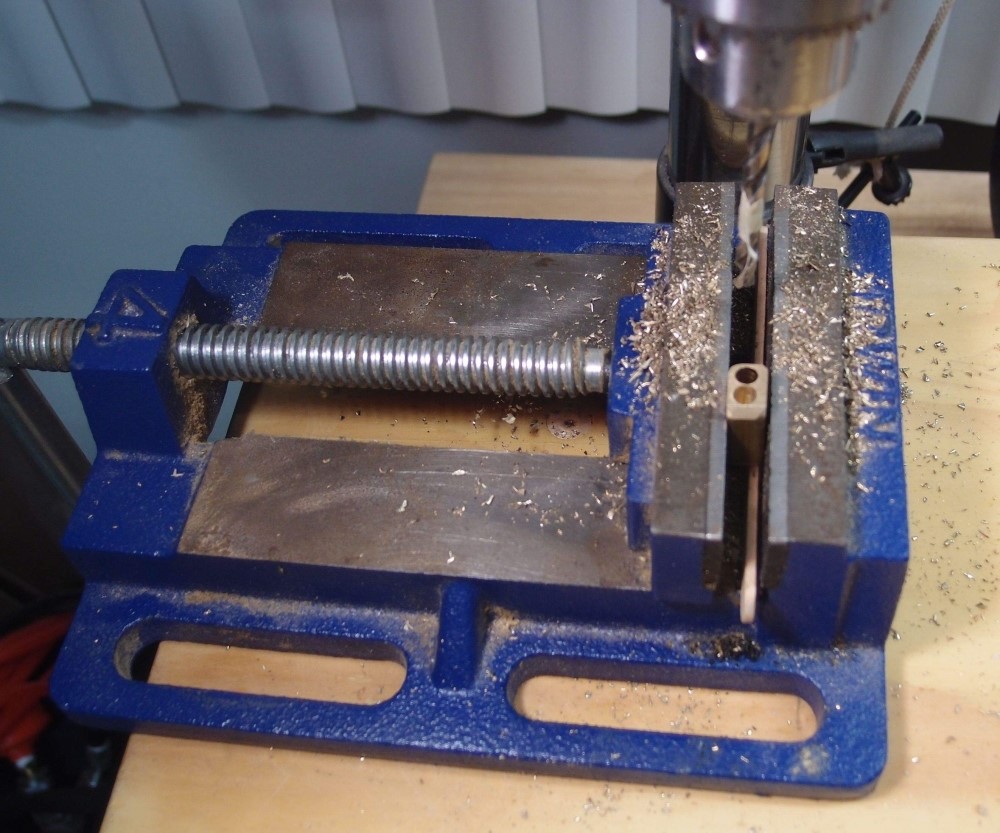
I said it is possible to make a truss rod without brazing. Well, here it is. Above, in the jaws of the vise, is the finished bearing block. The dimensions are 1/4" x 1/2" x 7/8", cut from a standard piece of 1/4" x 1/2" brass stock. I drilled two 3/16" holes lengthwise. One hole goes through, the other is about 1/2" deep. The holes don't have to be perfectly aligned, as long as they are parallel.
I drilled the holes out in stages, starting with 1/8". Aluminum would also work instead of brass. As metals go, both of these are soft, and ordinary woodworking drill bits should be fine. I wouldn't try this with a hand drill.
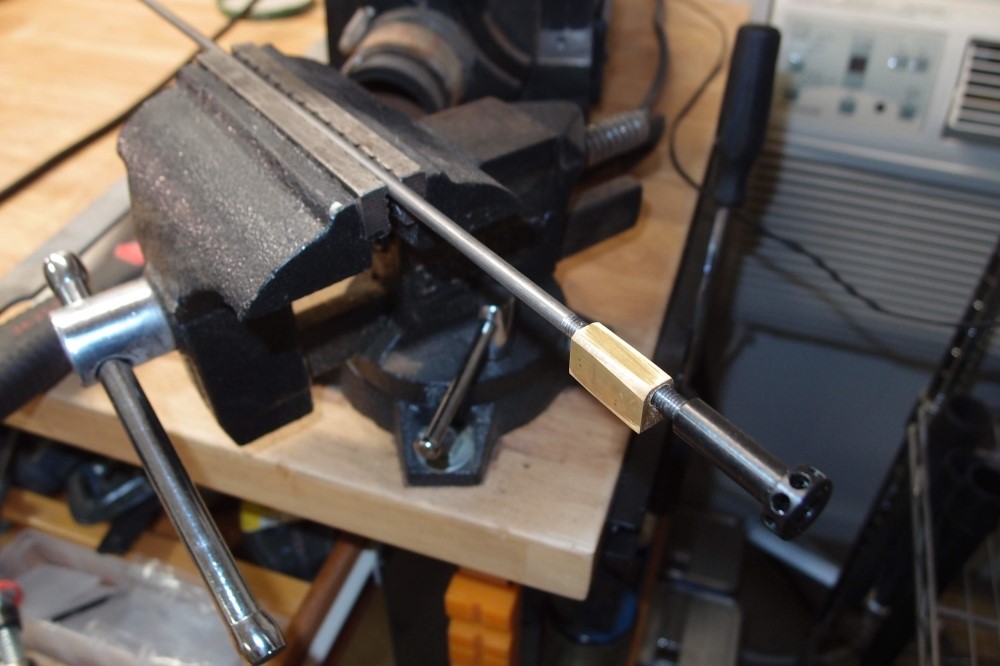
Next, I cut about 2" of 10-32 threads on a new 48" x 3/16" steel rod. I filed out the through-hole until the threaded section fit freely. The steel threads will readily cut soft brass, so as soon as you can get the block on, you can just run it back and forth until everything is smooth. Tomorrow I will figure out the fussy dimensions and make the bend in the rod. Then simply slip the block over the threads and press it onto the fixed rod, and you're done.
I'll repeat: this is a single-acting truss rod, suitable for a long-scale bass or similar instrument.
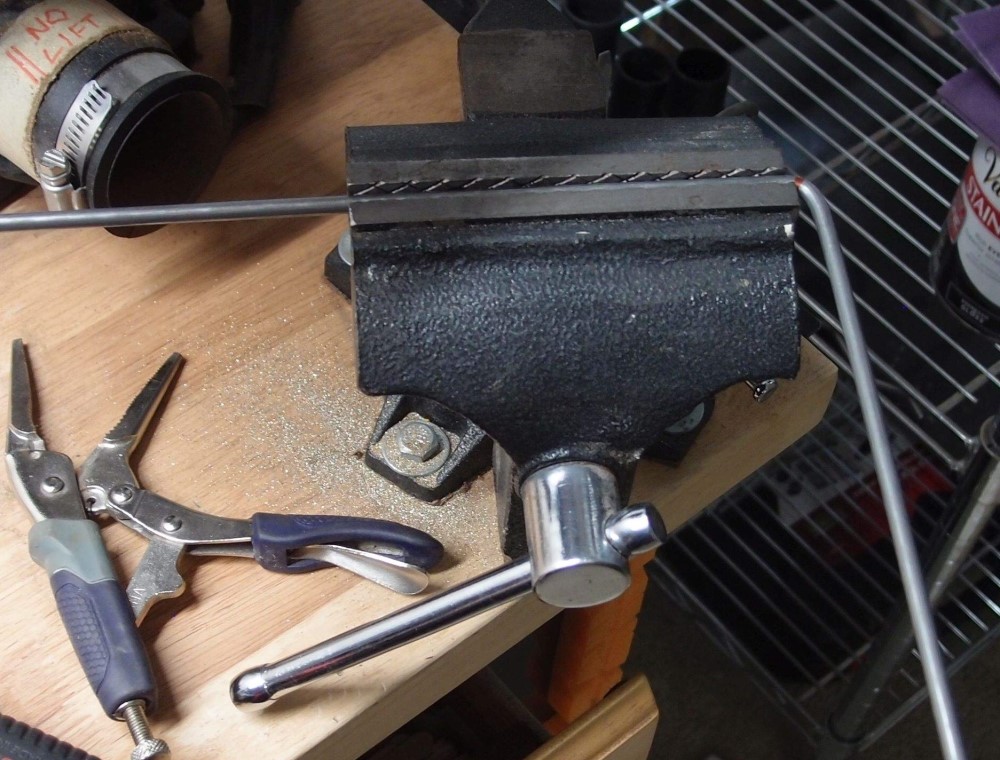
Continuing with the truss rod, here I have marked the bend location and bent it over 90 degrees in the vise. I don't even know how long this rod will be, I just know it fits the channel I routed. This is mild steel, and you can pretty safely bend it this far, but I wouldn't go further, it would crack. Heating and quenching it in the next step should fix any over-stresses here.
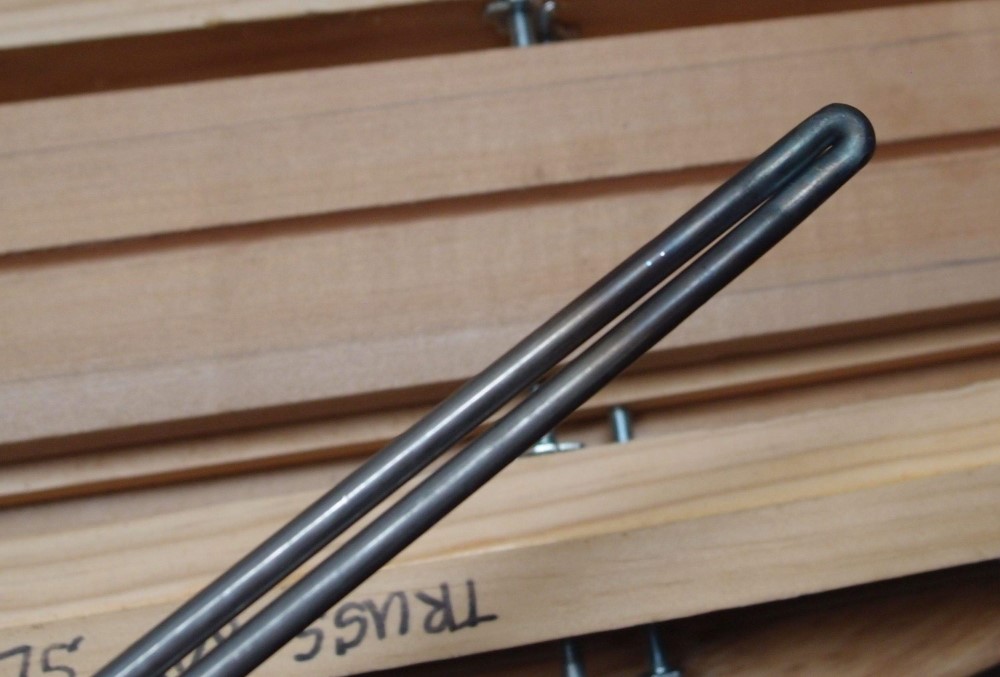
Then I put a propane torch on the bend until it glowed, and bent it the rest of the way. To get it tight was a few cycles of re-heating and hammering on the vise's anvil. This is actually a little tighter than it should be, a small gap is ok. At this point, I have red-hot steel in one hand and a lit torch in the other, I'd have to hold the camera in my teeth, so no picture. When you get the bend the way you want it, quench the metal in water. I just held it under the sink.
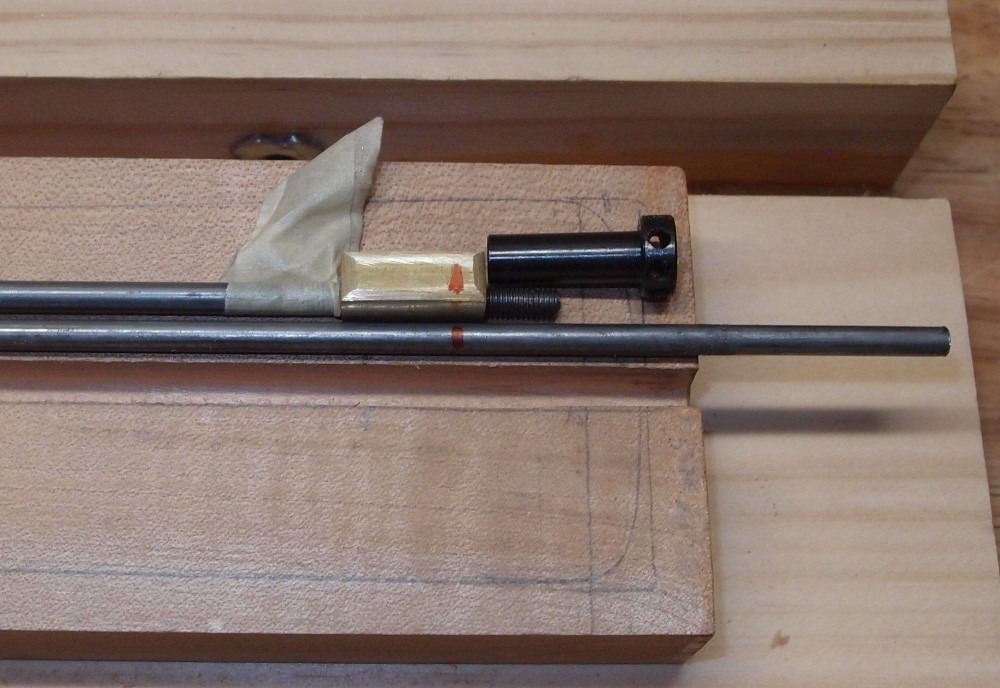
Back to the other end, the spoke nut doesn't thread on the rod all the way easily. That means the threaded end is a little crooked, so I hacked off about 1/2" of threads and cut new ones. This happened on the previous rod as well, from now on I'm just going to assume the end needs to be cut off. Then I laid out all the parts and marked the cut location on the rod. I have about 1/2" of threads on either side of the bearing. The unthreaded rod does not slide freely through the hole, only the threads.
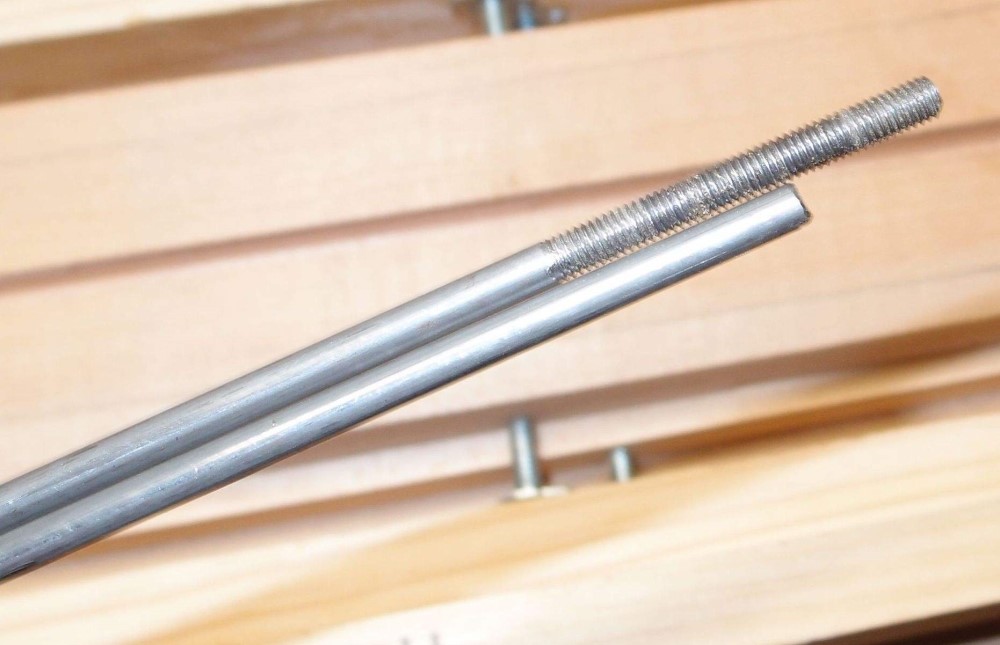
Cut off the excess and clean up the end with a file, a nice little bevel so it will slide into the blind hole.

Questions or Inquiries?
Just want to say Hello? Sign the .