Fretboard Radiusing

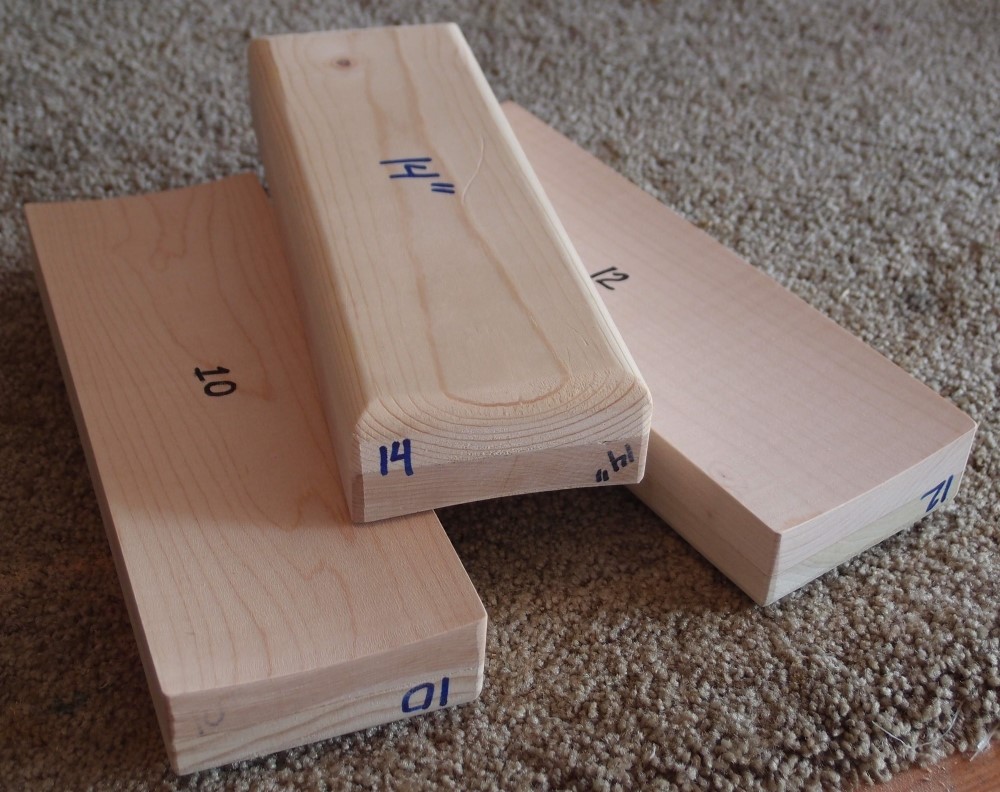
I make all my fretboards 12 inches, guitar or bass, fretted or fretless. I just like that, and also, it doesn't matter that much as long as you stay away from the extremes. 12-inches is a nice comfortable curve for chording on, and also doesn't require as much work and mess to carve as a smaller radius. I find it is a good compromise overall. I can make a 12-inch radius from flat pretty successfully with just a sanding block. StewMac's pre-radiused boards are 16-inches and are quick and easy to re-radius to 12. Although I made tooling for everything from 7 to 16, I don't use any of it. Luckily, I made extra tooling for 12 inches before I broke down the manufacturing plant.
I cannot recommend StewMac's sanding blocks, as they are too narrow and too short. I made my blocks from scraps of 1"x4" maple ( 3/4" x 3-1/2" actual ) and backed them with scraps of pine for a better grip. The 9" length matches a half-sheet of sandpaper, which wraps around the sides so you can hold it in place. When the paper is dull, you can get a bit more out of it by turning it 90 degrees to use the unused strips at the edges.
I put the workpiece on a scrap of 2x4, and use the edges to guide the block. I recommend wearing leather work gloves, 80 grit doesn't do nice things to your hands. You can go through a lot of sandpaper with some tropical hardwoods. It is best to radius a board before cutting to length, as the ends invariably come out a little off, and when you remove them, you'll have a perfect piece. I do most of the work with 80 grit, then intermediate finishing with 100. After the board has been slotted and glued on and the neck fully shaped and bound, I do final radiusing before installing the markers, then polish up afterward with finer grits. This assures a nice smooth flat fretboard to install the frets on, with little to no fret dressing required.


Questions or Inquiries?
Just want to say Hello? Sign the .