Most of my projects are inspired by classic designs, but with a twist.
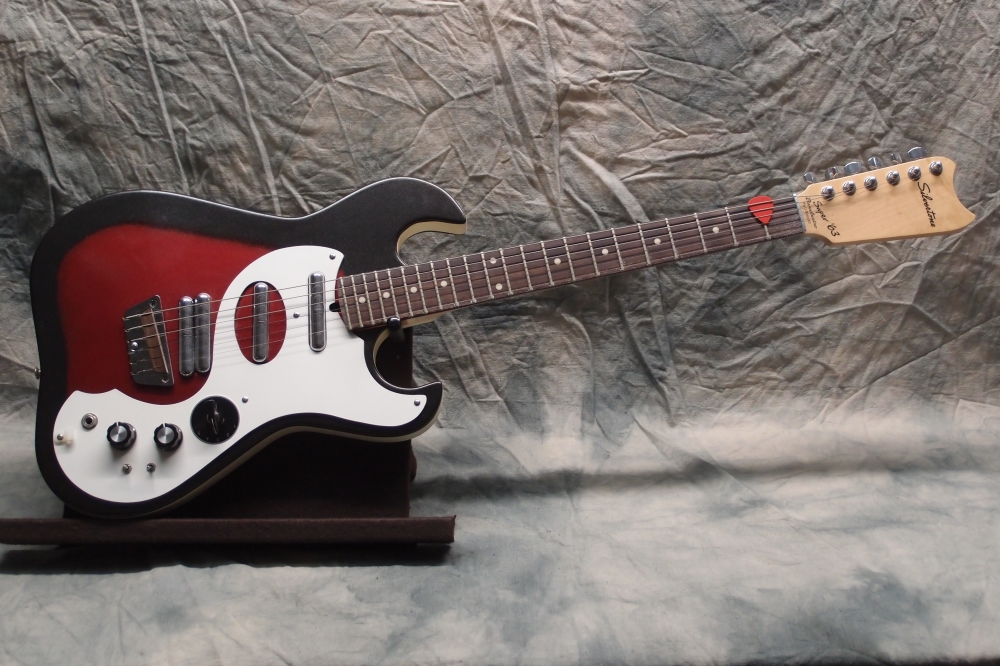
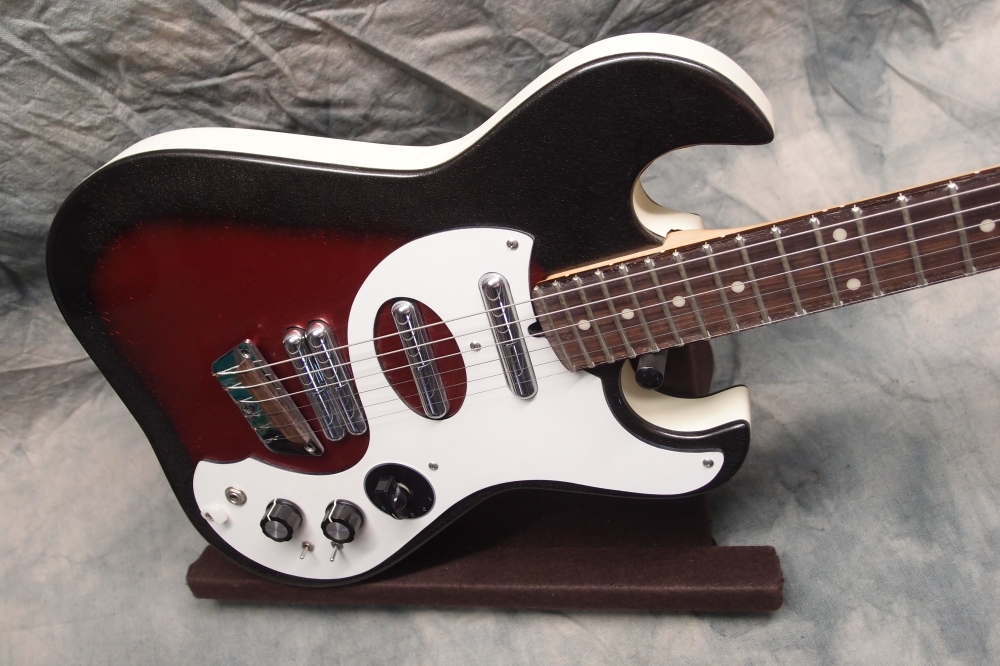
This is the very first guitar I ever built, a hot-rodded version of the old Silvertone 1457. This guitar uses every passive wiring trick in the book. Four - count 'em - four lipstick pickups, wired in series. Six-way pickup selector, and two phase switches. The neck is from AllParts, I paid way too much for it. The finish is glittery acrylic lacquer from the auto parts store. The knobs are from Radio Shack - remember them?
More: Silvertone 1457 "Super 63" Guitar ...
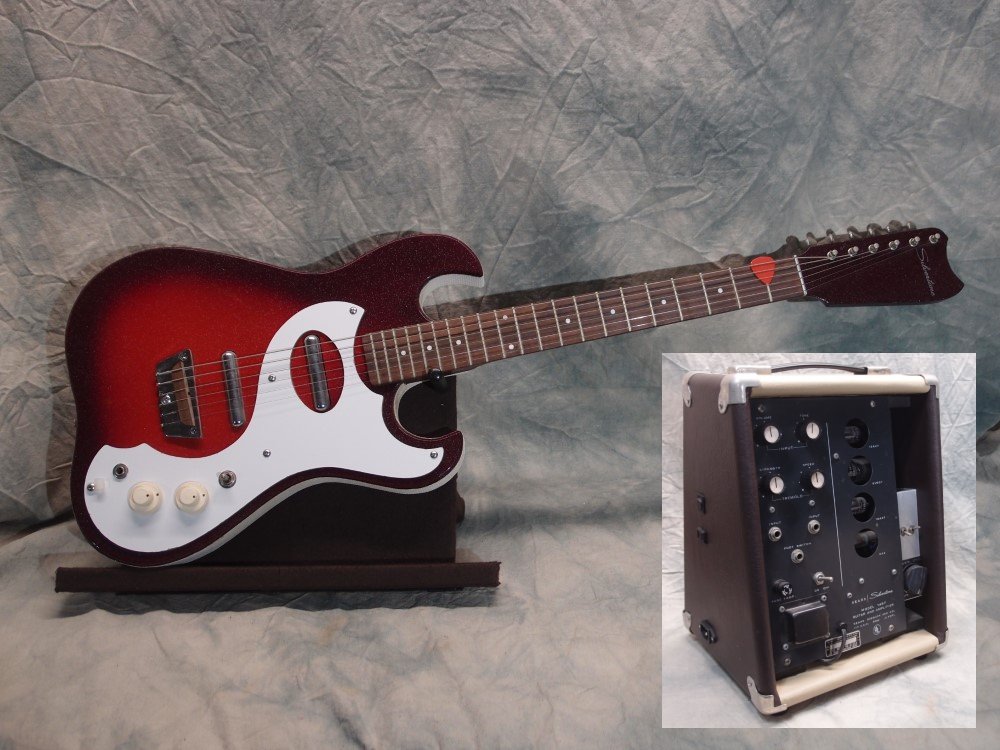
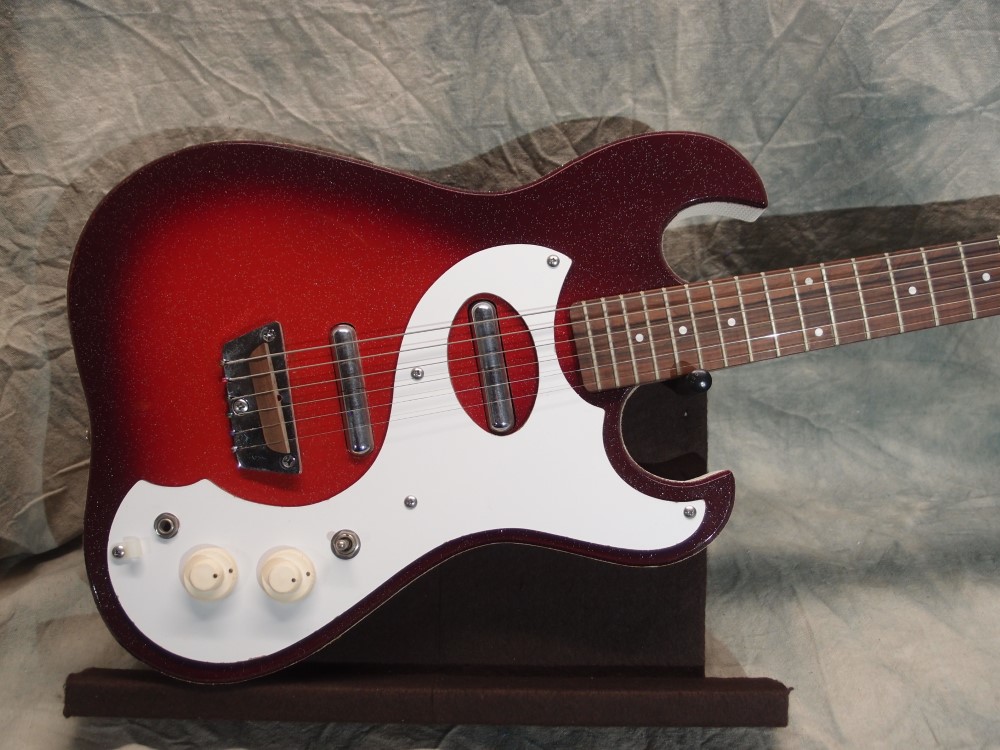
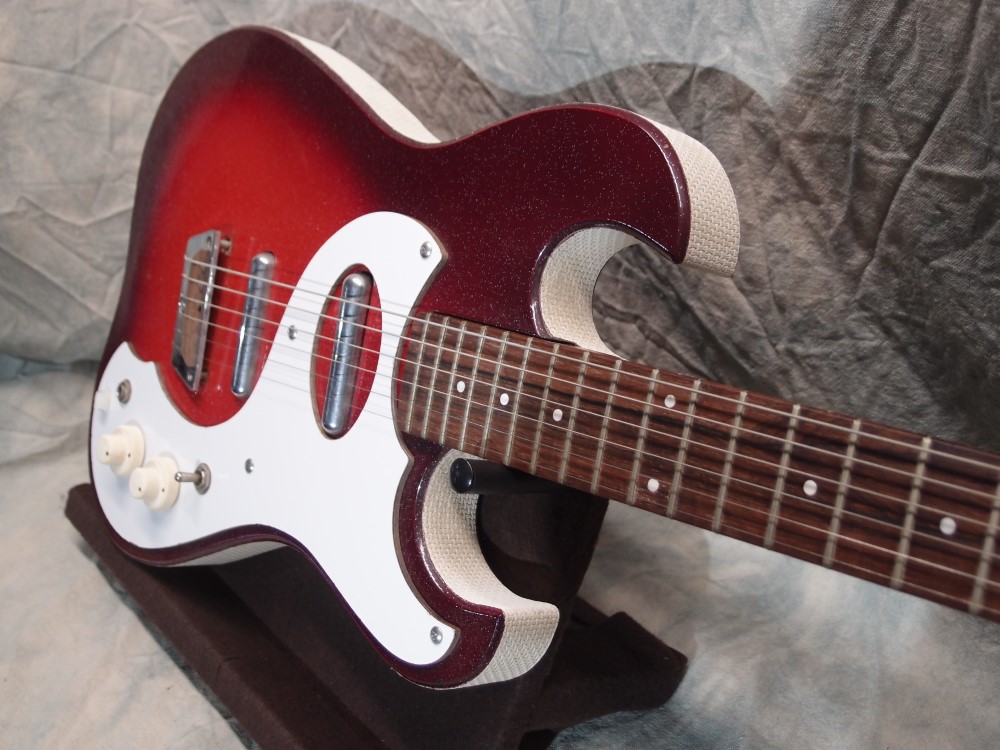
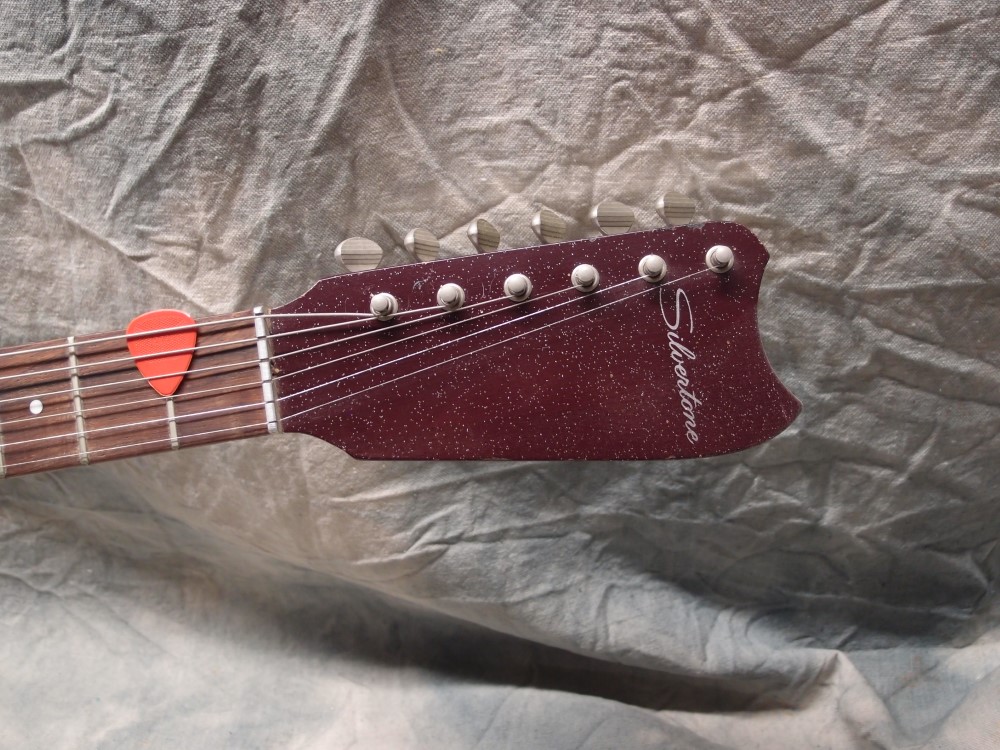
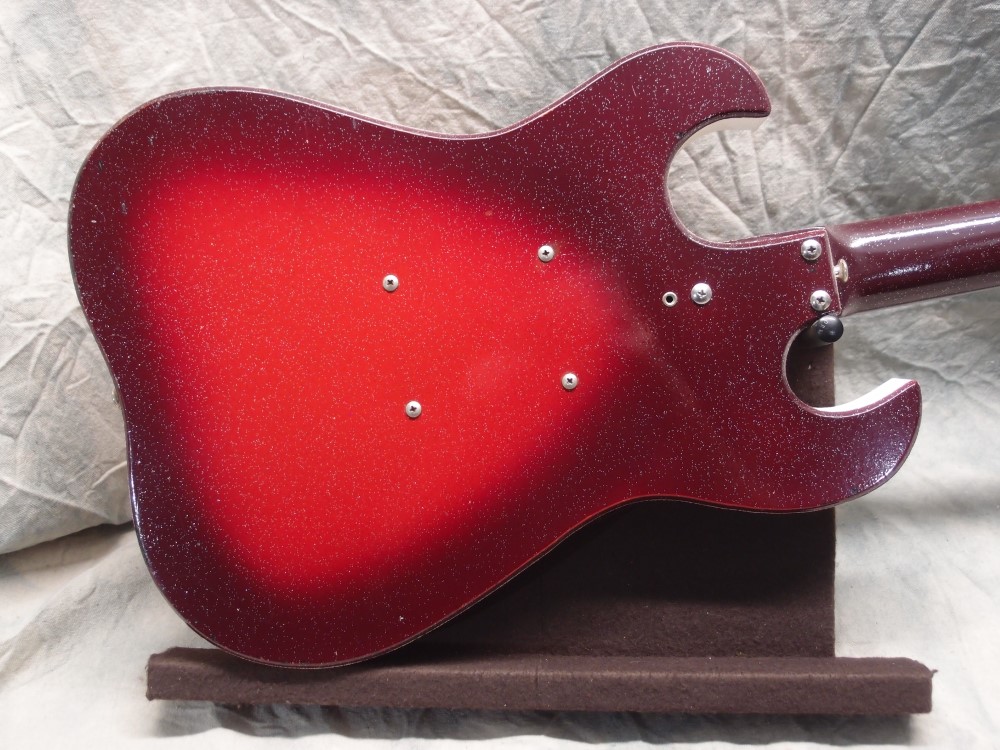
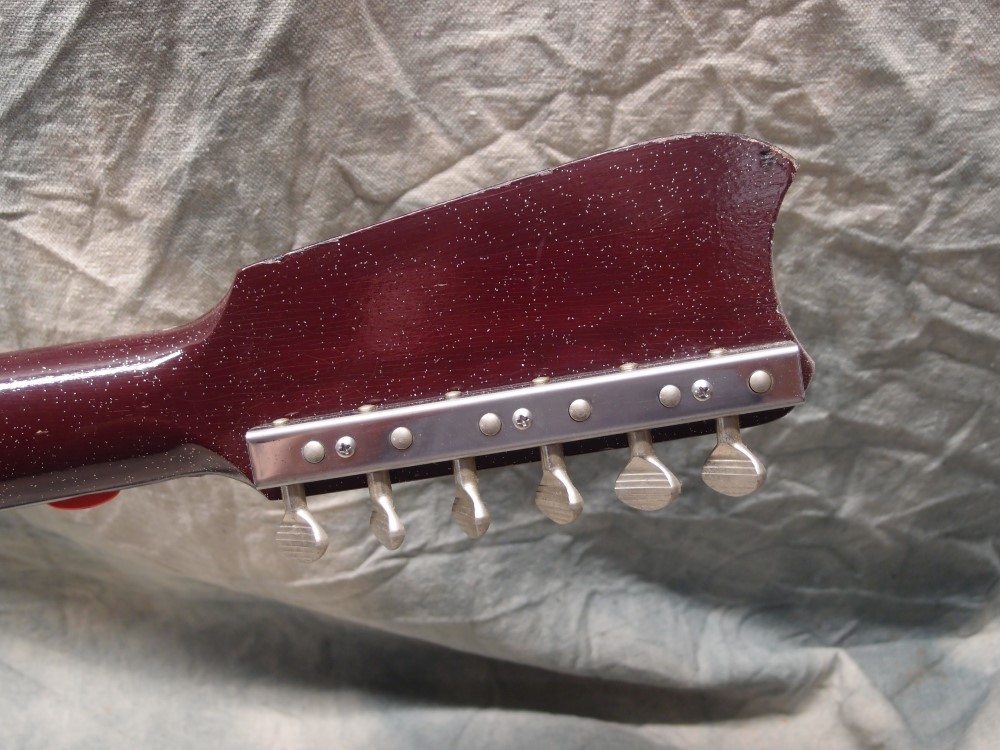
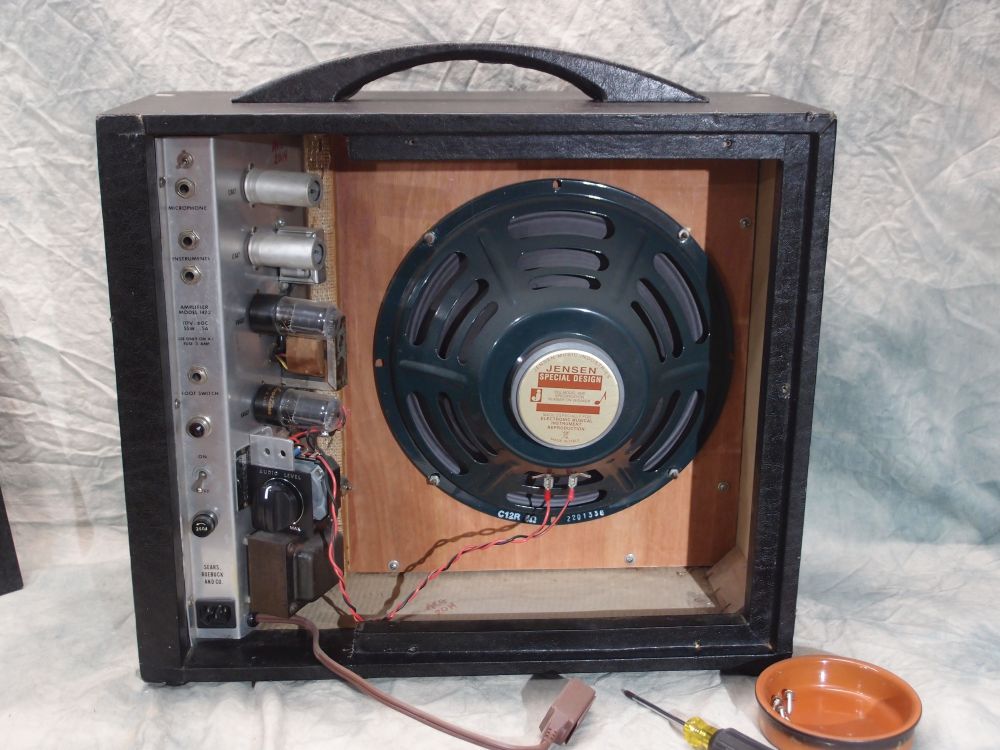
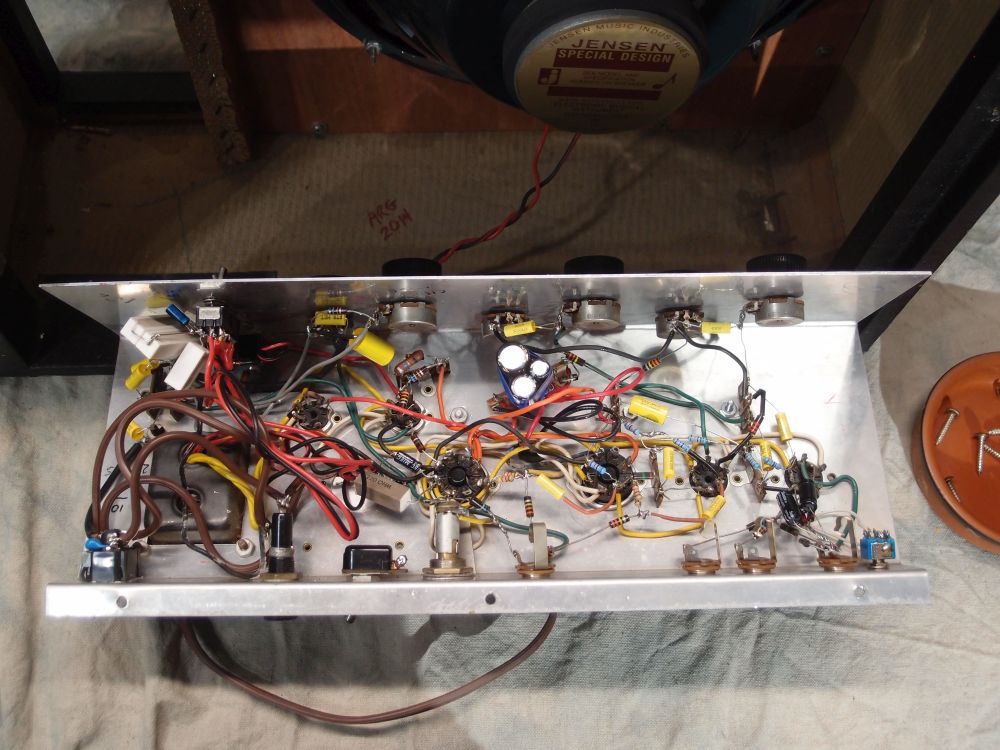
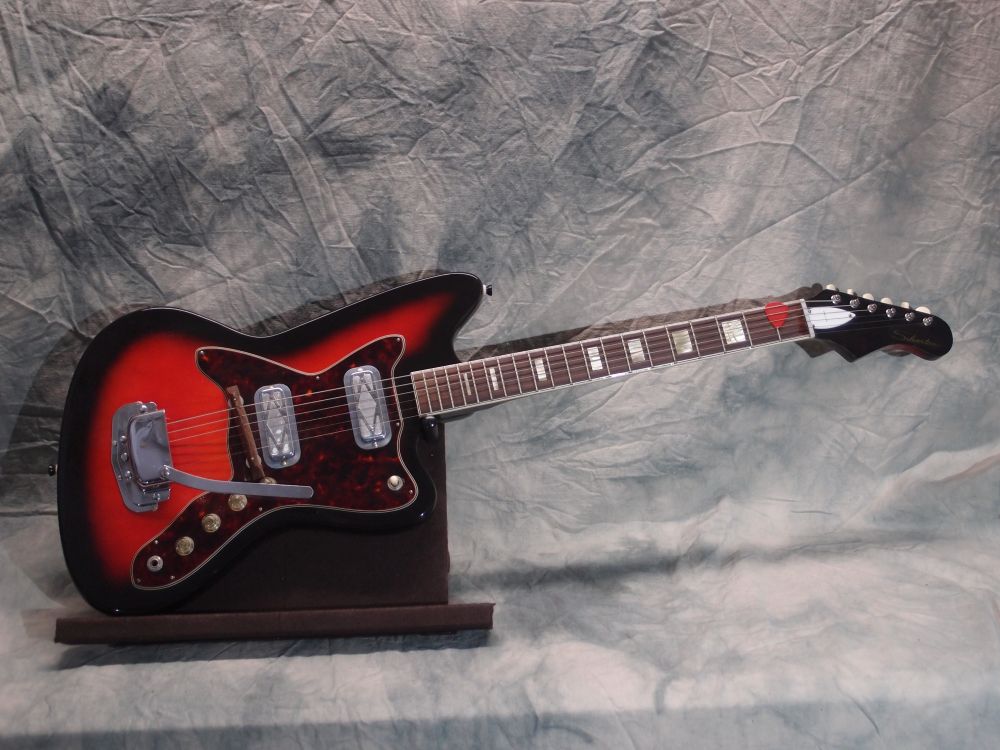
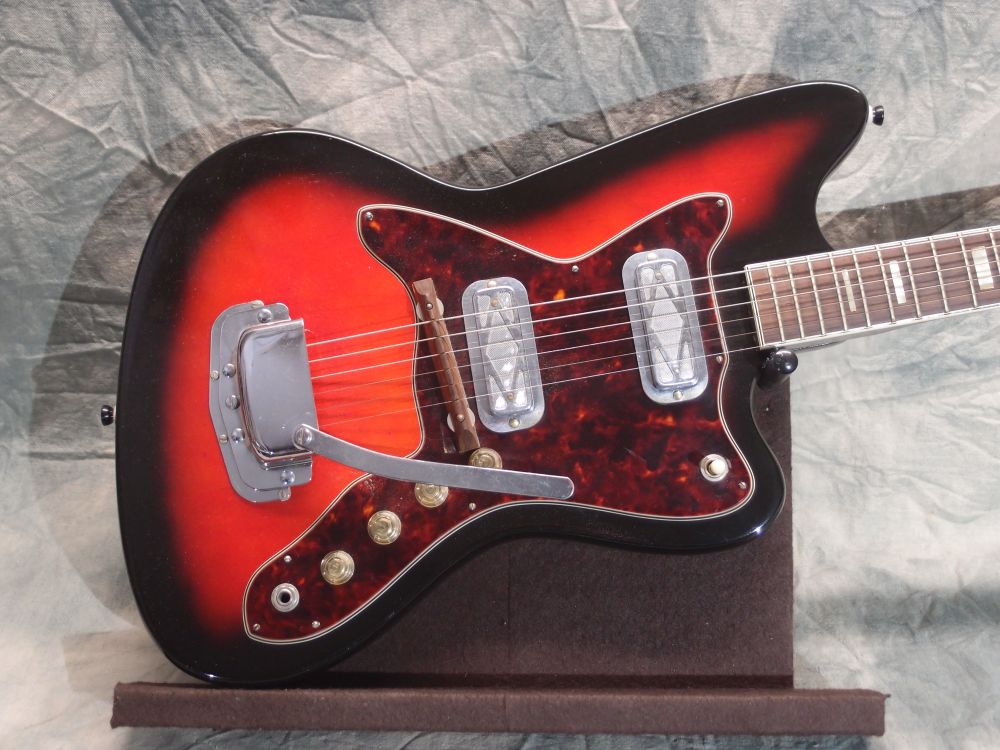
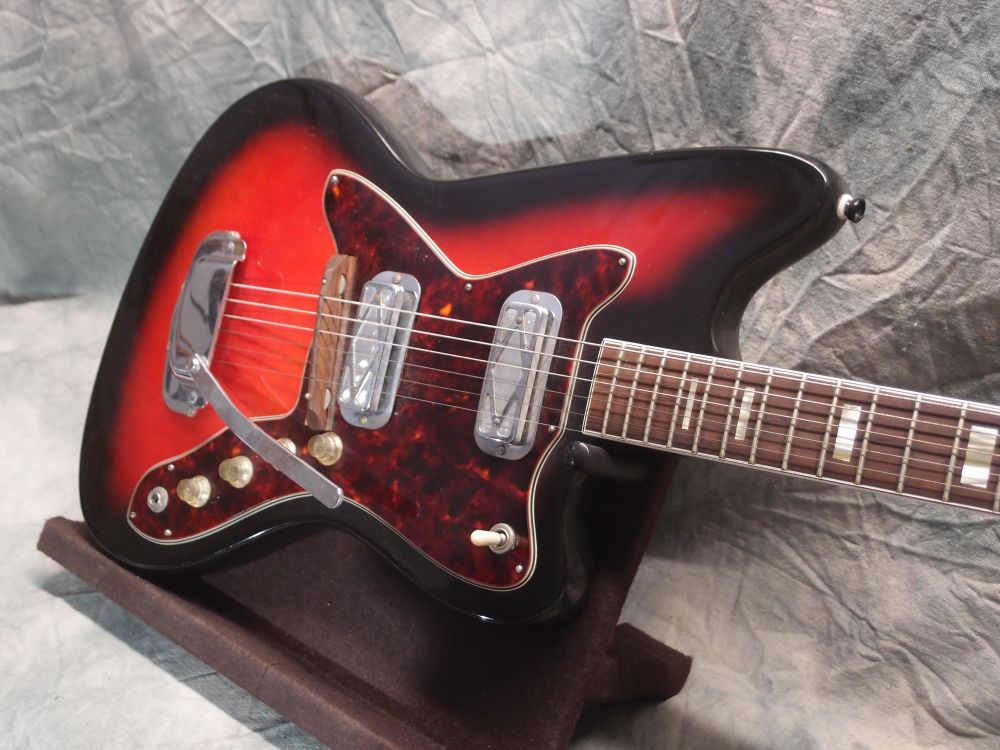
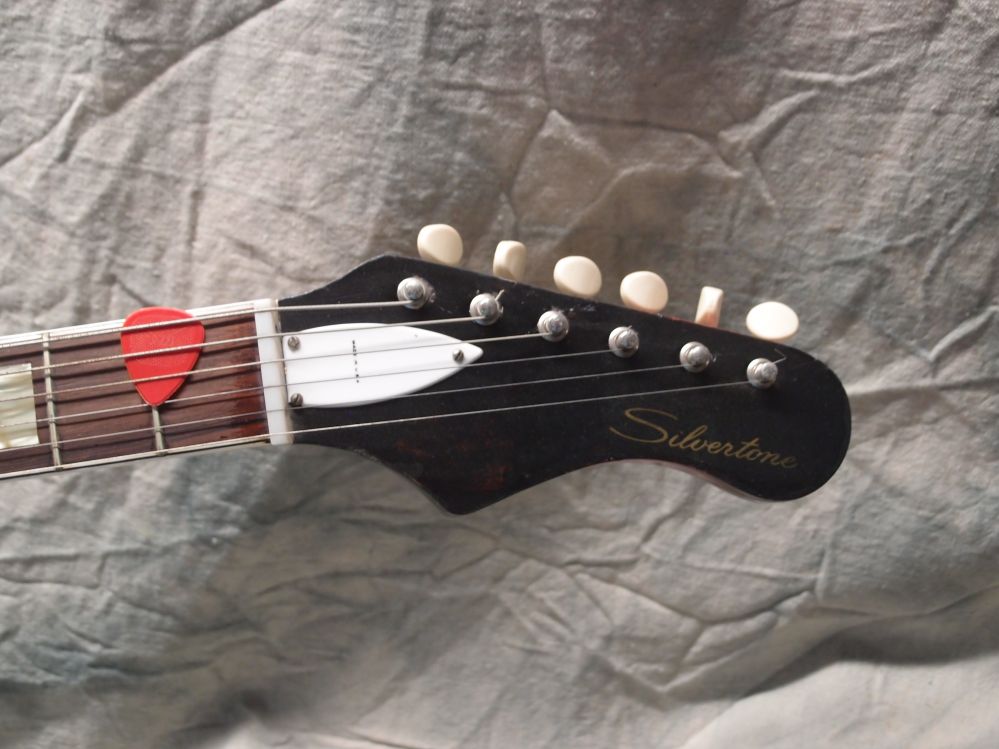
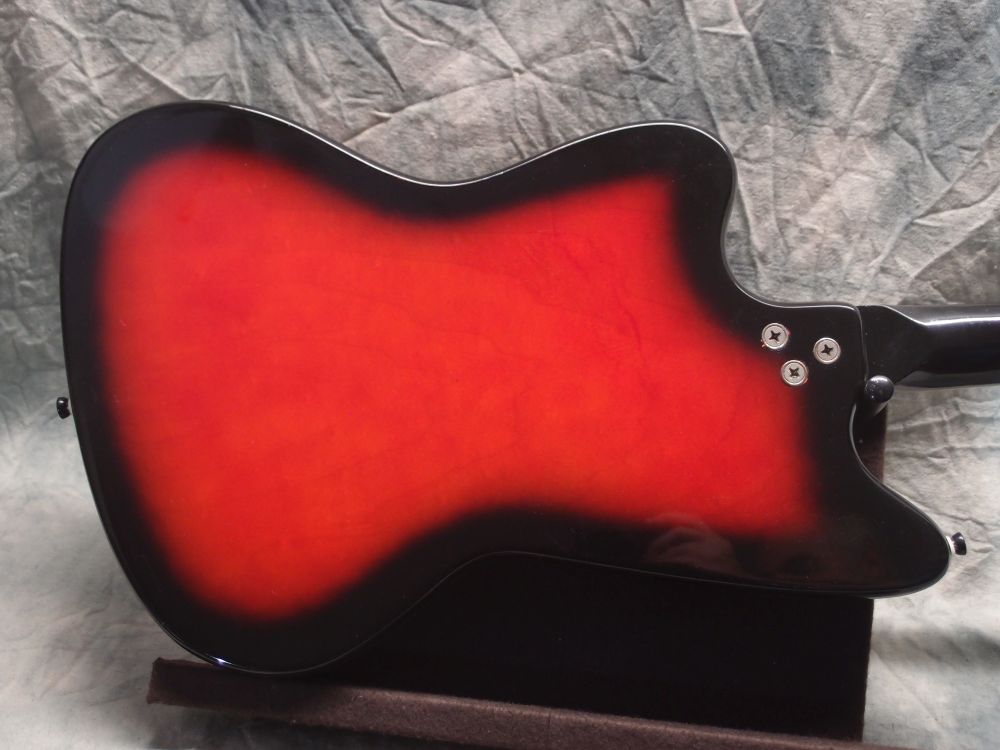
This is the big brother to the Silvertone 1448, vintage 1964-67. Construction is basically the same, but with a full-scale neck, two pickups, and a much better amp. For a lot of details, see the 1448 page. This guitar is in excellent condition for being almost sixty years old, and apart from cleaning and re-stringing, it needed nothing.
More: Silvertone 1457 Guitar & Amp ...
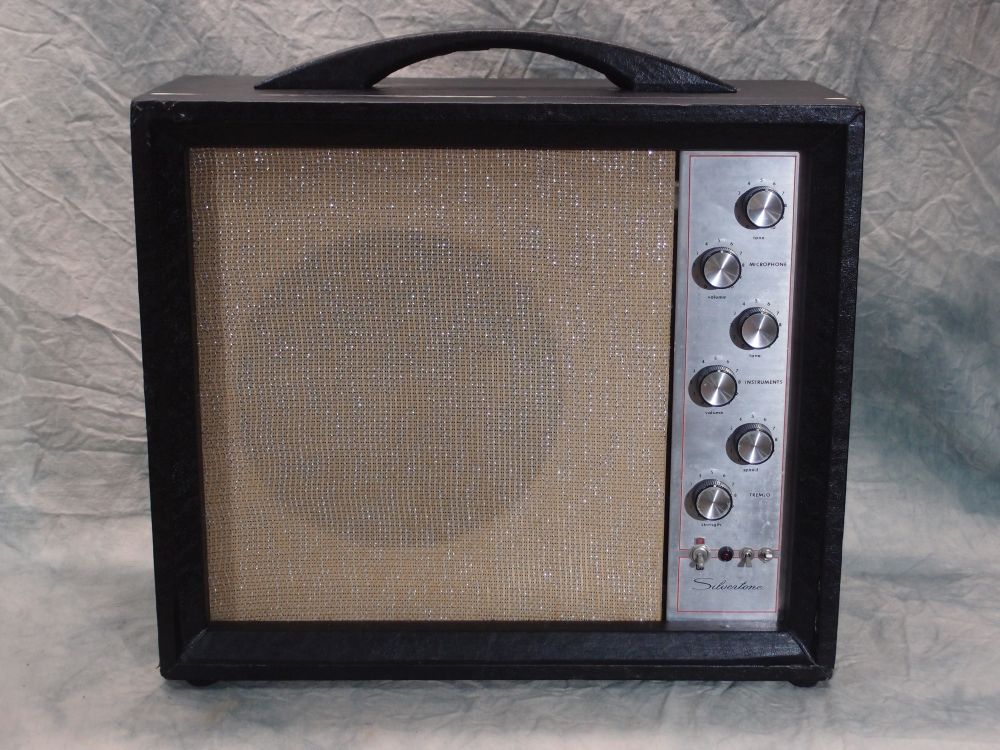
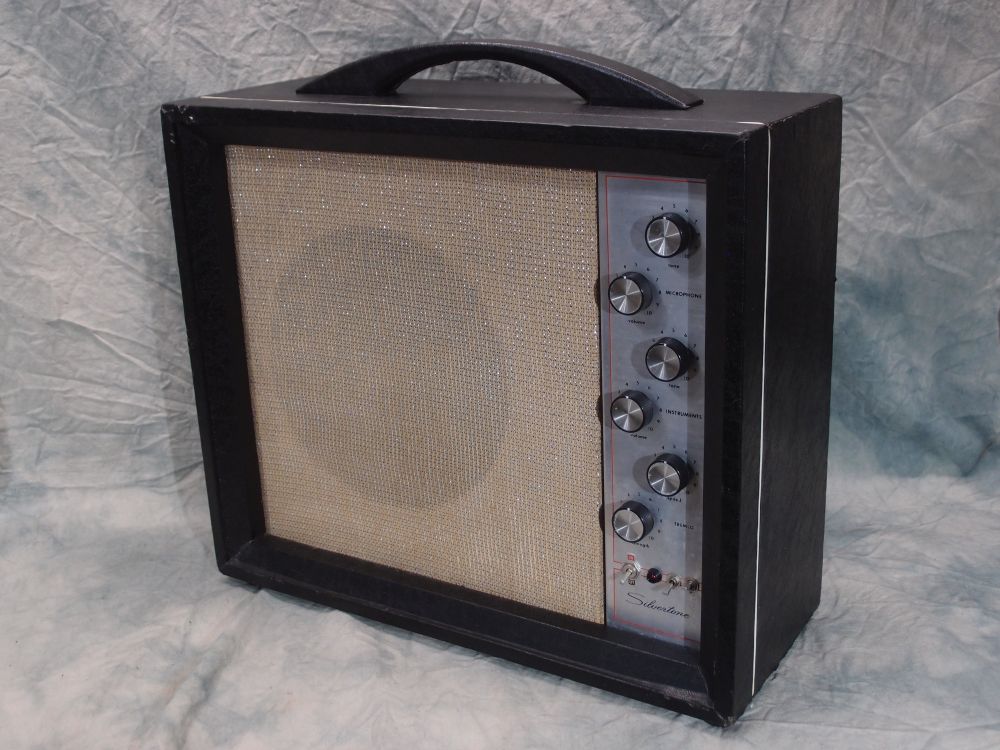
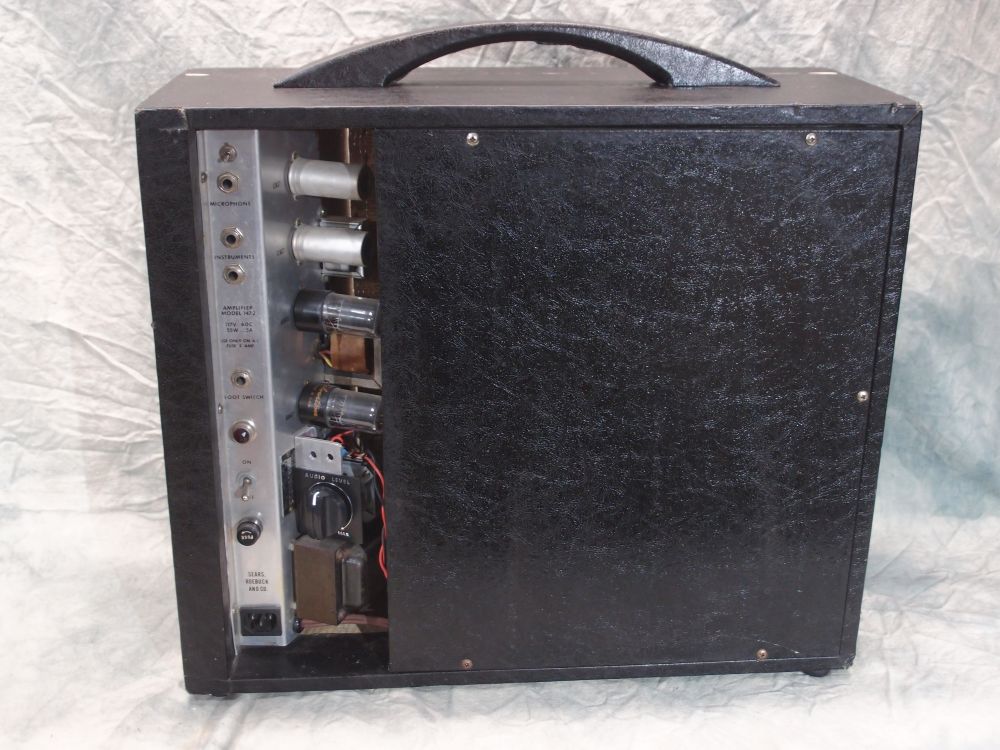
After successful and interesting experiments rebuilding 1448 and 1457 "Amp-in-Case" amplifiers, I thought I'd try something bigger. So I kept an eye on the eBays, and eventually came up with this - an early production Silvertone 1472, made by Danelectro and sold through the Sears catalog. It was fairly cheap because it wasn't working. However, the cabinet is solid, the aluminum faceplate and labeling are in good shape, all the knobs are there, and everything else can be replaced or rebuilt. The Tolex is in very good shape, and the corners of the cabinet are all pretty much intact. Much like buying an old car - a blown engine is easier to fix than a rusted-out body.
More: Silvertone 1472 Amplifier ...
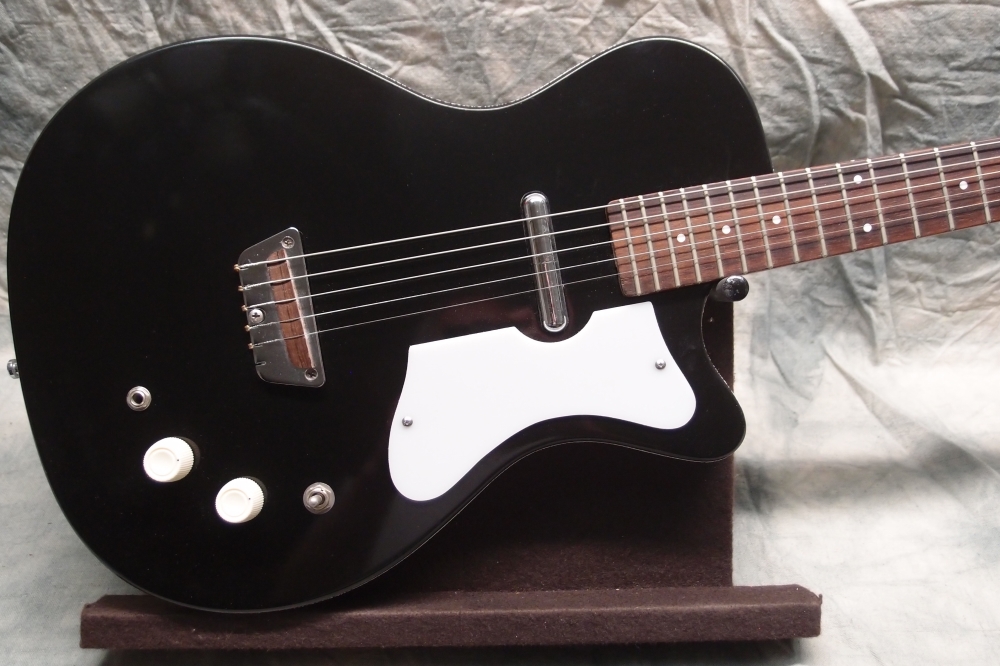
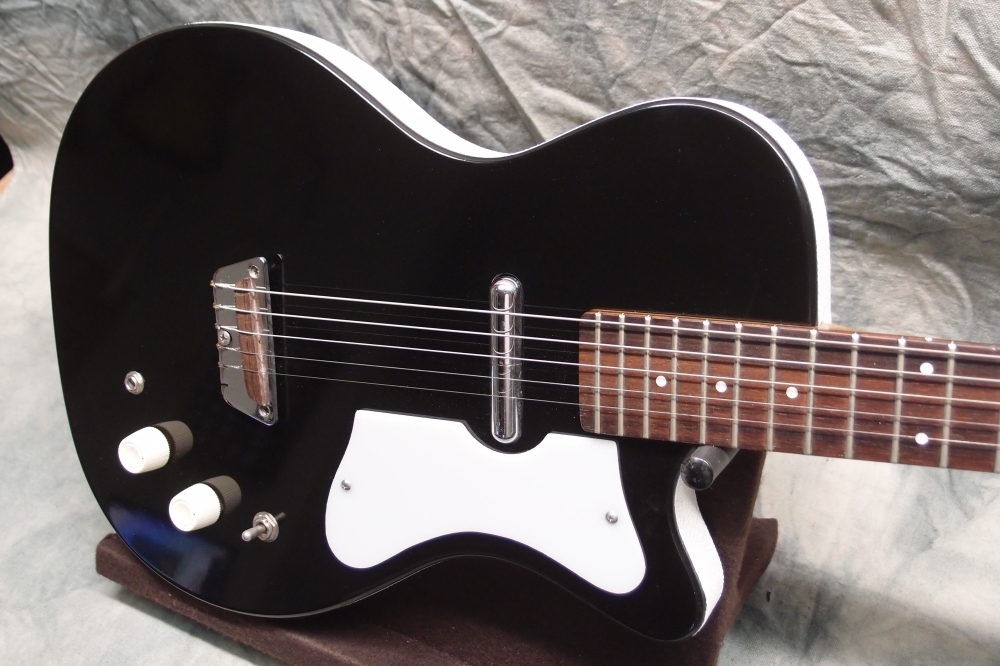
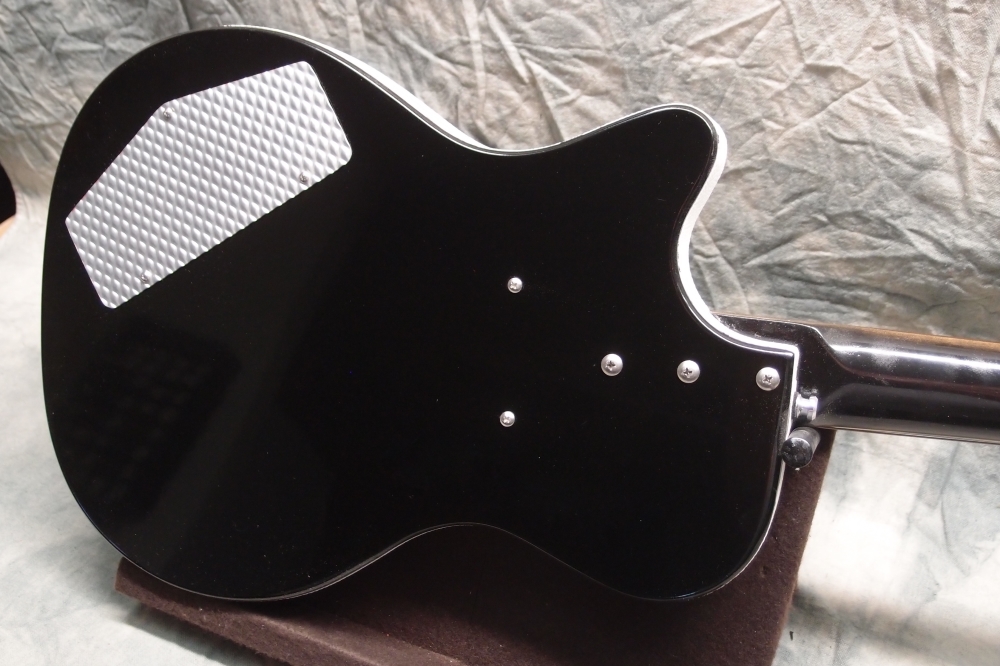
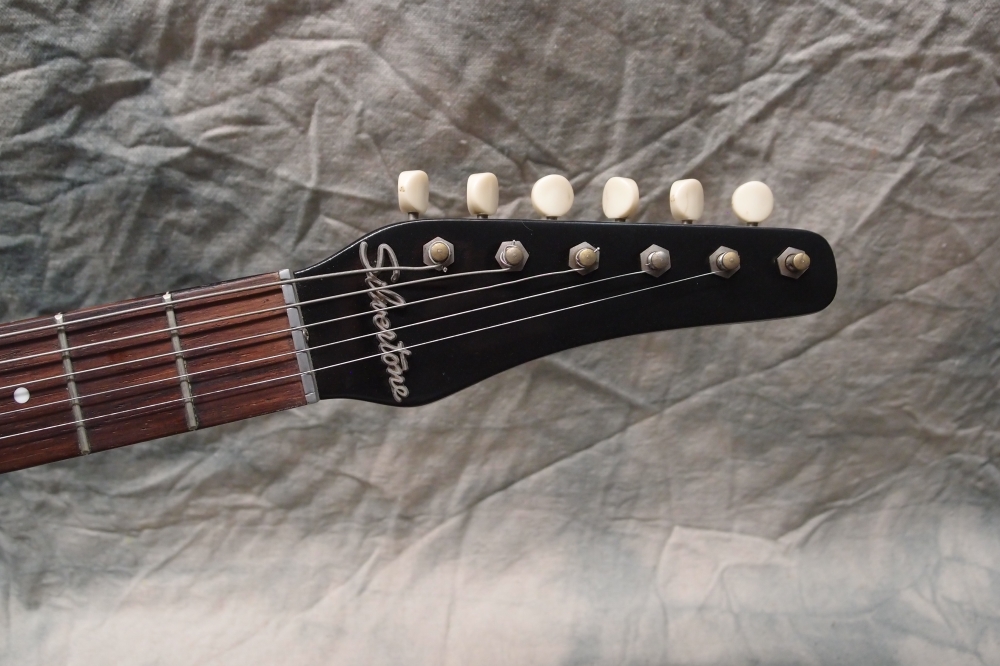
This is a Harmony-made Sears Silvertone 1478. This body style was originally called the "Silhouette", and Harmony sold similar models under their own name. Later it became known as the "Bobkat". I can't find a serial number anywhere, and I'm not taking it apart to look for one, so I don't know the exact age of this guitar.
More: Silvertone 1478 Guitar ...
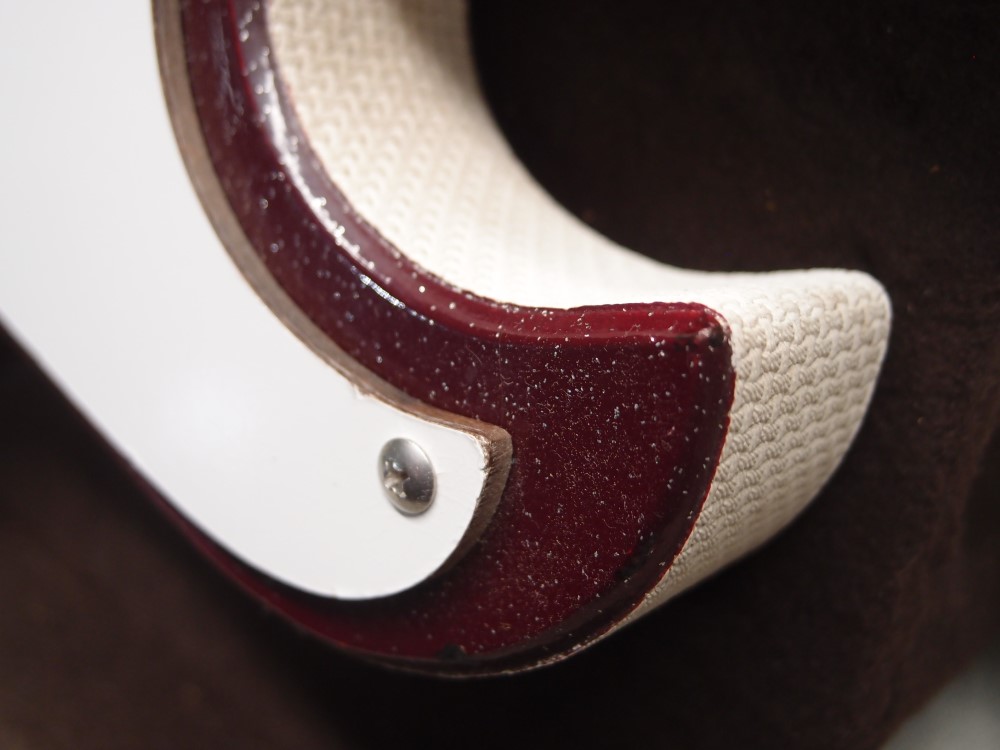
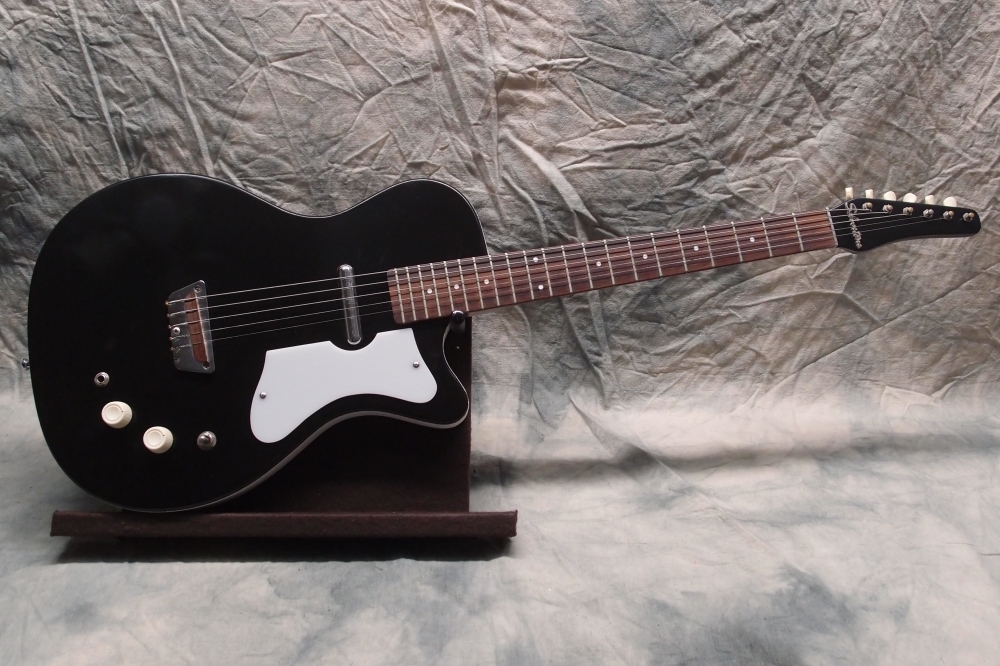
This started as a vintage neck that I got on eBay. I built a reproduction body and hunted-down old-style parts to rebuild this as authentically as possible. The finish is black nitro, which is accumulating nitro damage just from existing. Someday I should strip that garbage off and re-shoot it in polyurethane.
More: Silvertone U-1 "Dolphin" Guitar ...
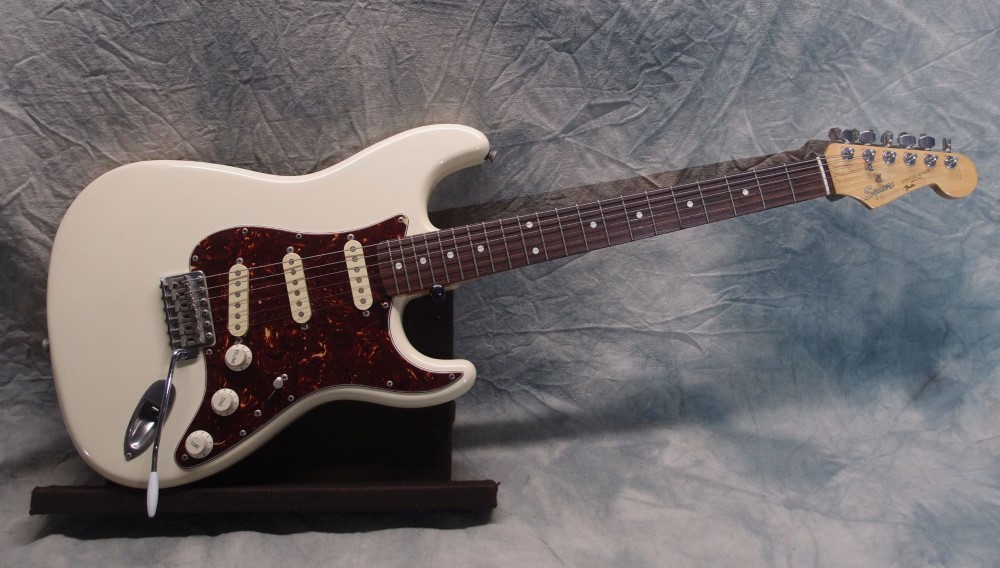
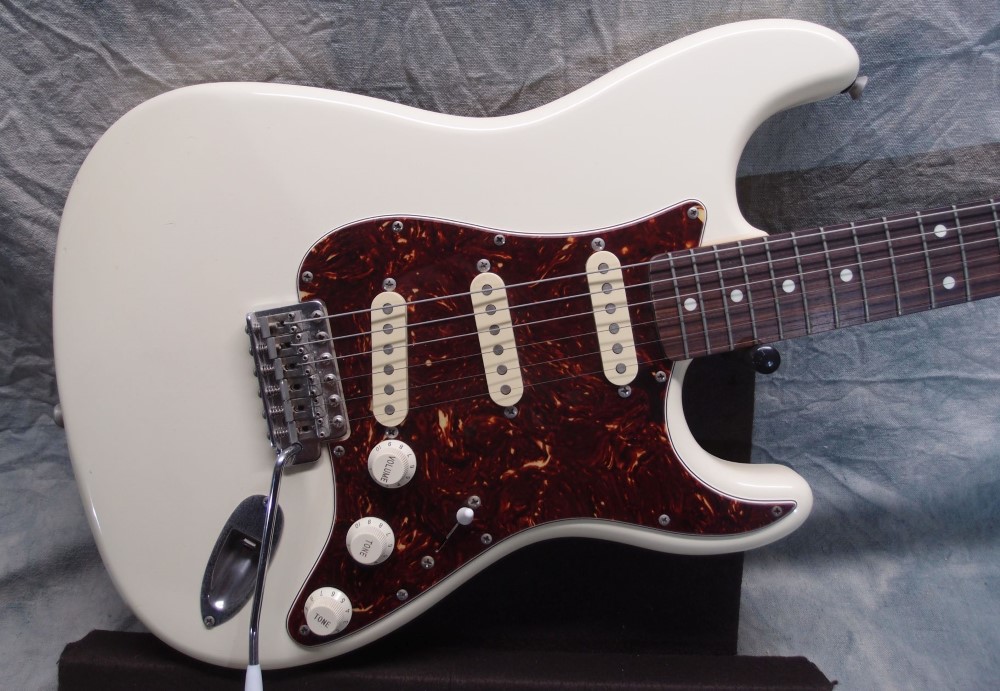
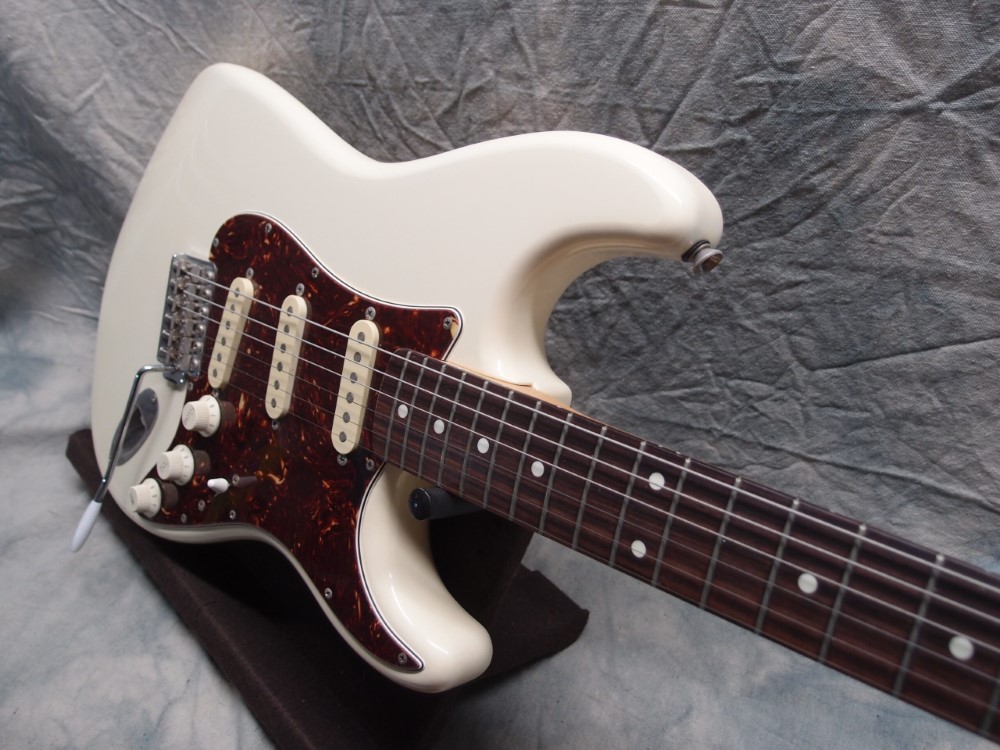
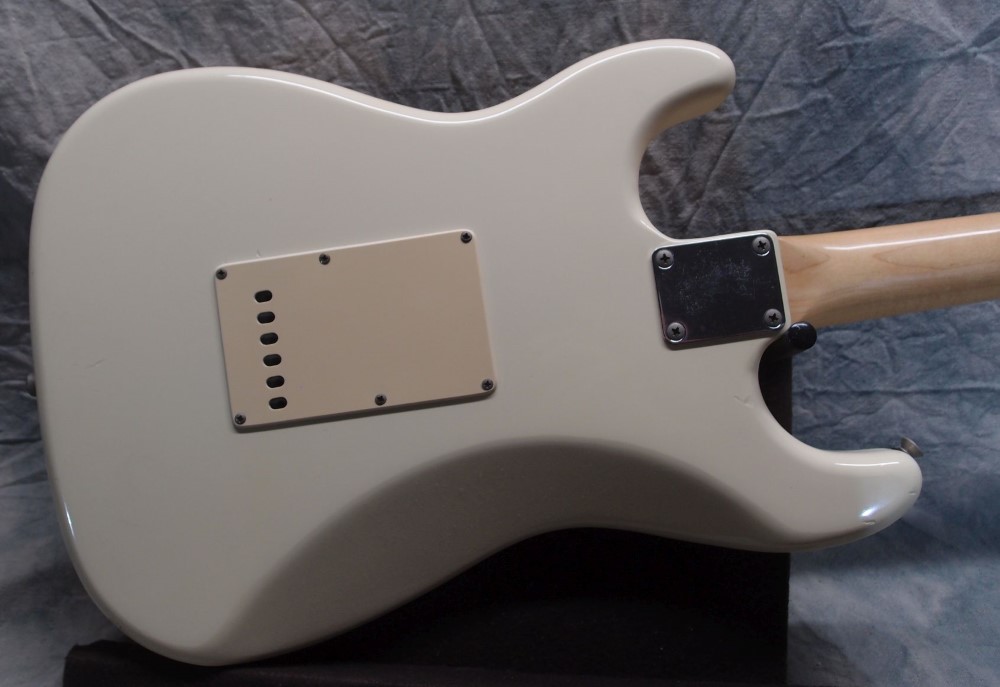
This is my reference for guitar setups - a Japanese "E-series" Squier Stratocaster from the early '80s. This was an era when Fender-America was not doing their best work, while the Japanese models were superb.
More: Squier '62 Stratocaster ...
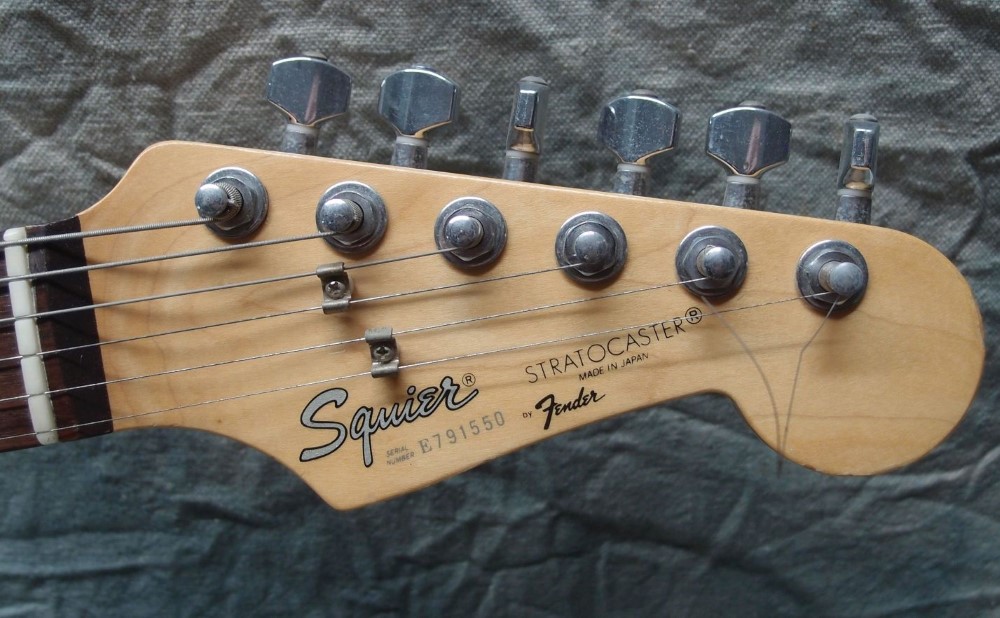
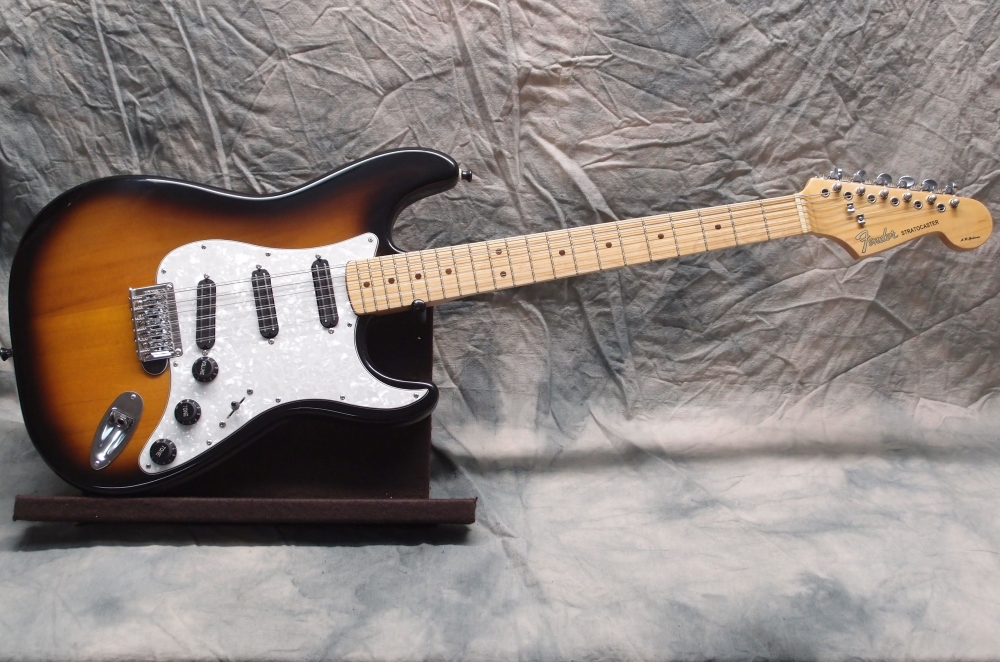
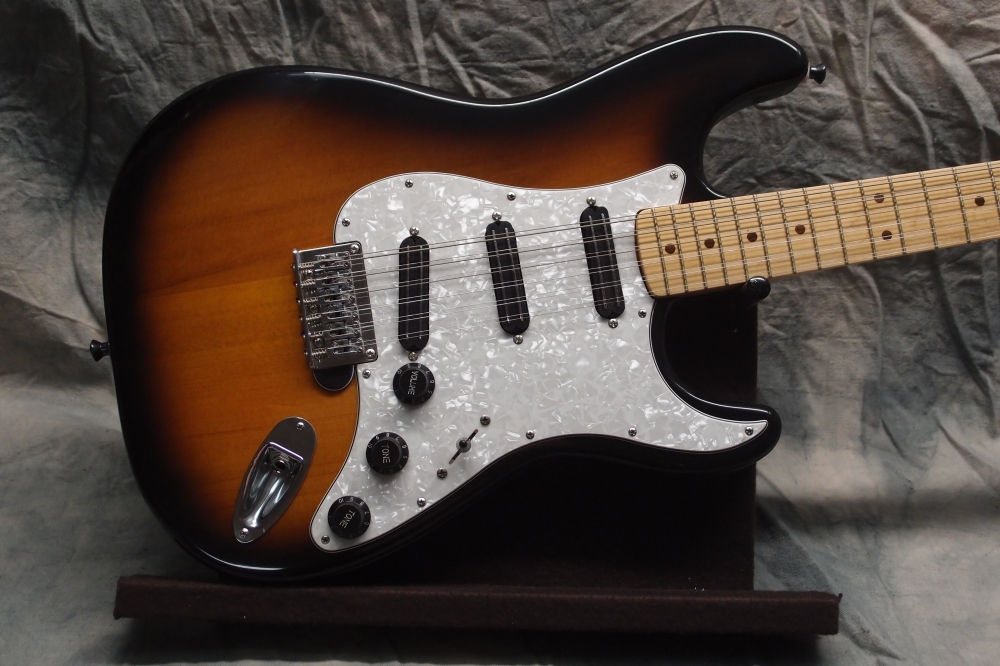
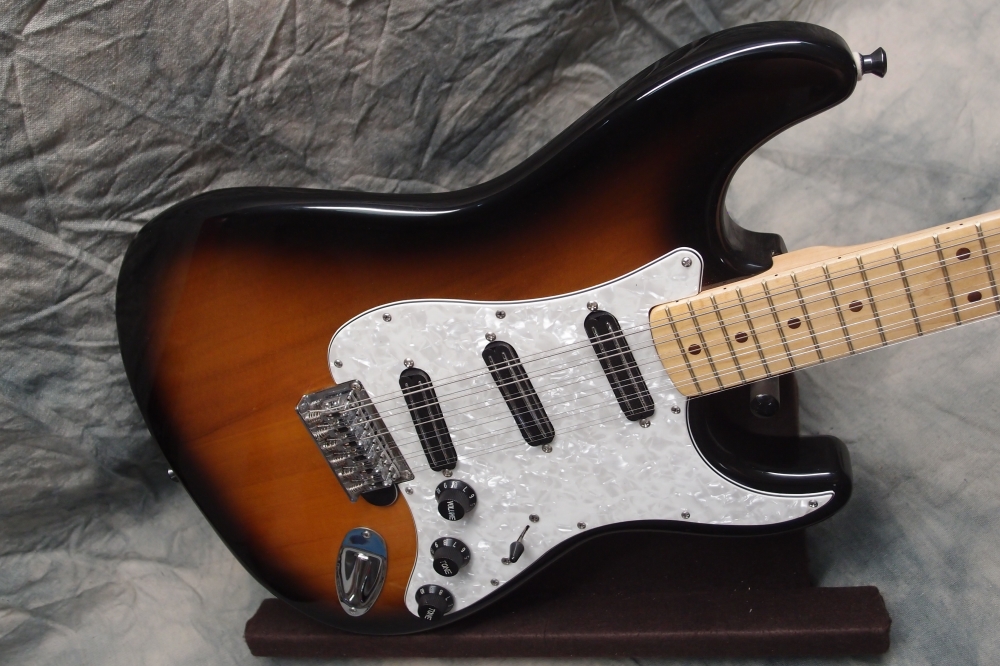
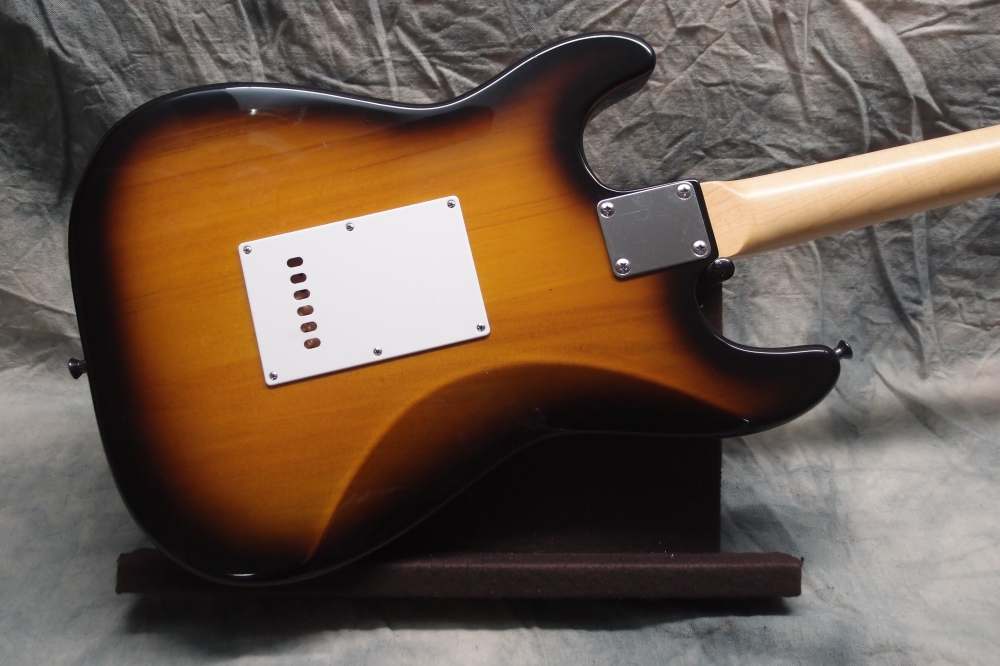
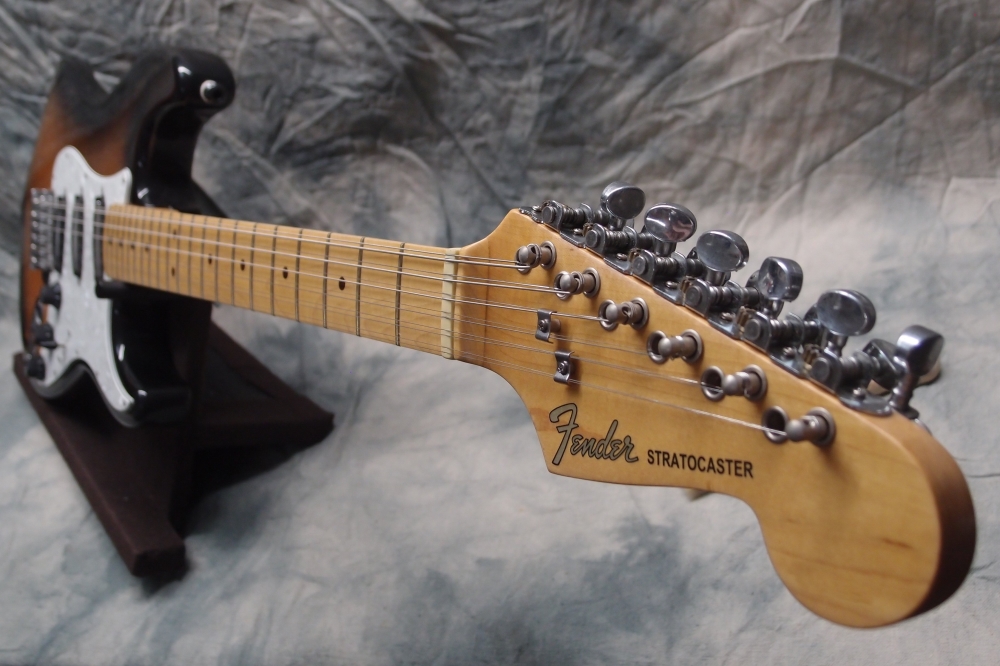
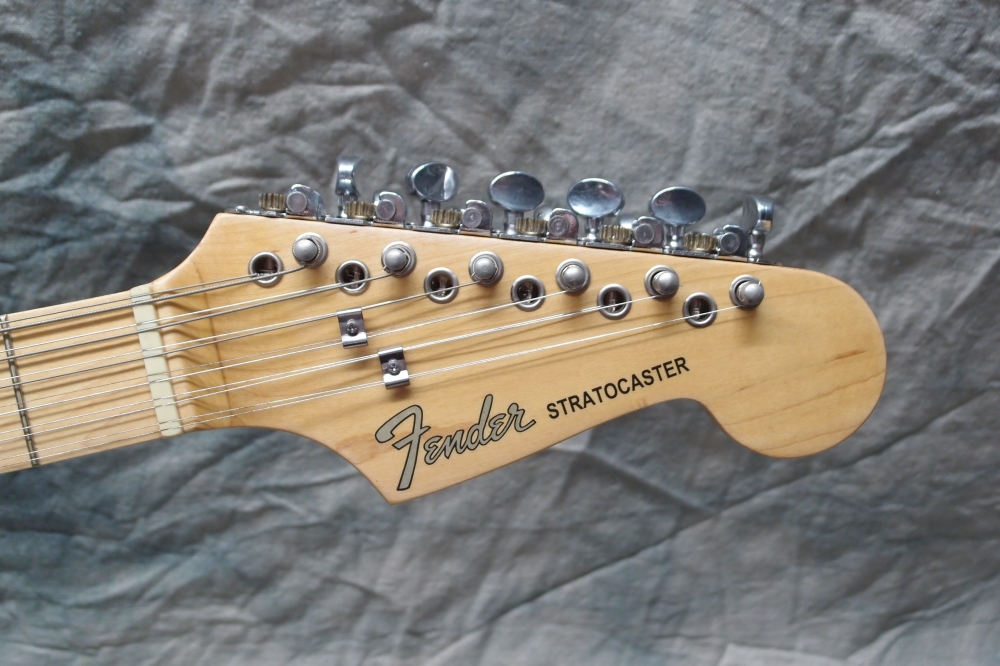
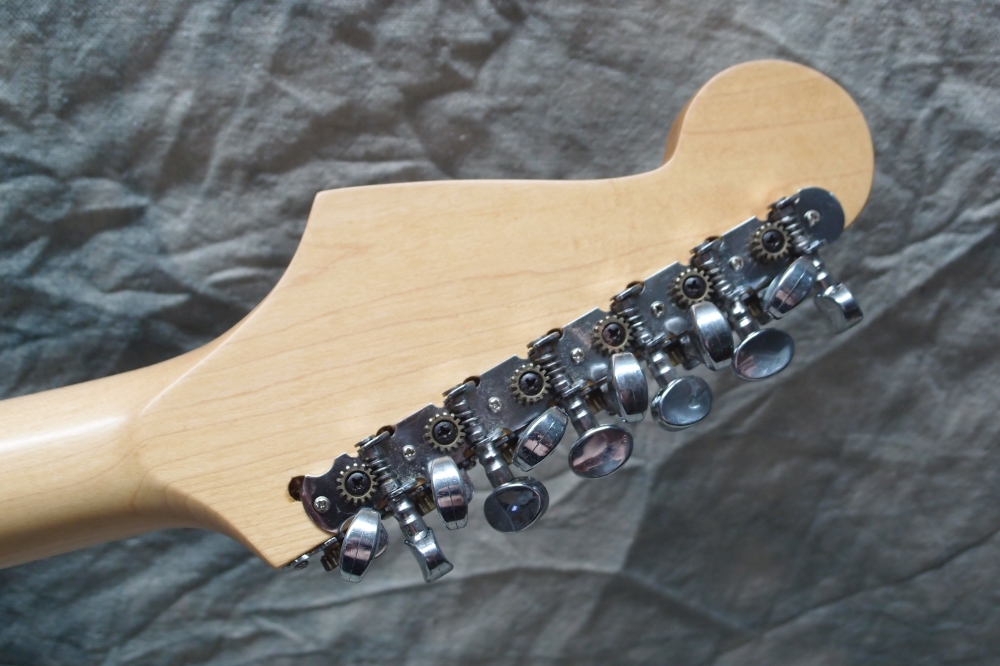
Fender Stratocaster 12-string Guitar
Extended headstock with all tuners interleaved on one side. Strip tuners gave tight spacing, but required very precise drilling. EBay body. Home Depot neck.
More: Stratocaster 12-String Guitar ...
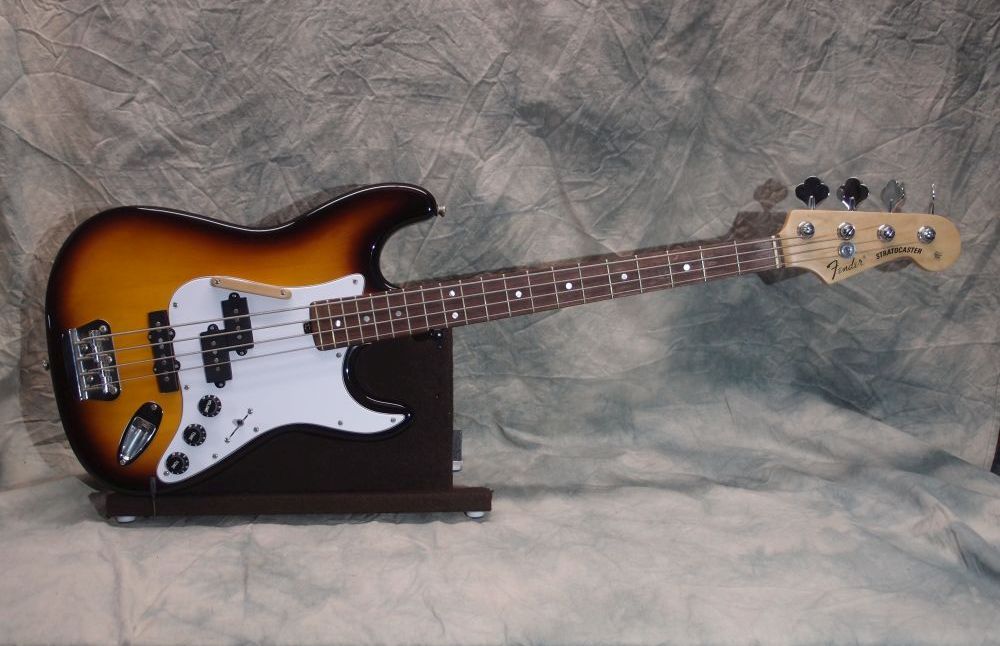
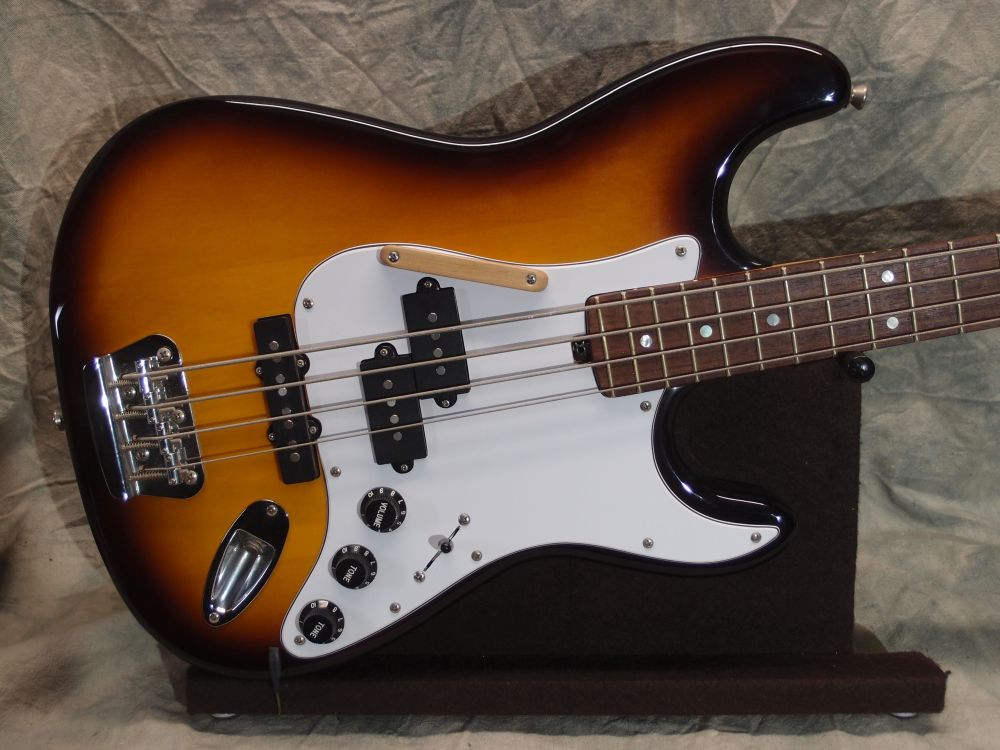
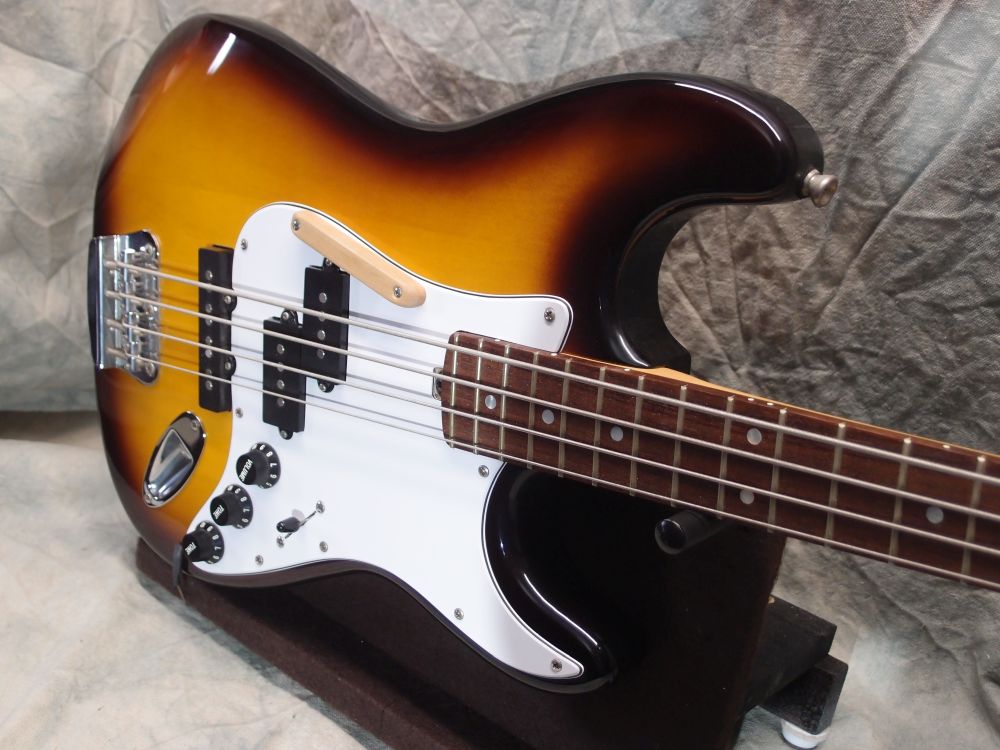
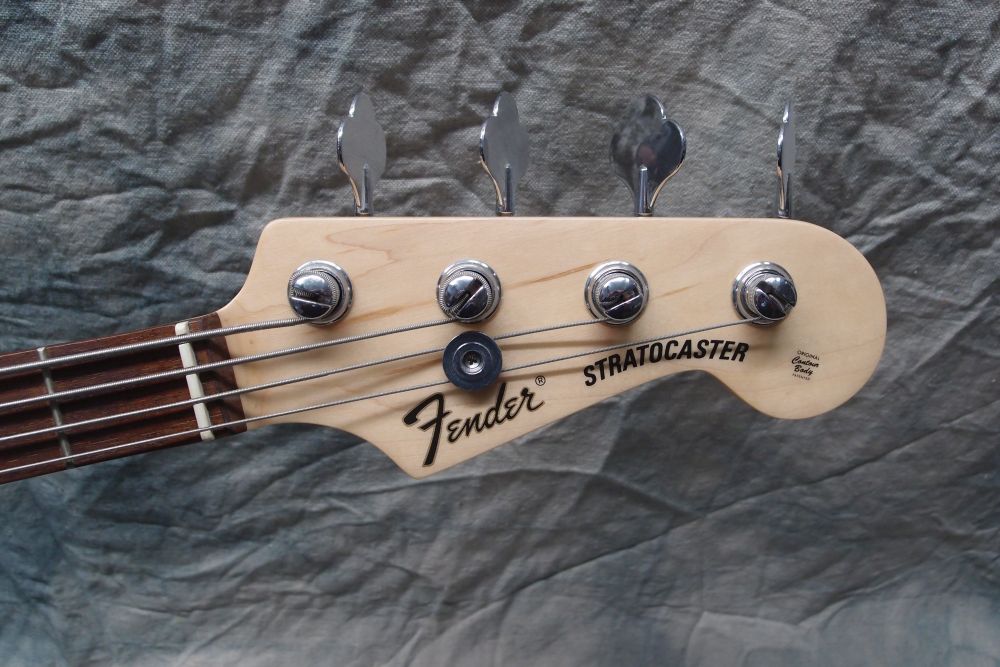
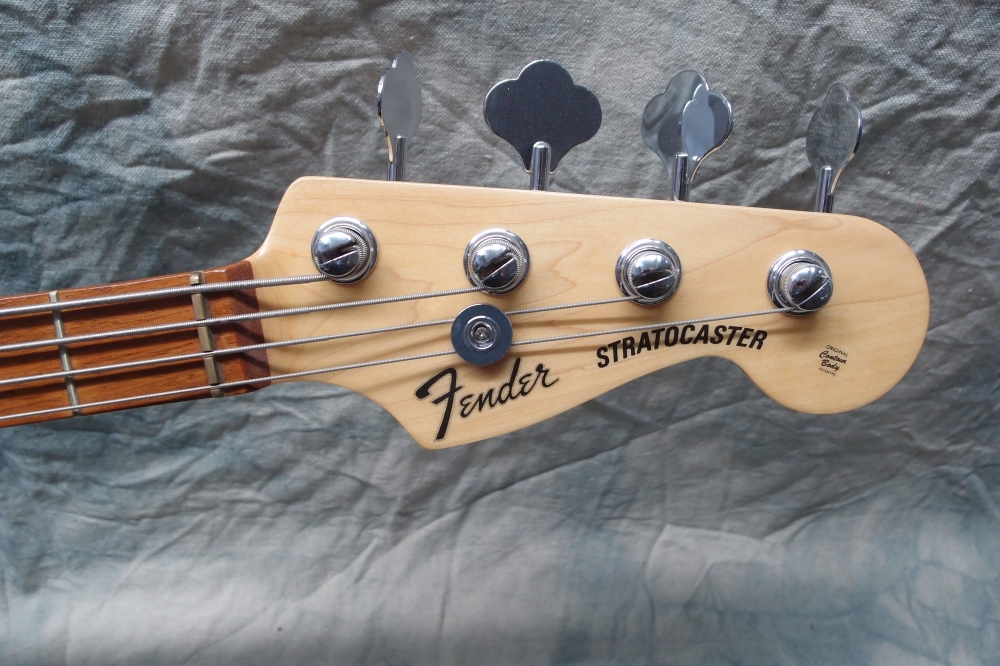
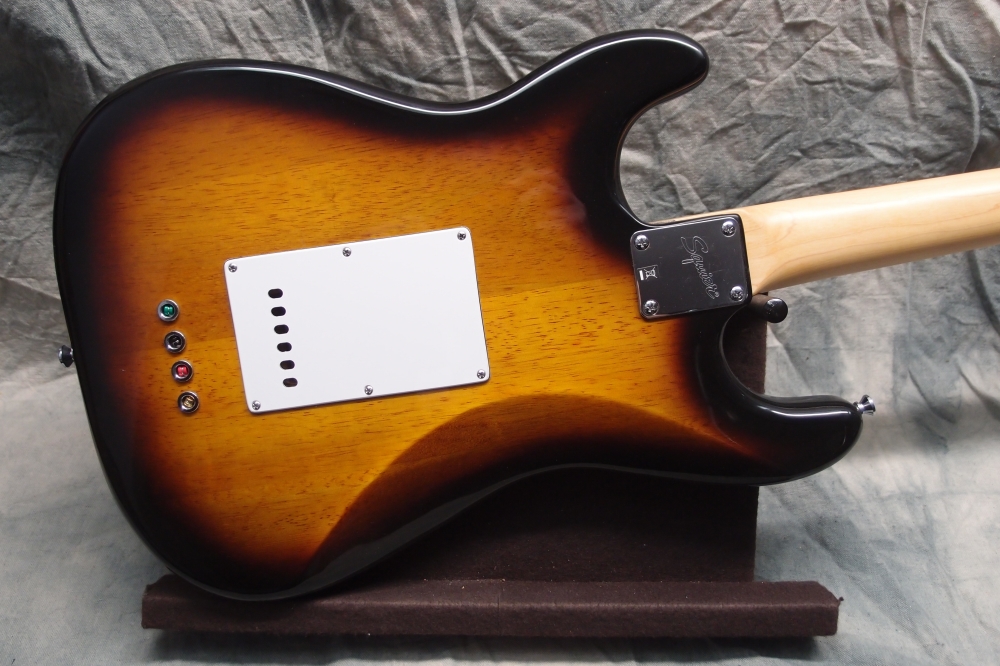
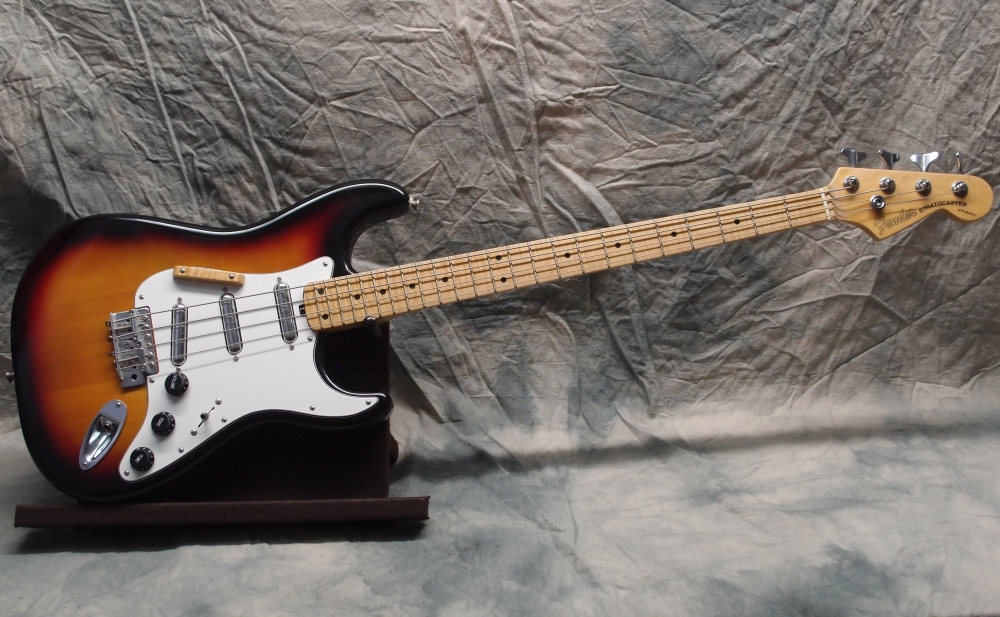
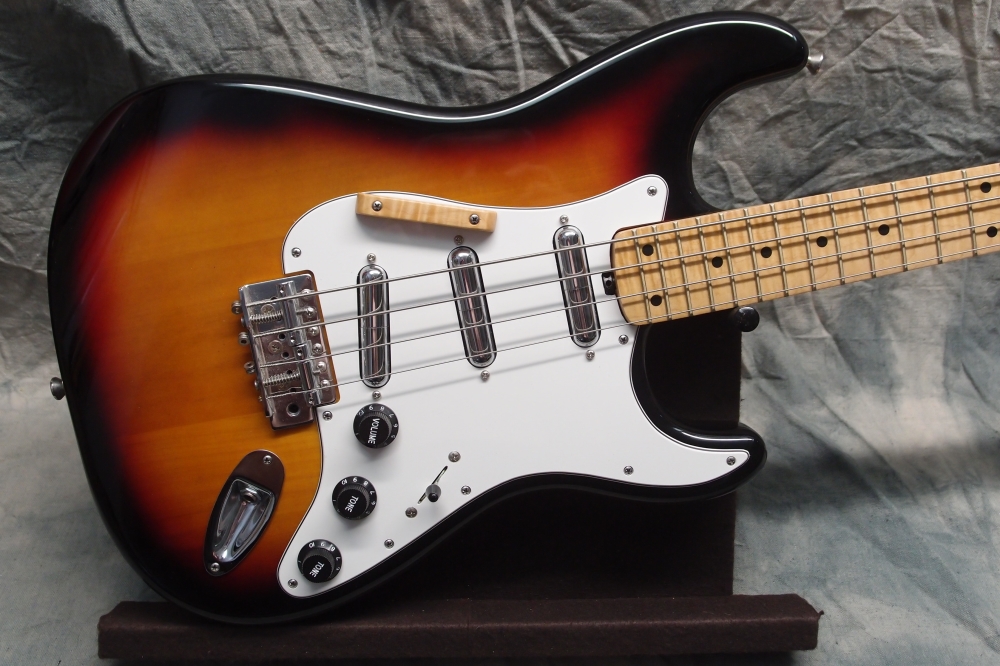
This body was purchased on eBay from a parted-out guitar. Might have been a Squier, I don't remember. It was in pretty good shape, and I gave it a good polishing. The neck is hand-made, one of my first. The back is hand-picked Home Depot maple, the fretboard is pre-slotted rosewood from StewMac, I hadn't yet worked out how to make my own. If you cut the first two frets off a 34" fretboard, you end up with a 30" scale. That's about the limit with a pre-slotted fretboard though, as you start to run out of frets at the other end. The dots are 1/4" pearl from StewMac, expensive. The frets are probably pre-cut Fender.
More: Stratocaster Bass 1 ...
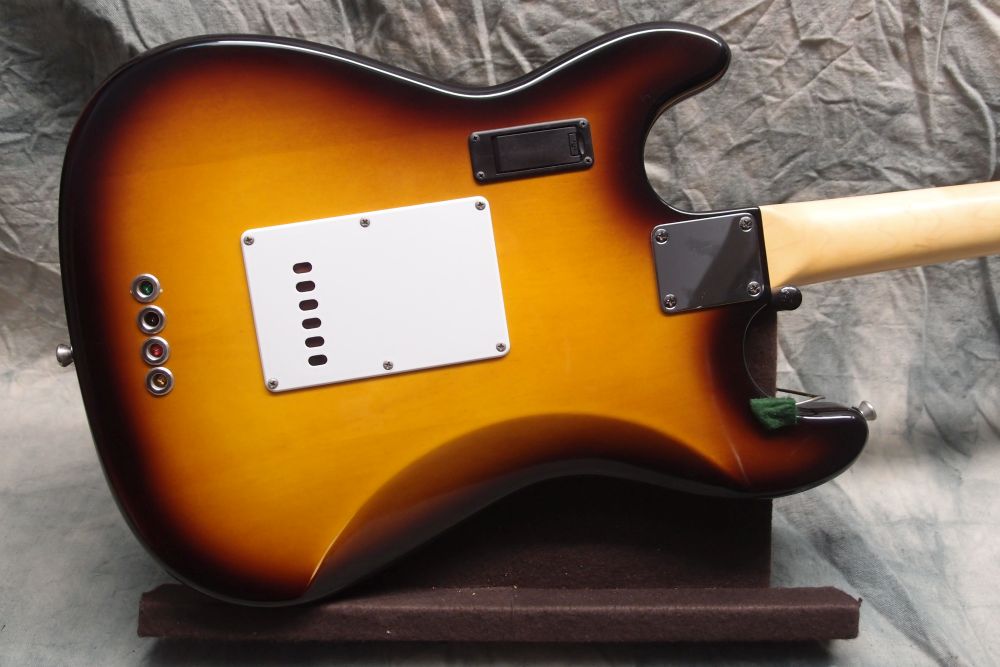
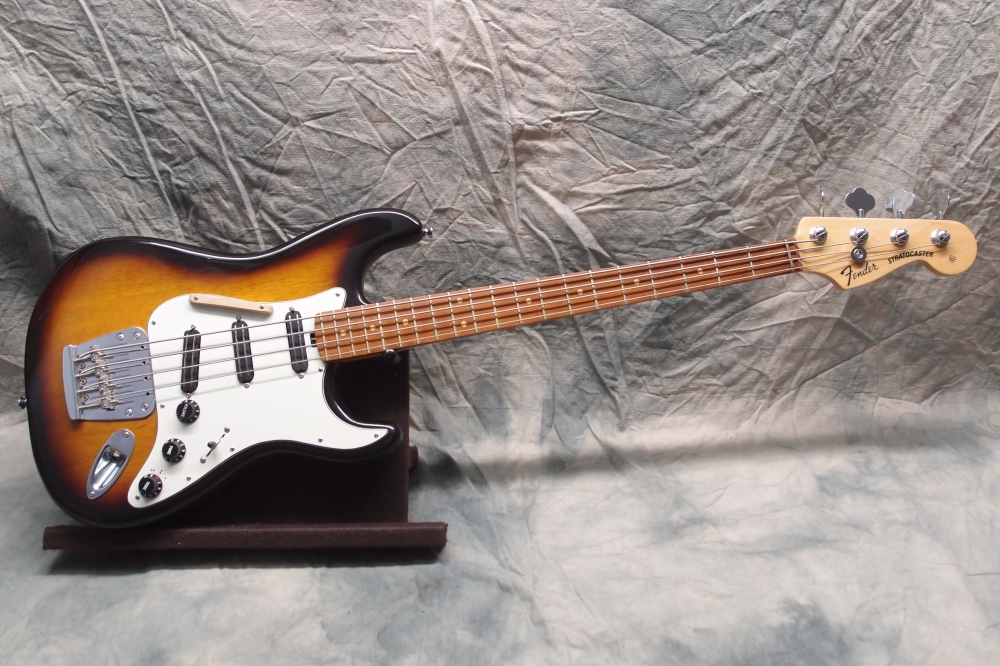
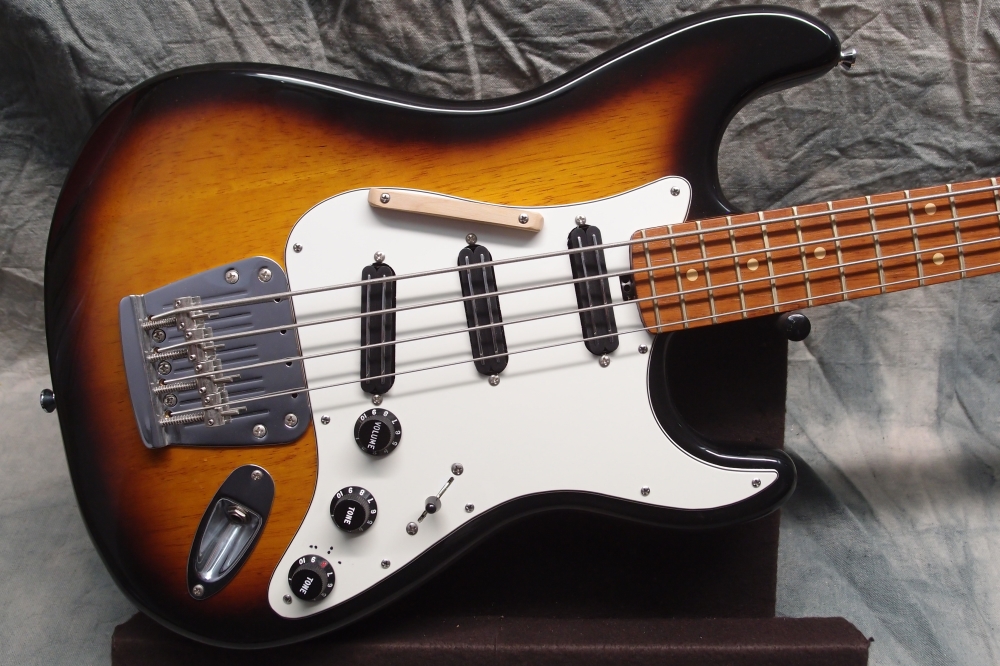
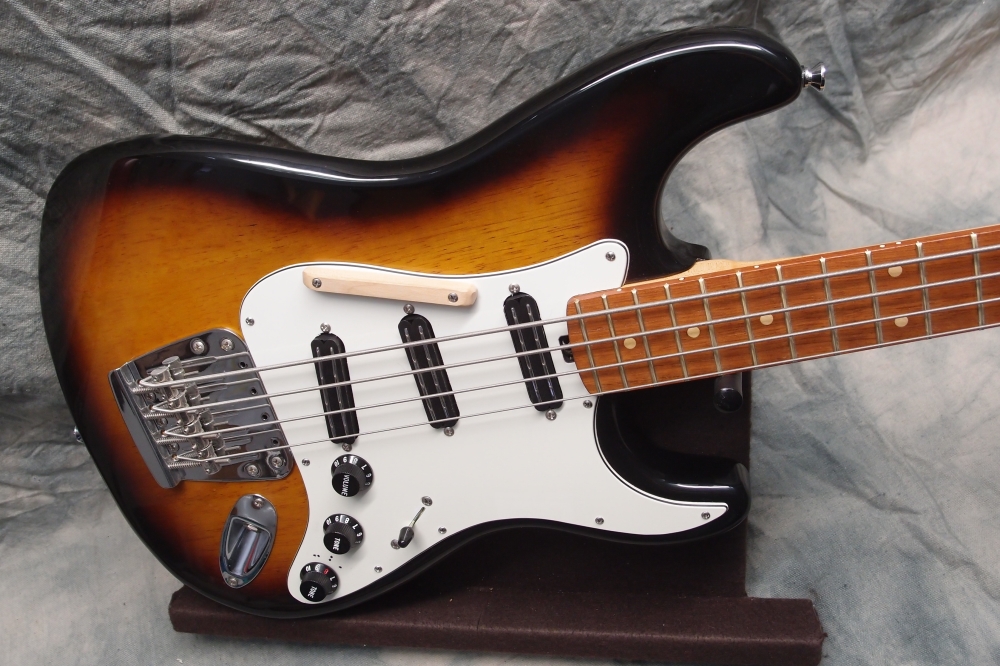
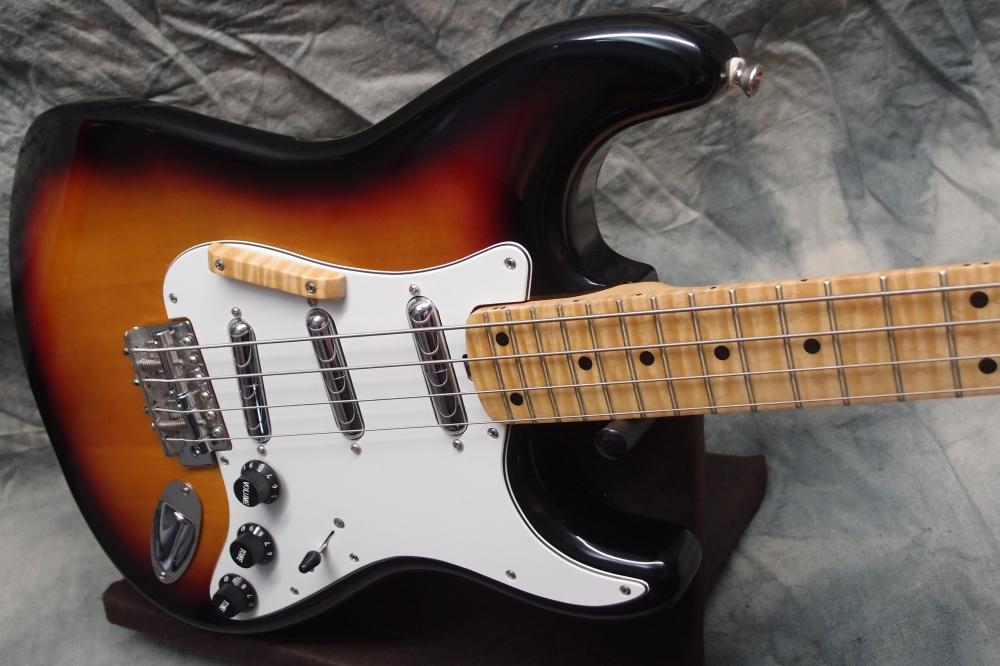
This Strat bass is another of my early projects, an evolution of the first one. It uses basically the same neck, but mounted in the stock guitar neck pocket. This moves the bridge position adjacent to the old tremolo hole, but the expansive Mustang bridge plate covers it nicely. The pickguard looks stock, but is actually custom-made to cover the six stock bridge screw holes. If you can't get a Mustang bridge ( and you can't any more, ) you could extend the pickguard to cover all the guitar holes, or use a stock pickguard and just make a small bridge-sized cover. Or just leave the tremolo hole and keep your stash in it.
More: Stratocaster Bass 2 ...
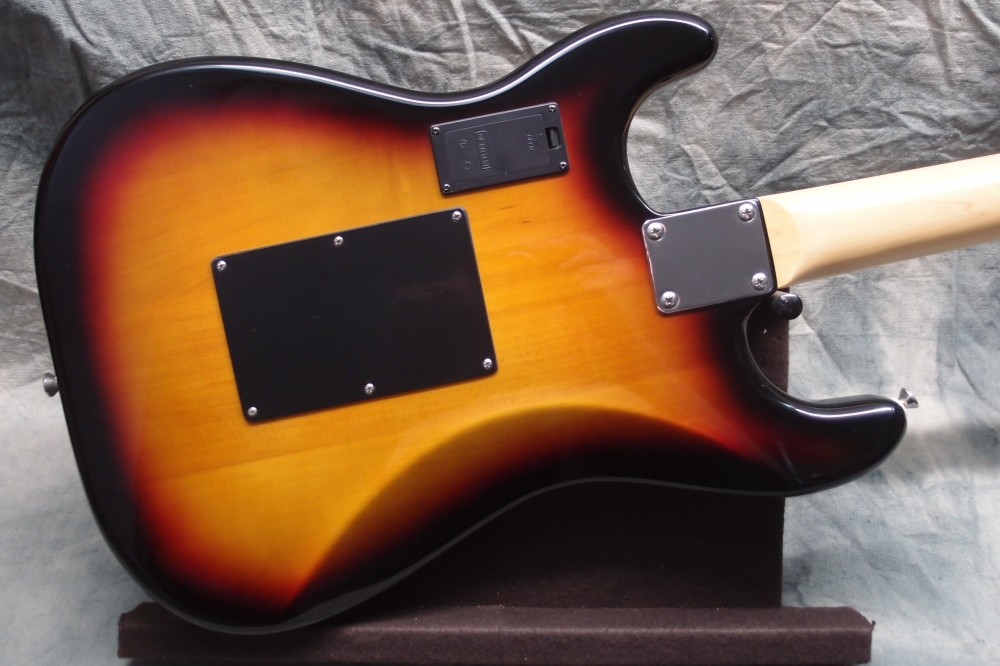
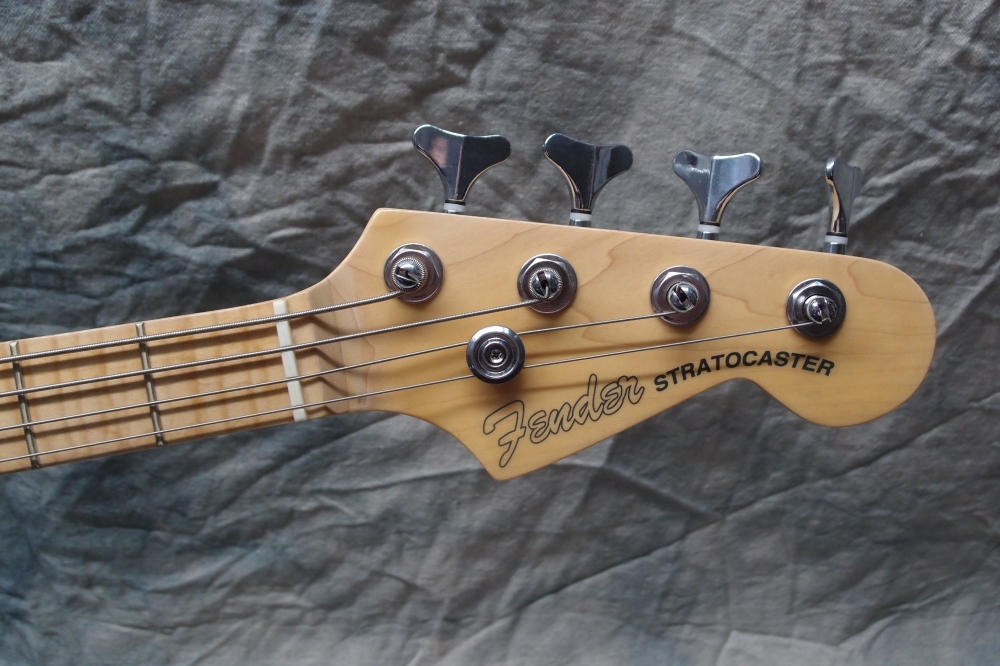
Uses the bottom four strings of a Bass VI set to get a low enough total string tension for the Strat tremolo to work.
More: Stratocaster Bass IV ...


