Sometimes the only way to get what you want is to build it yourself.
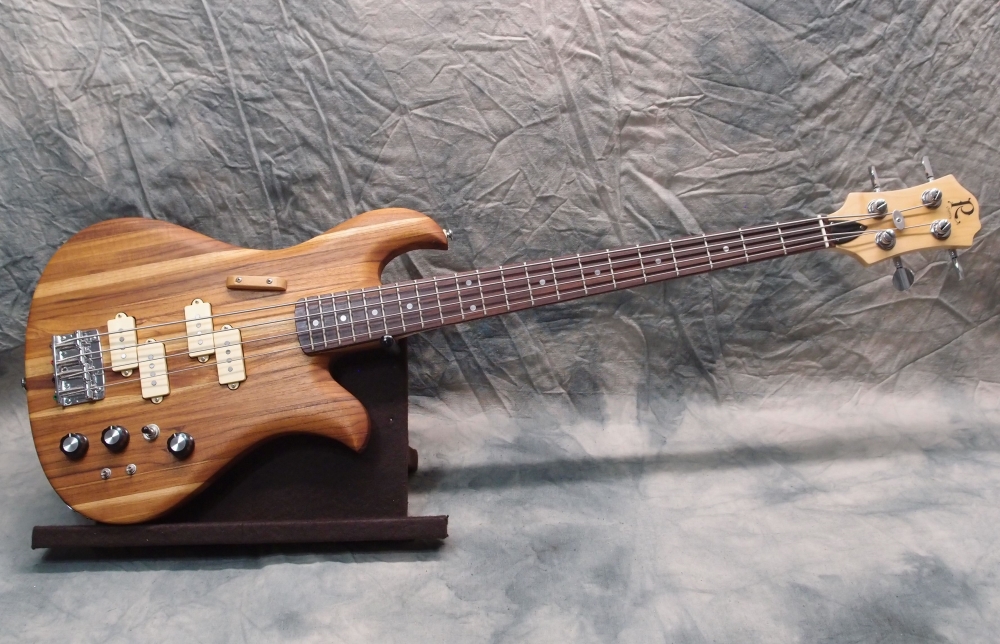
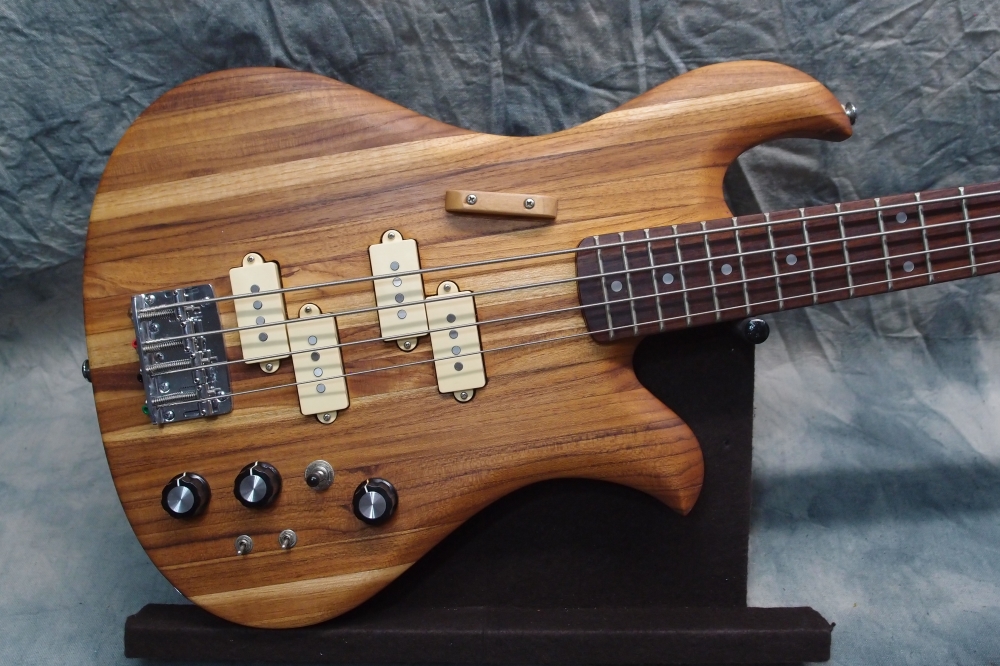
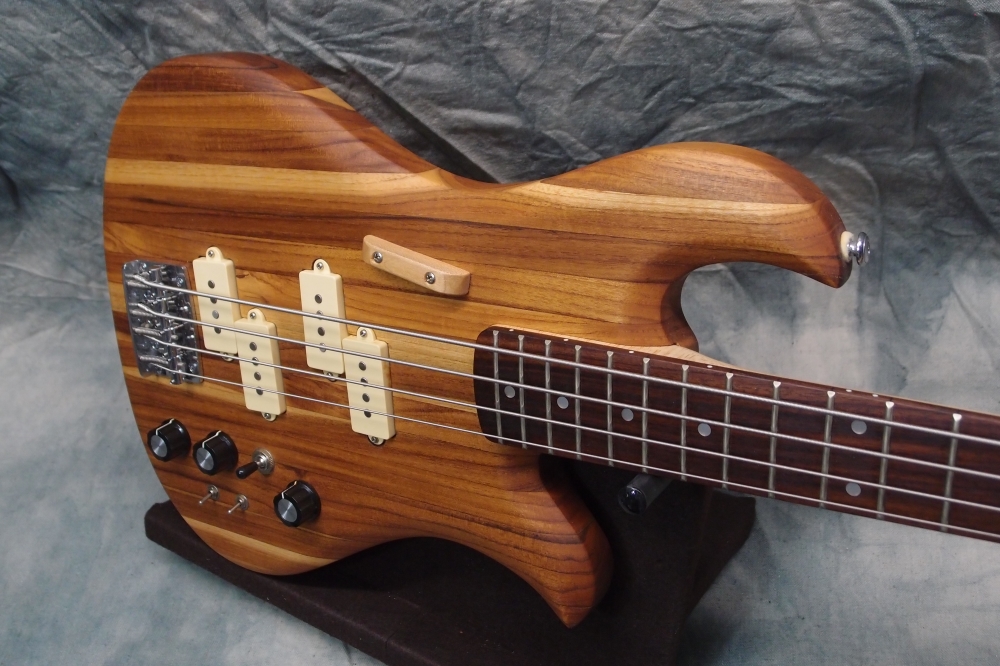
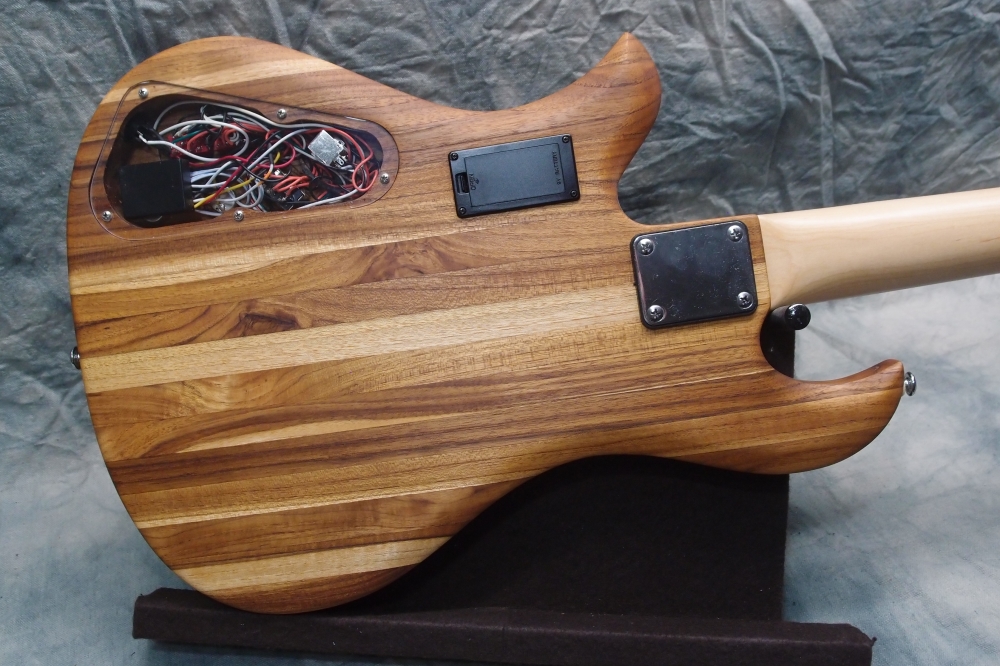
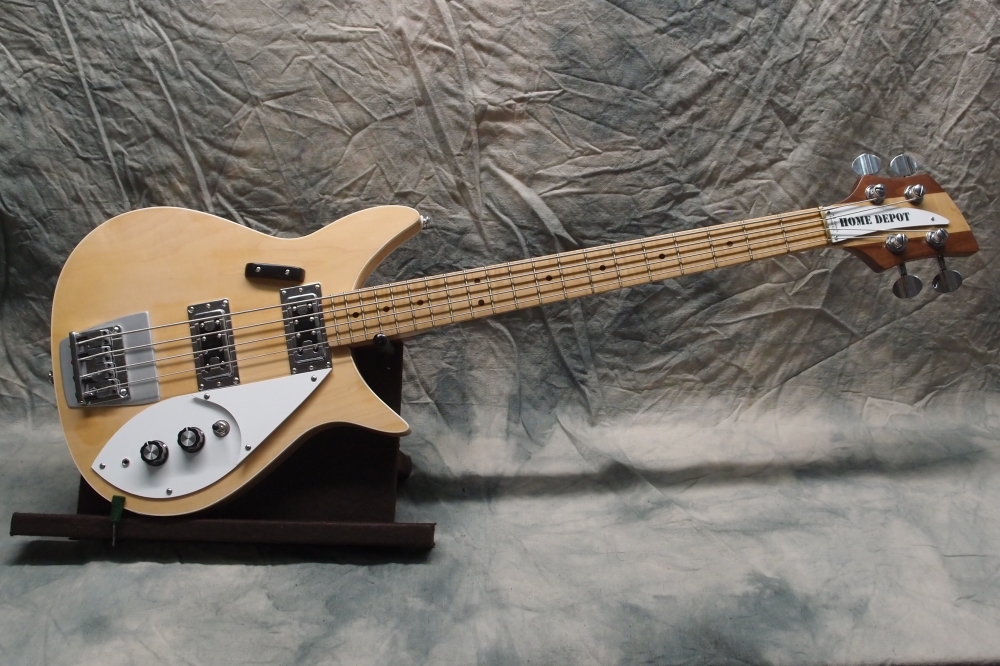
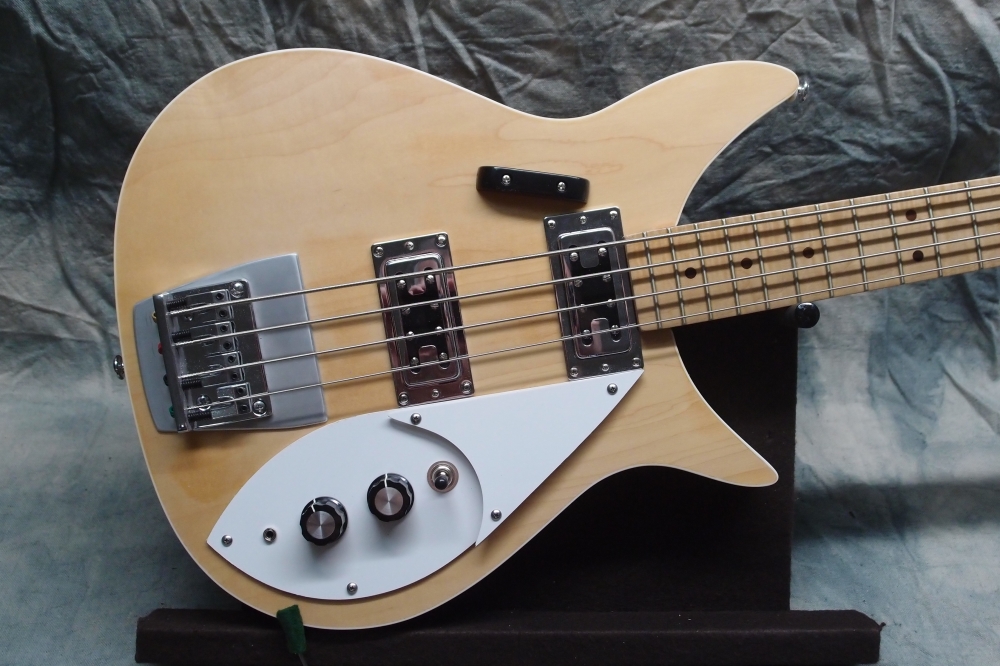
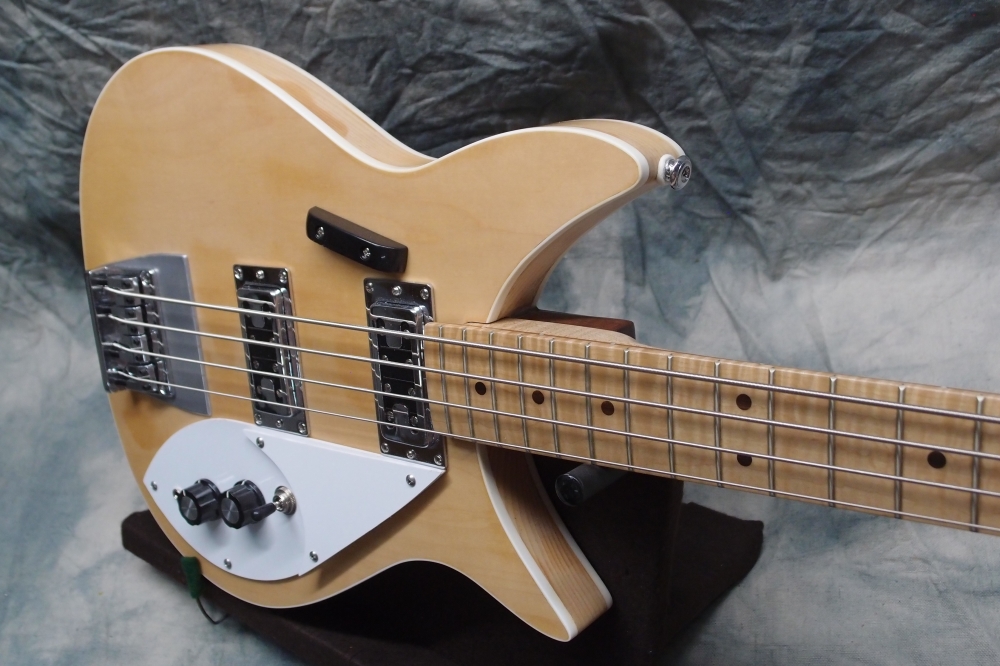
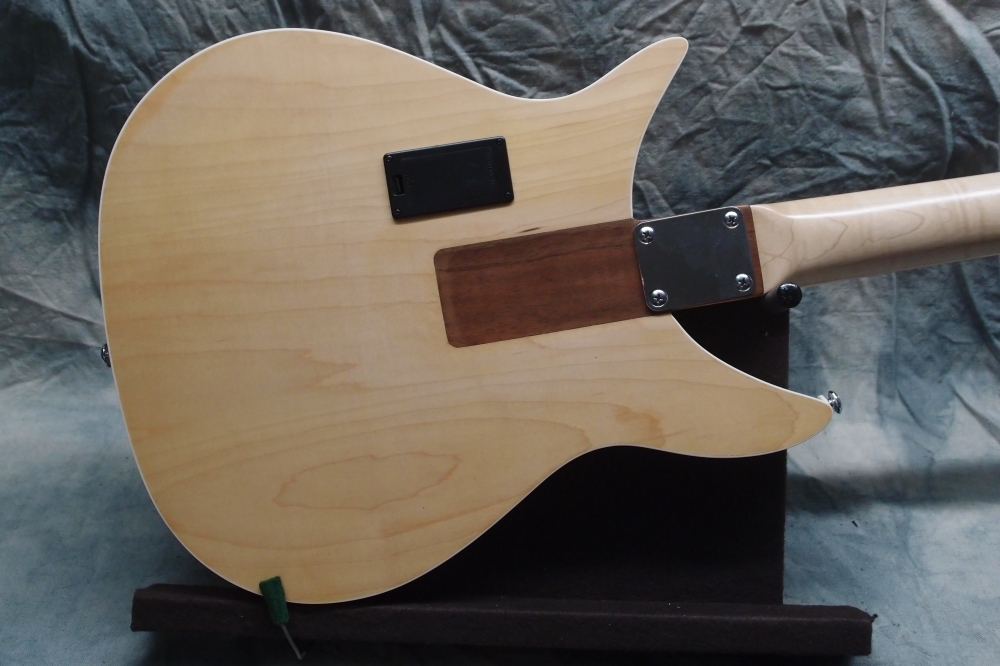
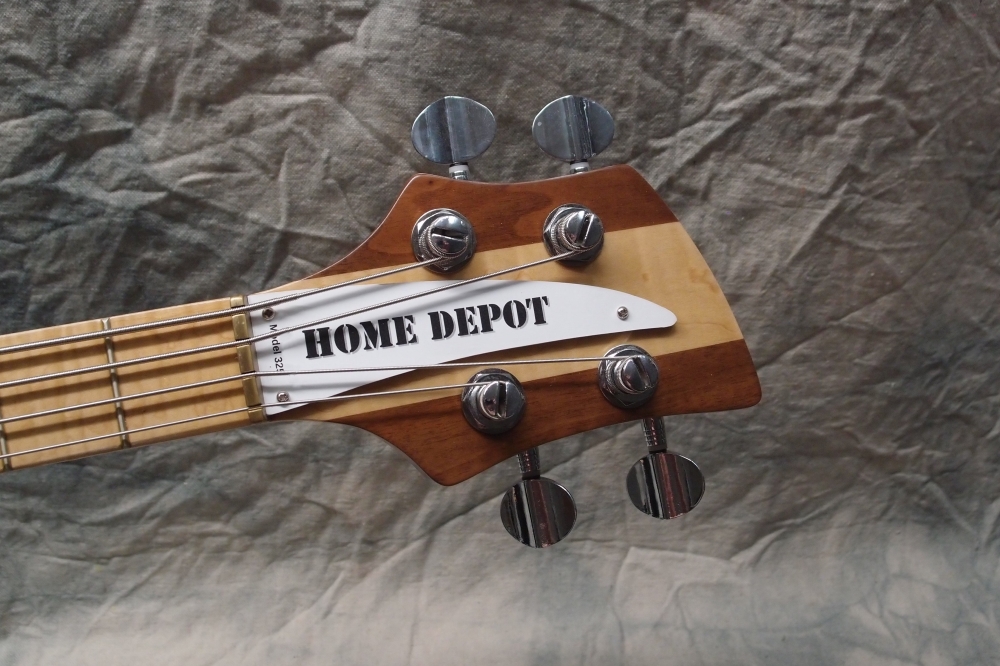
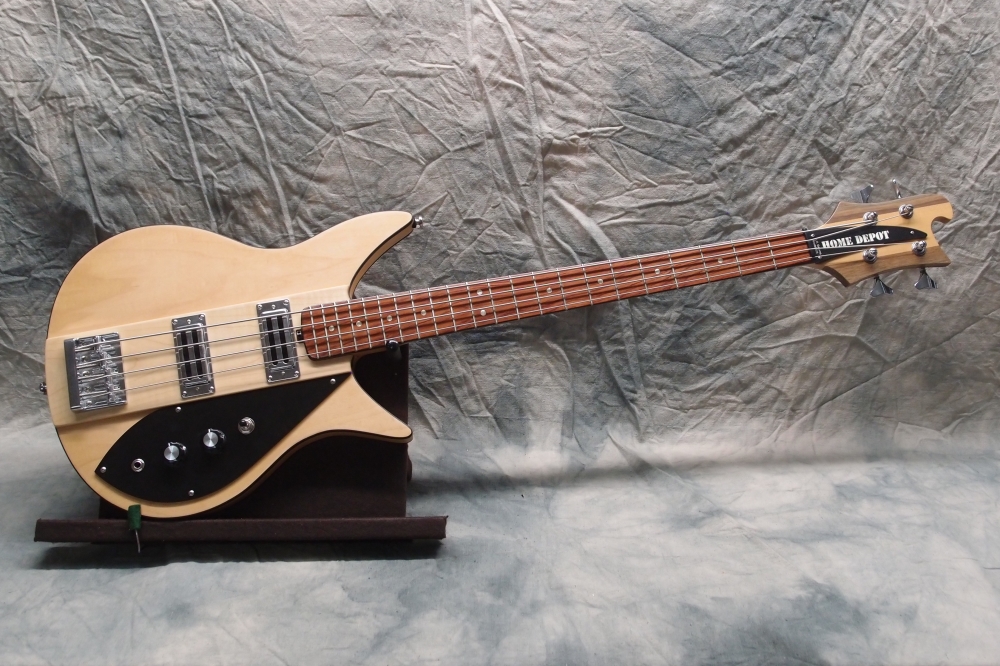
This beautiful instrument was built from a teak cutting board that I got for free from Home Depot for review. 32" Eden neck, active electronics. Teak is hard enough for a simple oiled finish. This one was built with a minimum of tools, mostly by hand, to show that it can be done and how.
More: Osprey Bass (BC Rich Eagle) ...
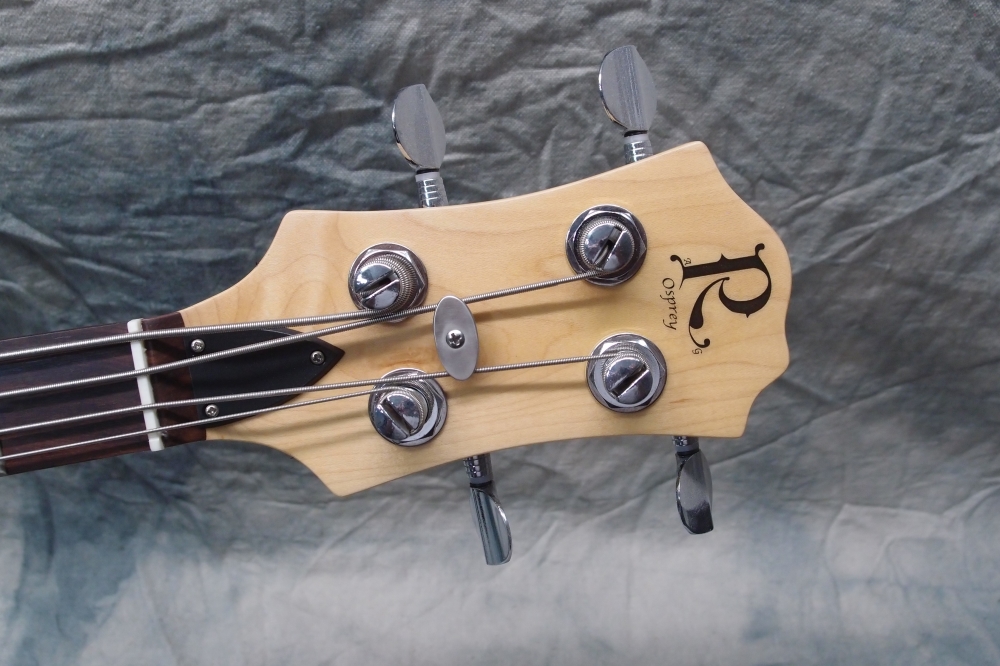
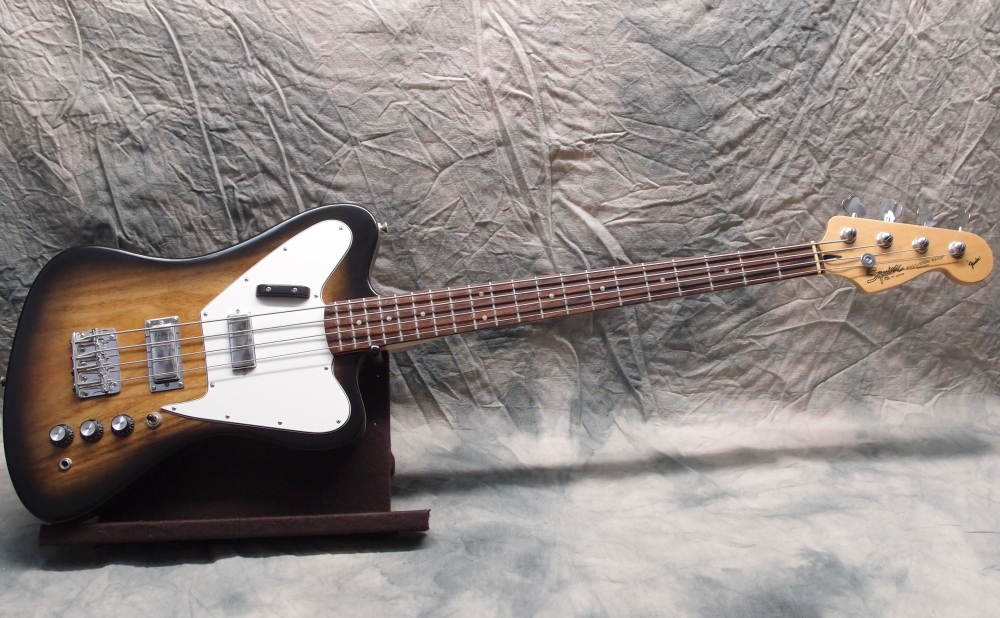
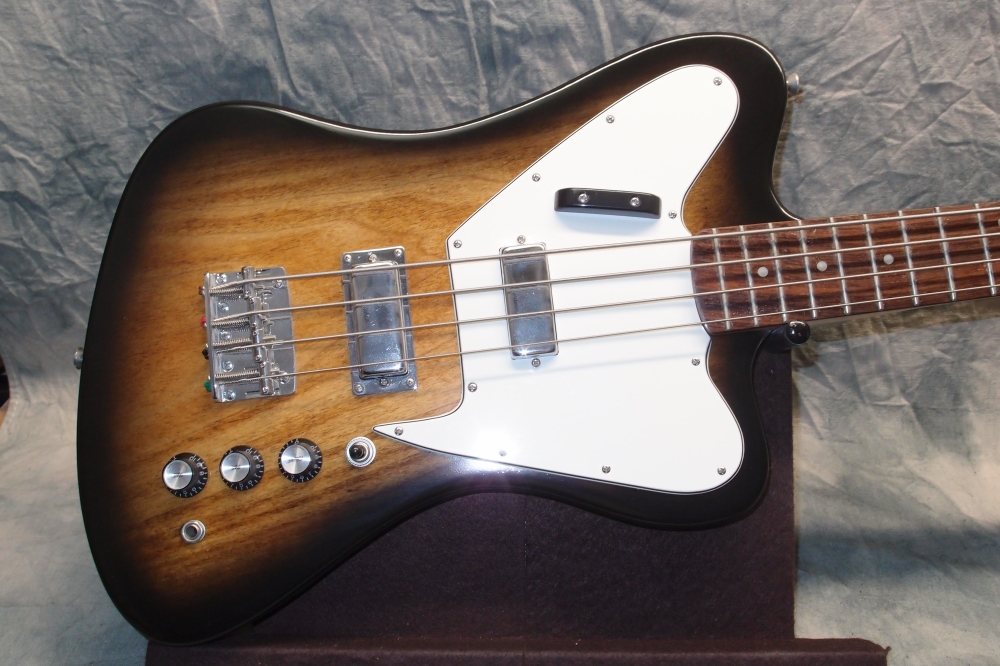
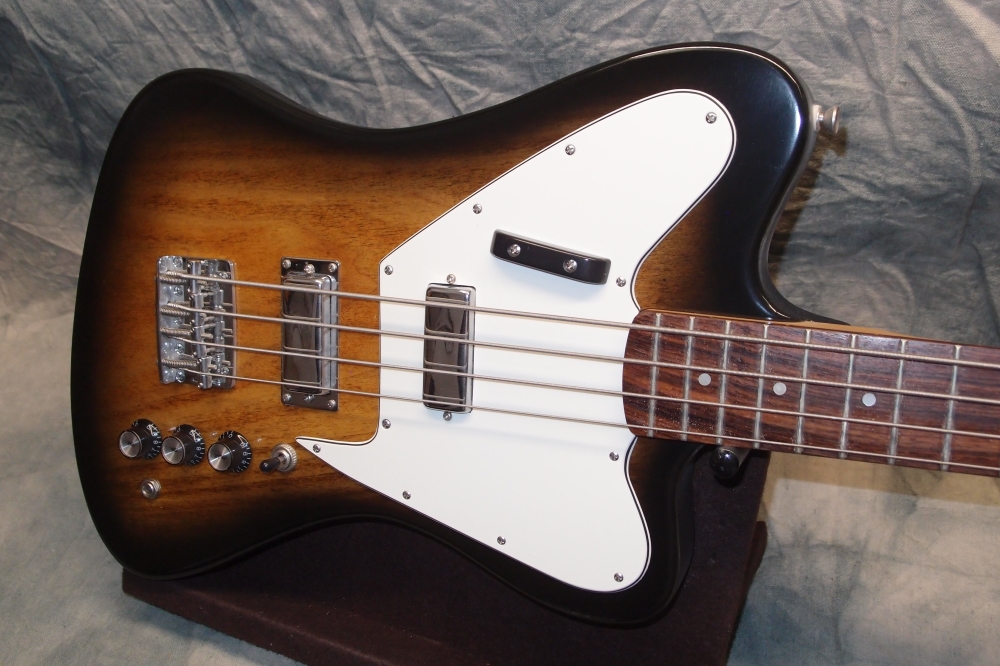
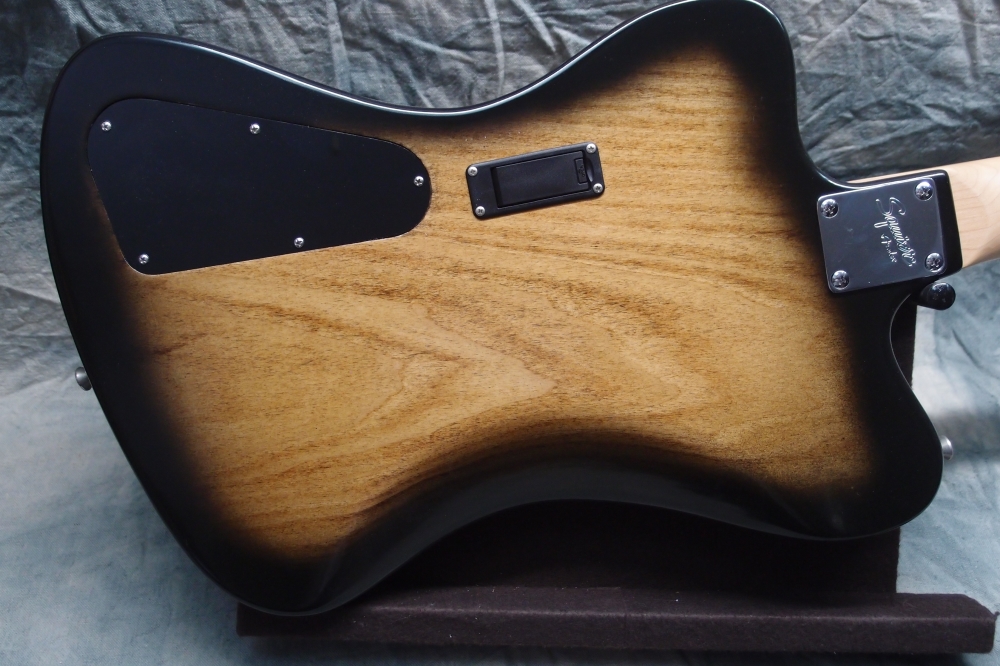
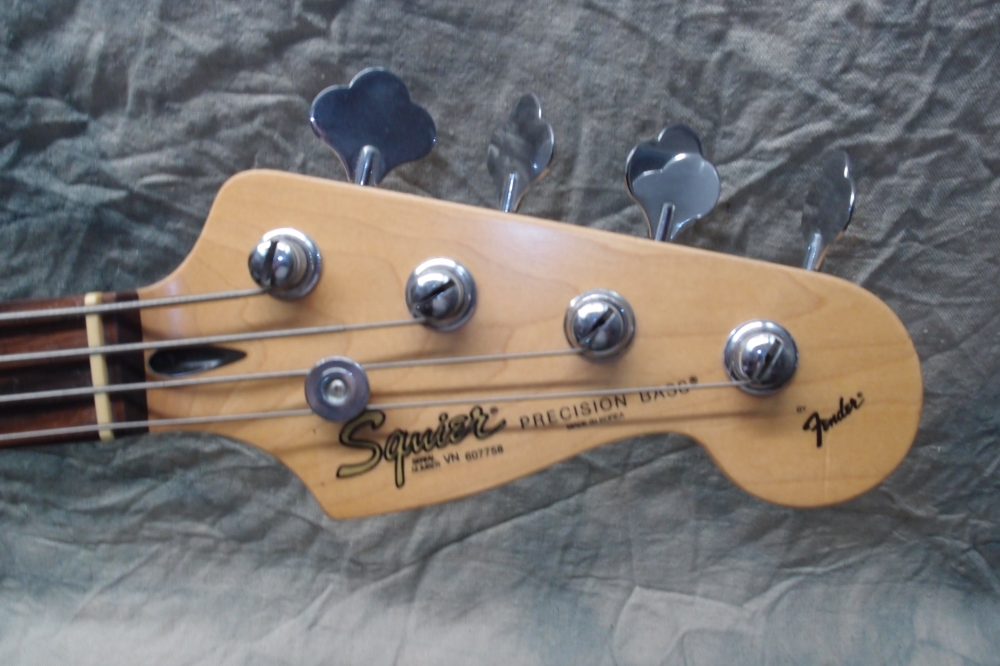
Solid poplar body, lightly stained and finished in polyurethane. Korean Squire neck, active electronics. Is it a reverse, or a non-reverse? Since this is a reverse of the original Thunderbird body ( more-or-less ) I say it is a reverse. If this is a non-reverse, then the original would have to be the reverse. Reverse of what? Makes no sense.
More: Reverse Fenderbird ...
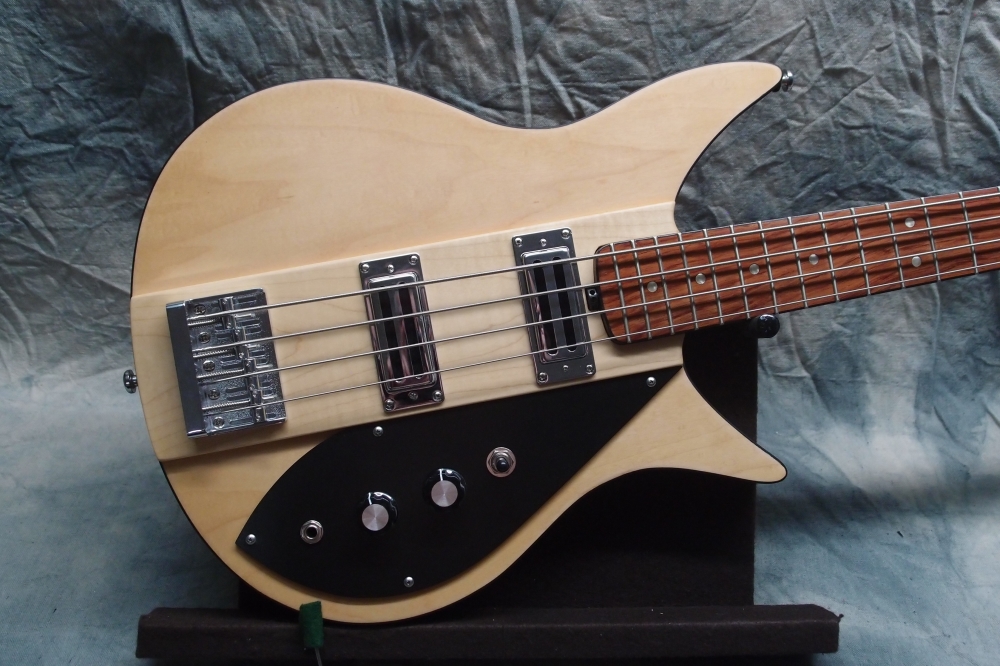
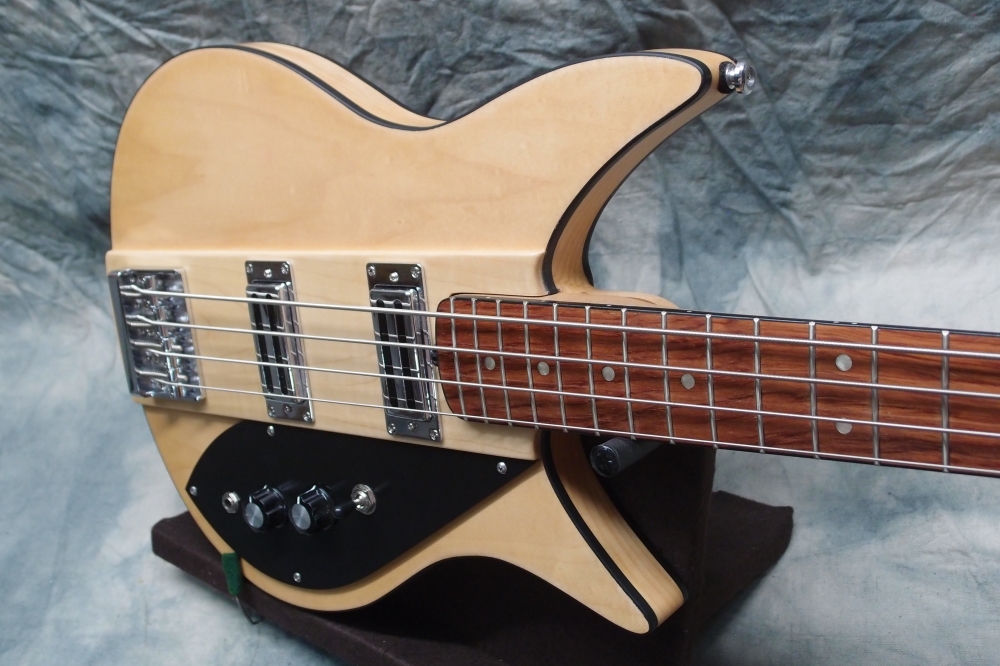
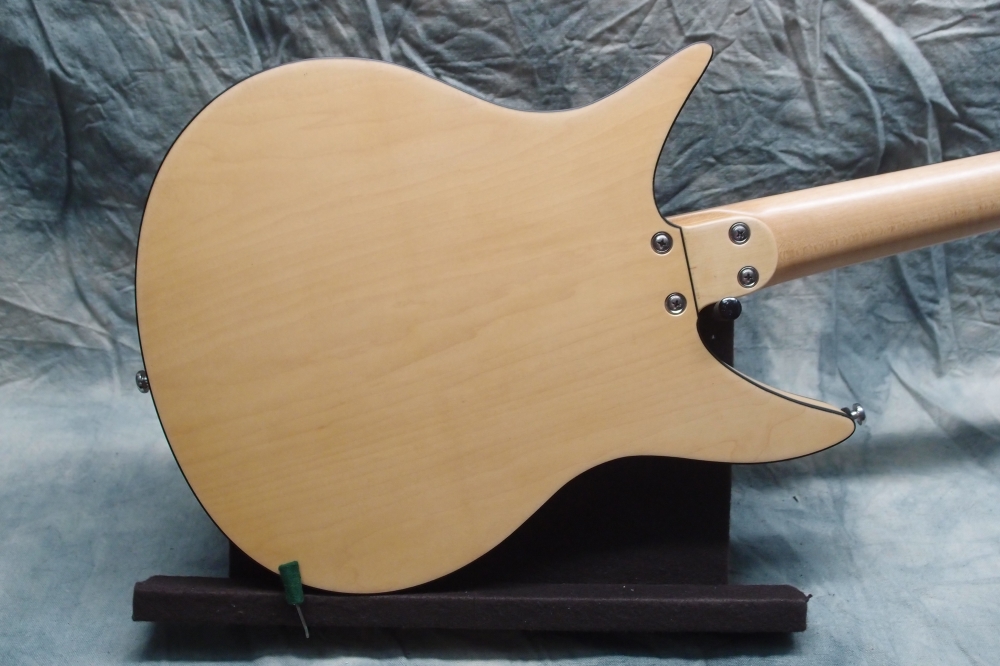
These were my first two tries at a 325 bass. Both are plywood over pine hollow-bodies. The one on the left - #1 - used an experimental neck mounting that I didn't like. The one on the right - #2 - suffered a router mishap. I took all the good parts and built the solid-body, and both of these spent years on the scrap heap.
More: Rickenbacker 325 Bass 1 ...
These were my first two tries at a 325 bass. Both are plywood over pine hollow-bodies. The one on the left - #1 - used an experimental neck mounting that I didn't like. The one on the right - #2 - suffered a router mishap. I took all the good parts and built the solid-body, and both of these bodies spent years on the scrap heap.
More: Rickenbacker 325 Bass 2 ...
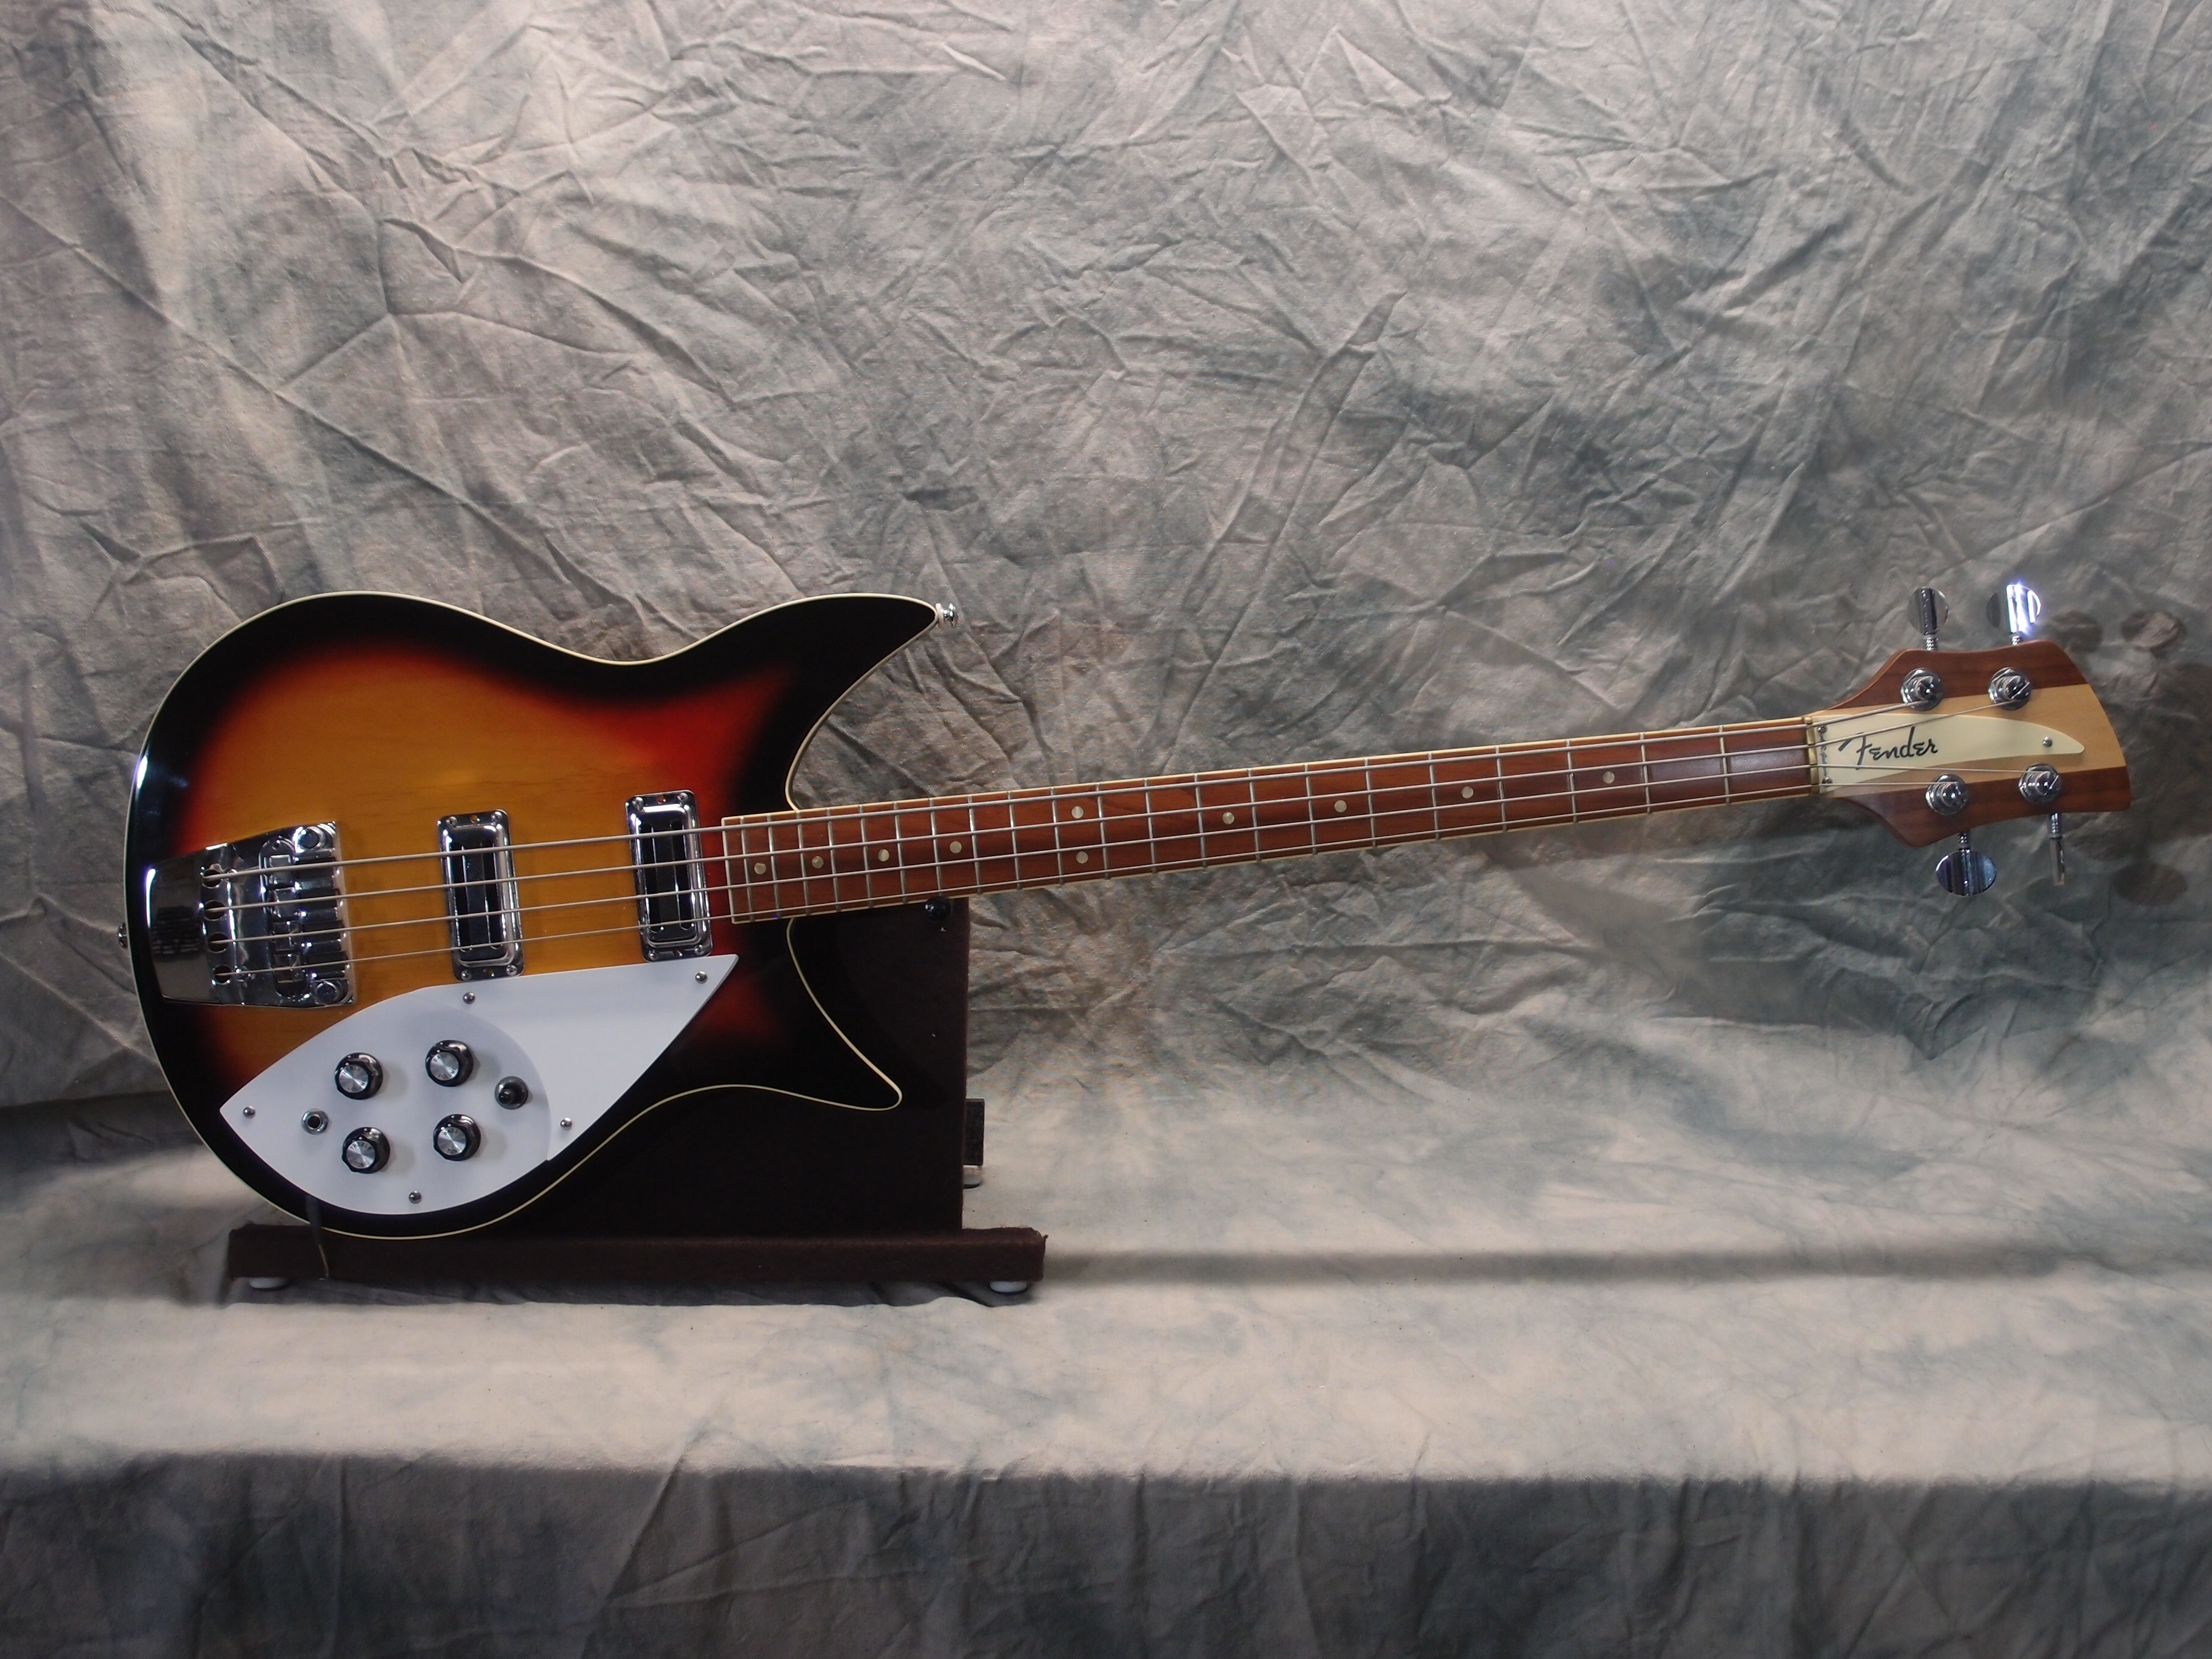
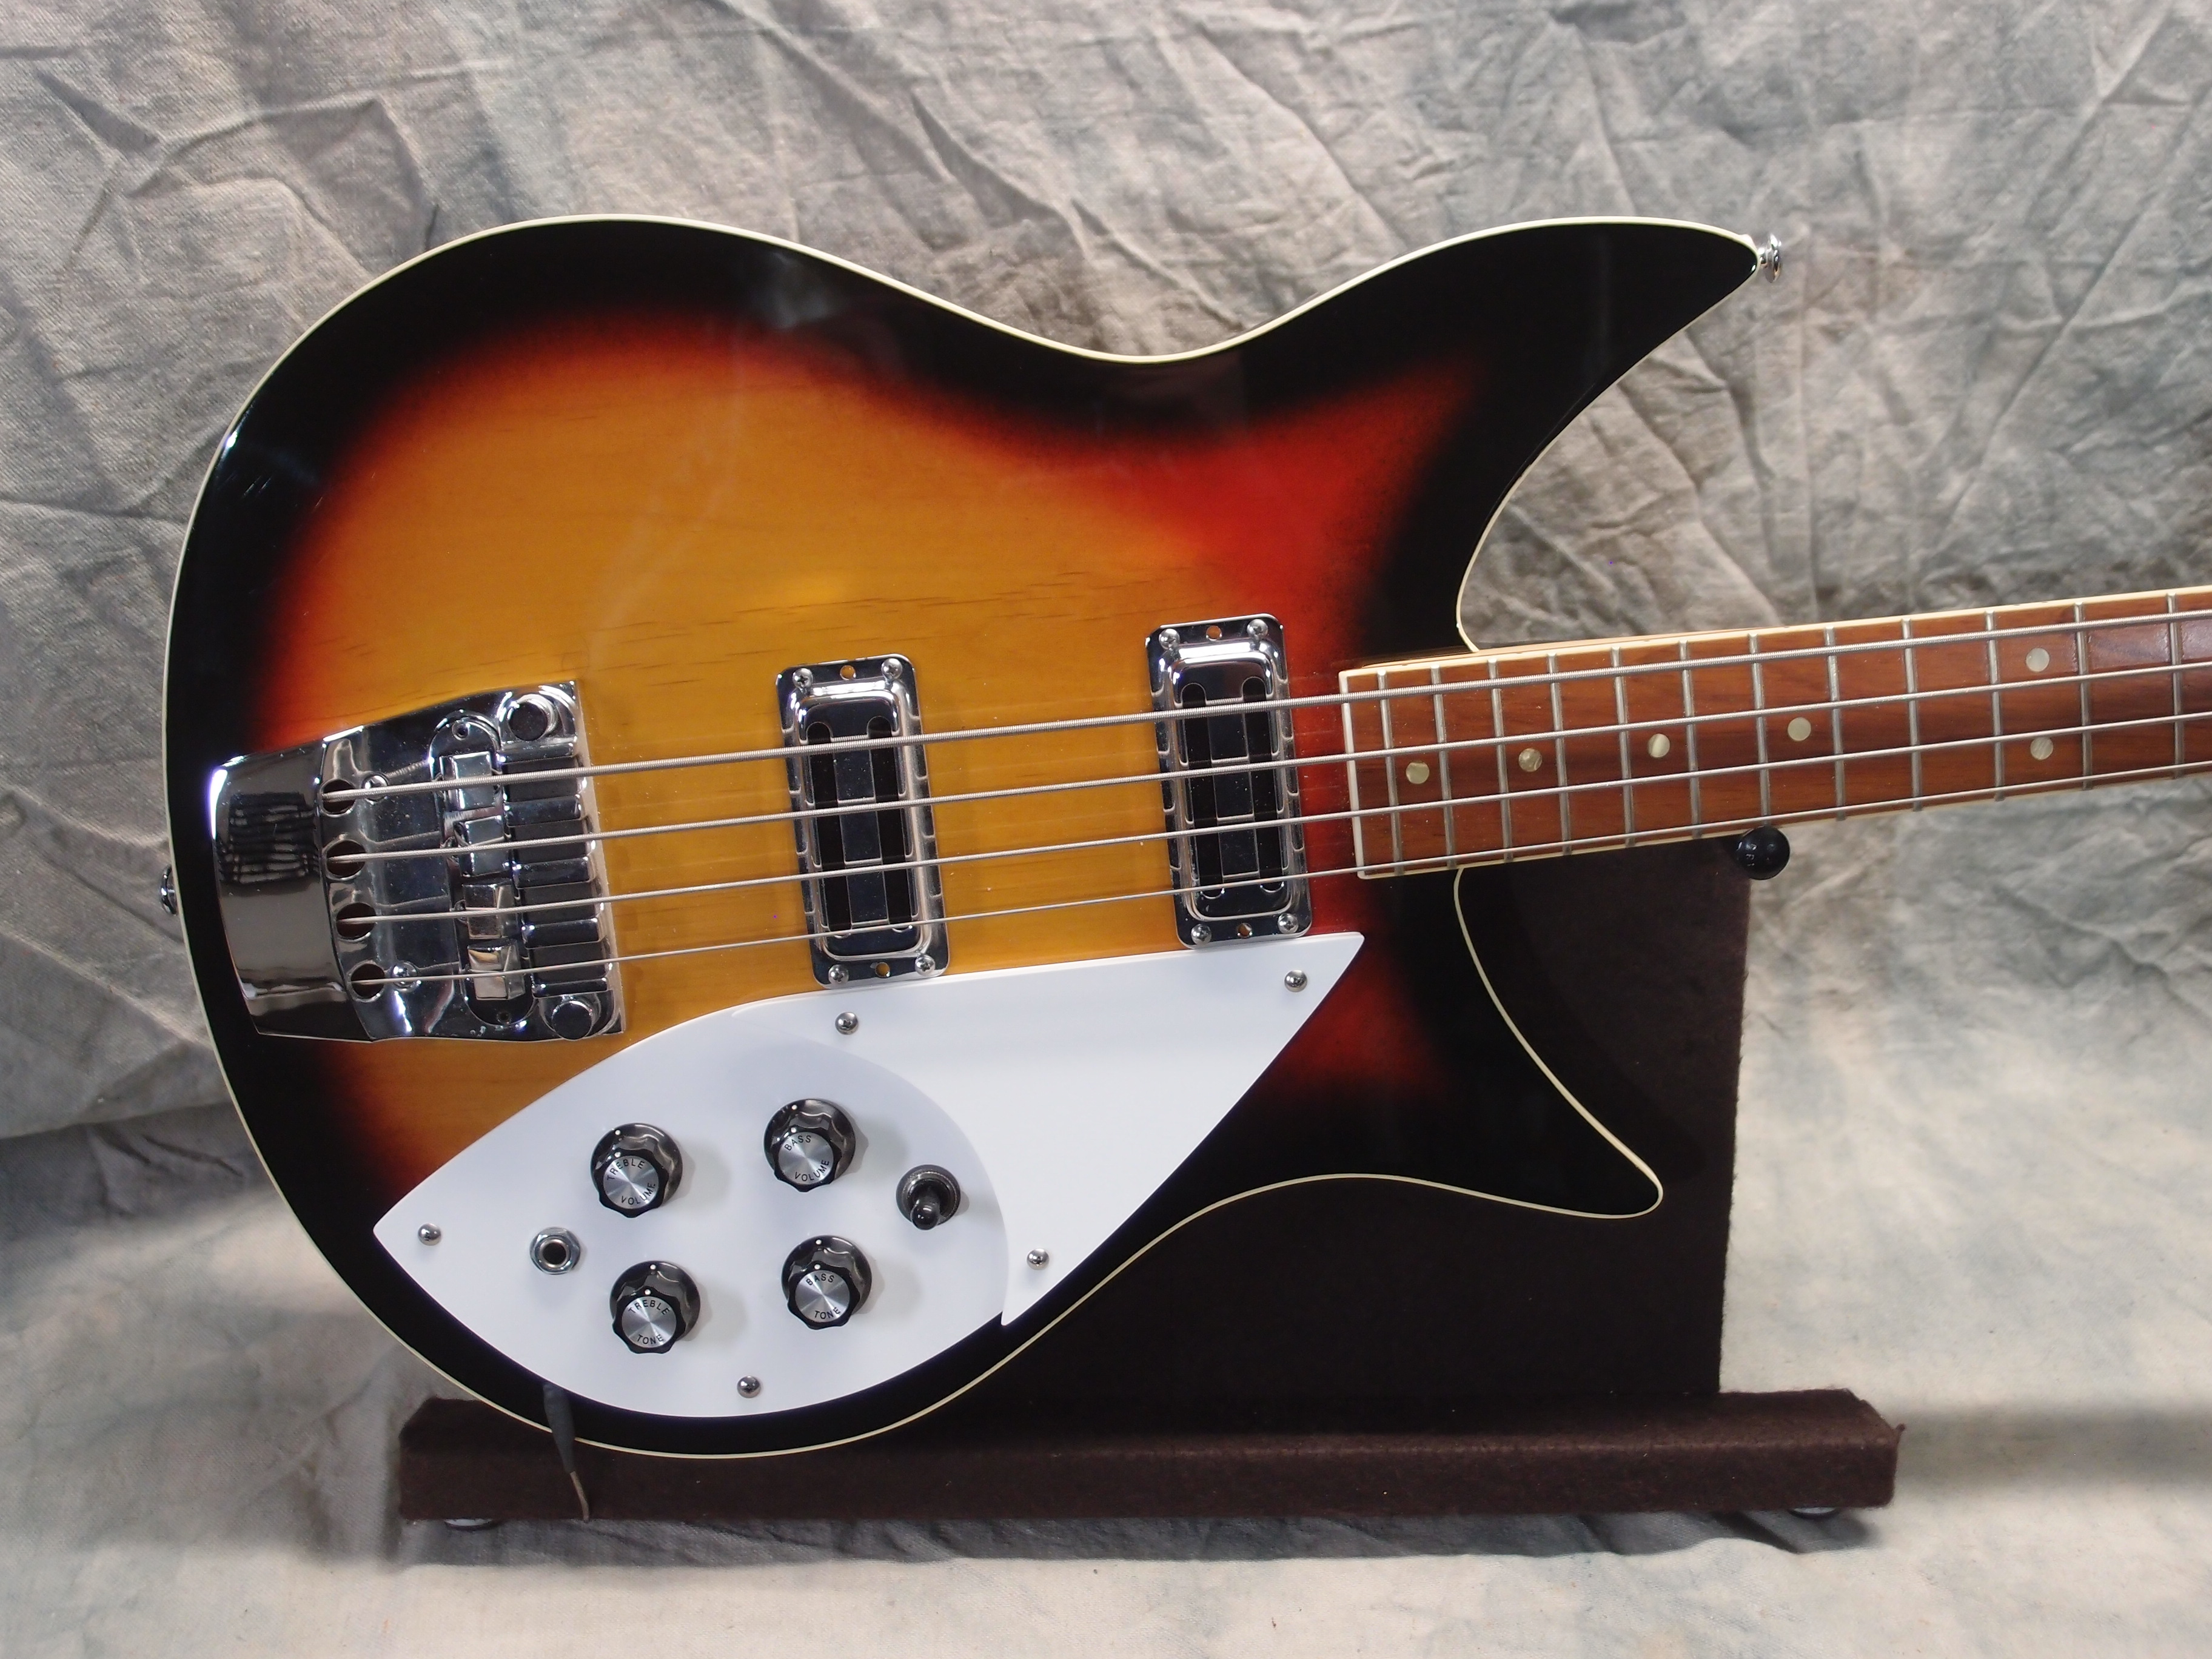
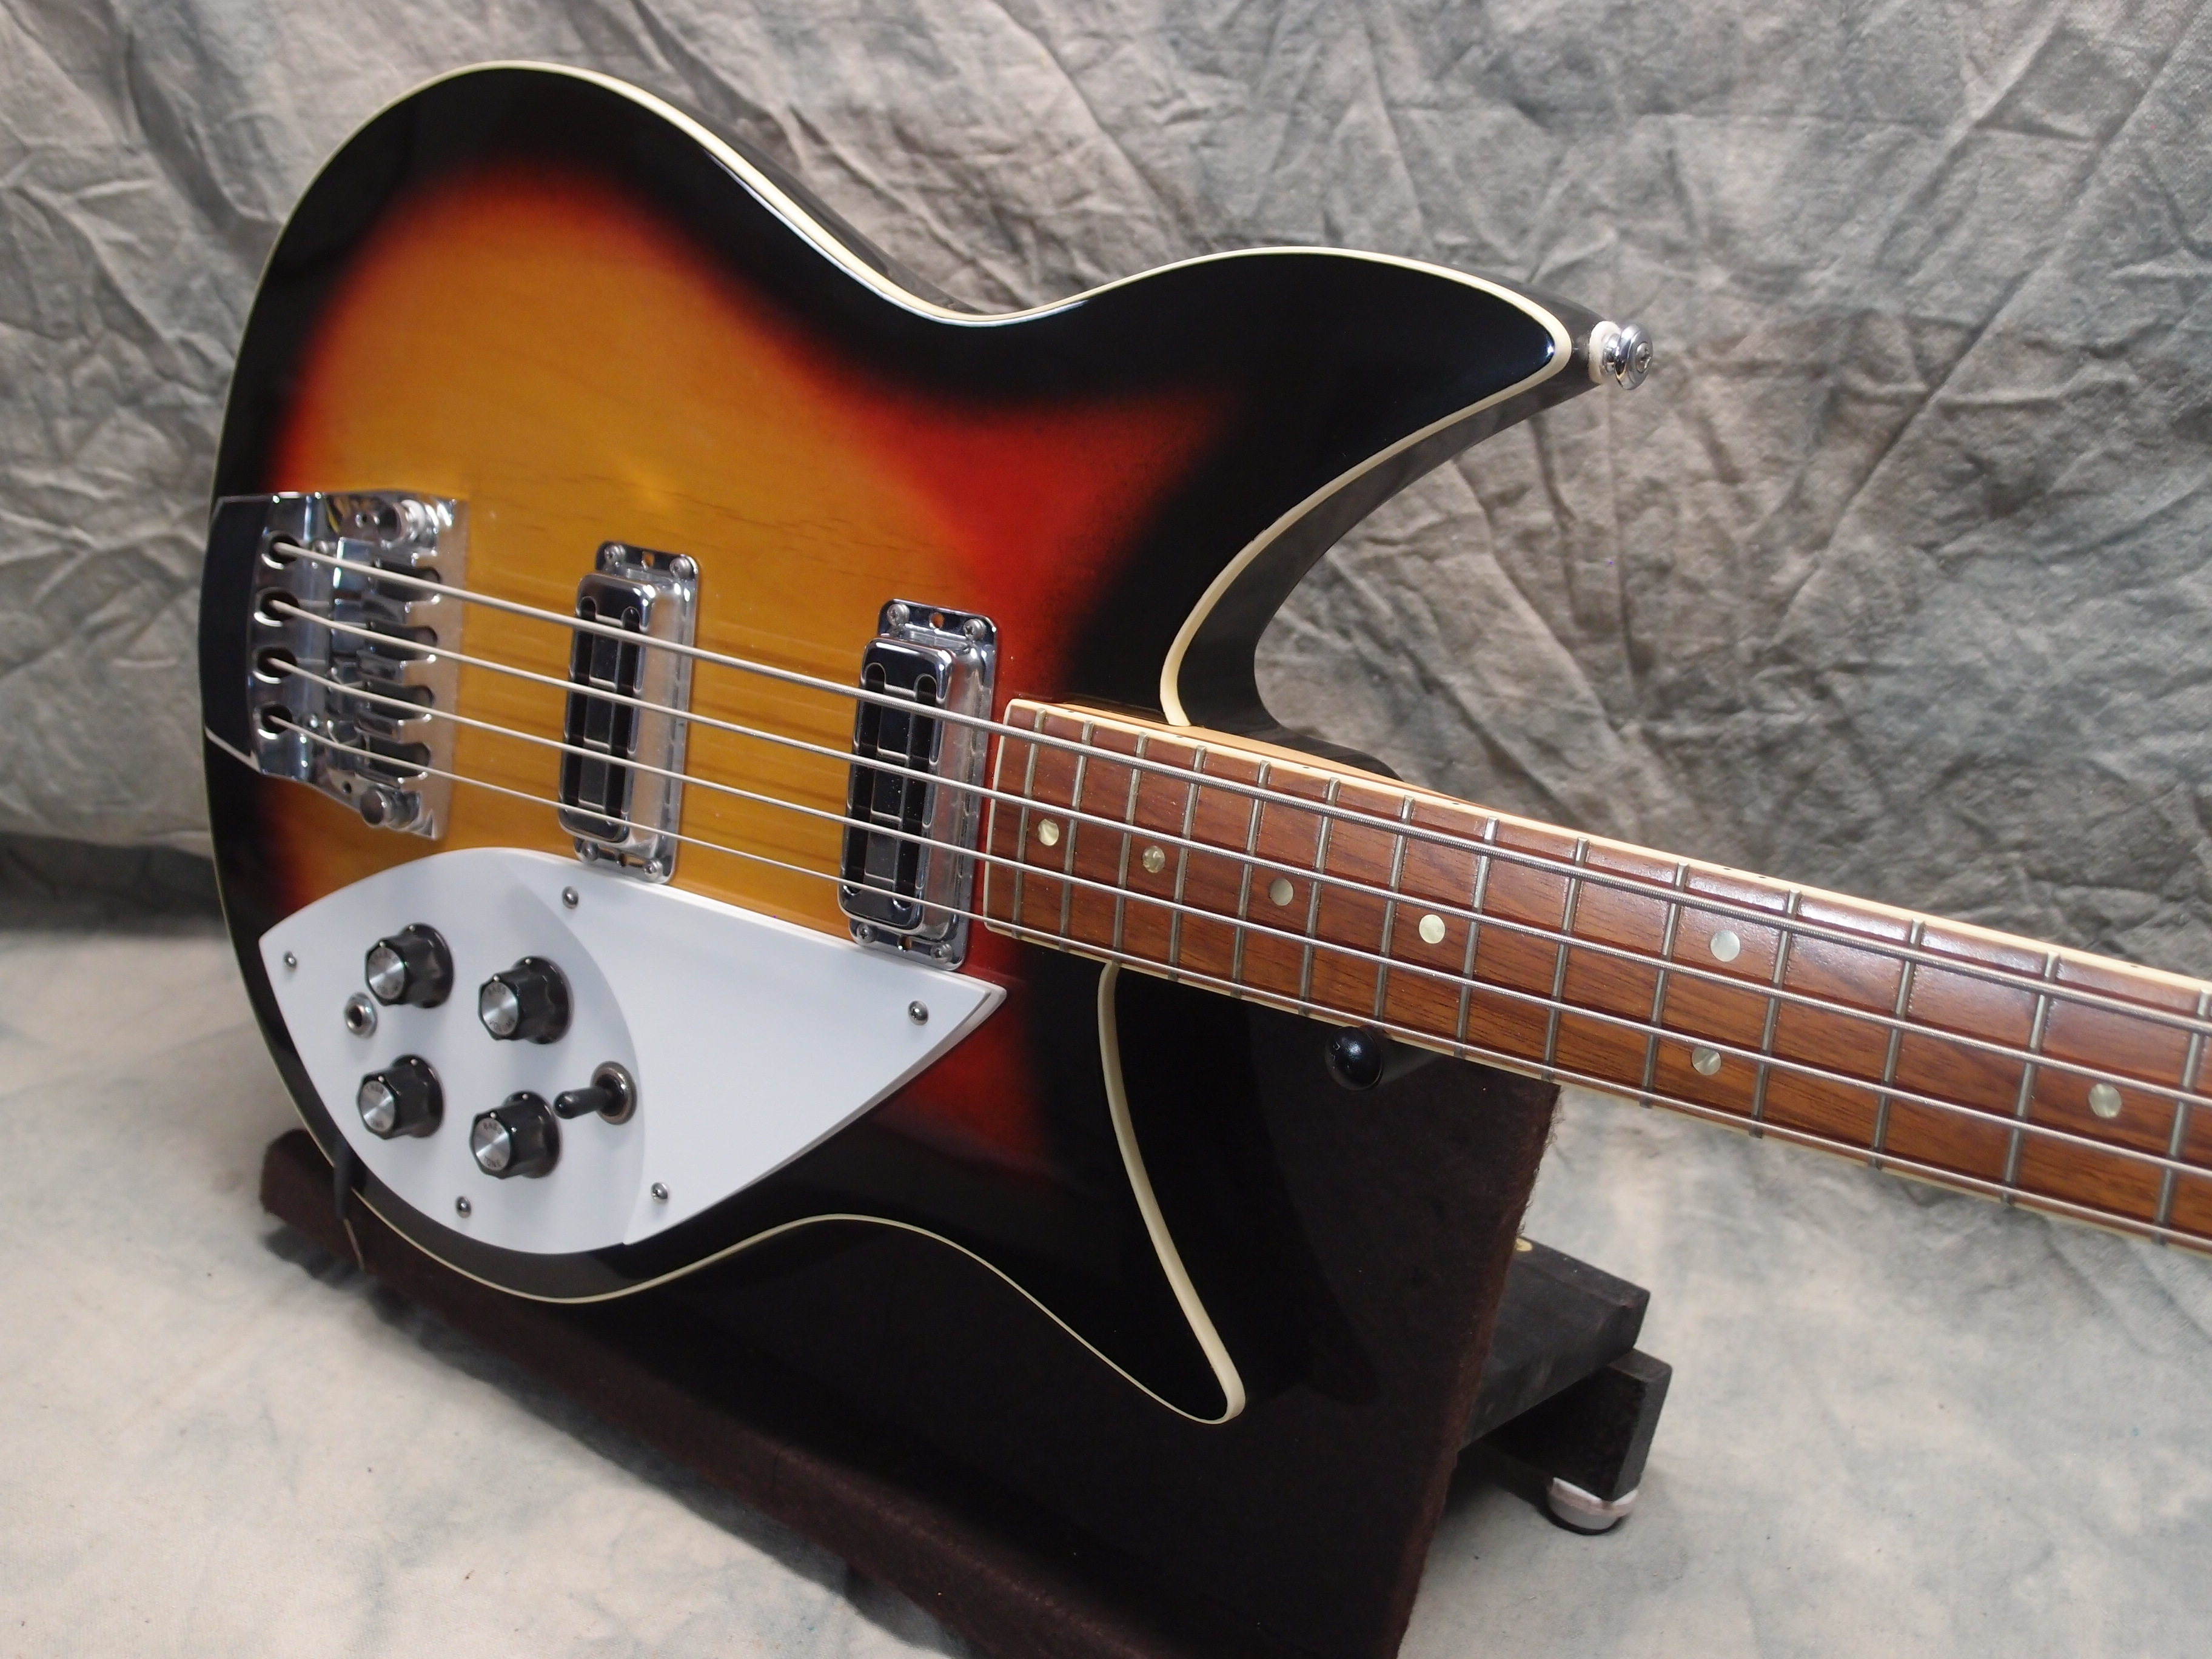
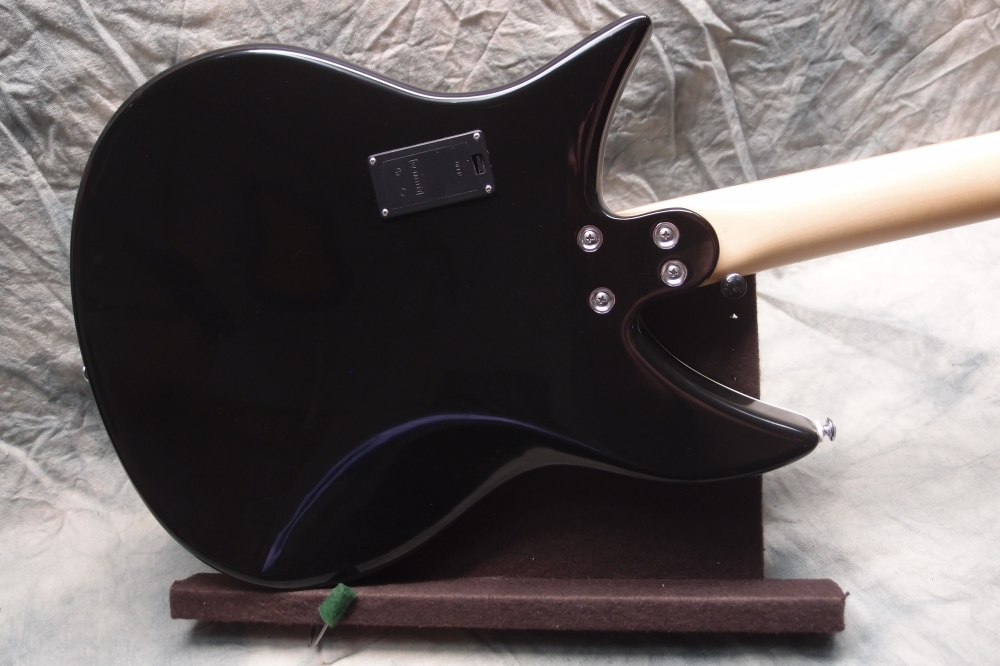
This was my third go at a 325 bass. The first one was unbalanced with this long neck, and the second suffered a router mishap. Eventually, I salvaged both of those, but first I took all the good parts and did this. Fender-type alder body with 3-tone sunburst, single binding. Surface-mounted pickups, active electronics. Finished entirely in polyurethane.
More: Rickenbacker 325 Bass 3 ...
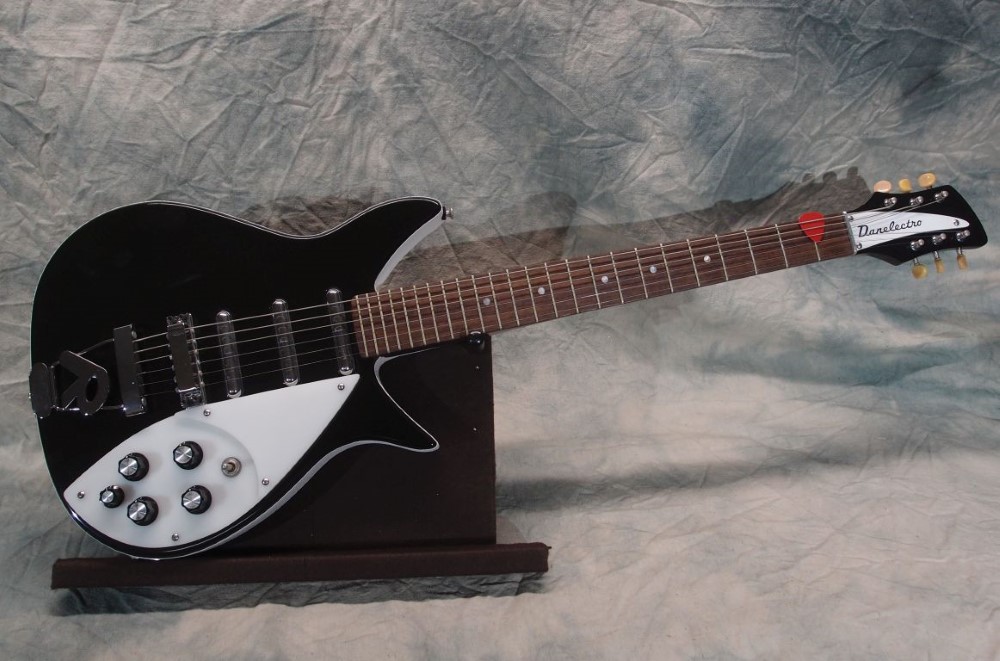
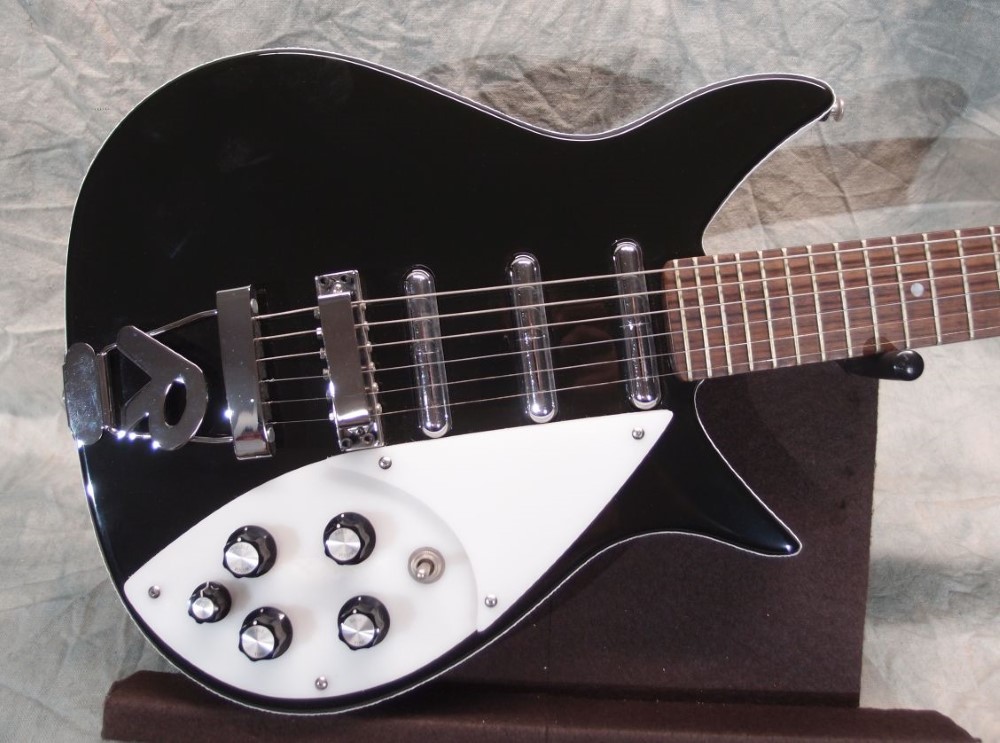
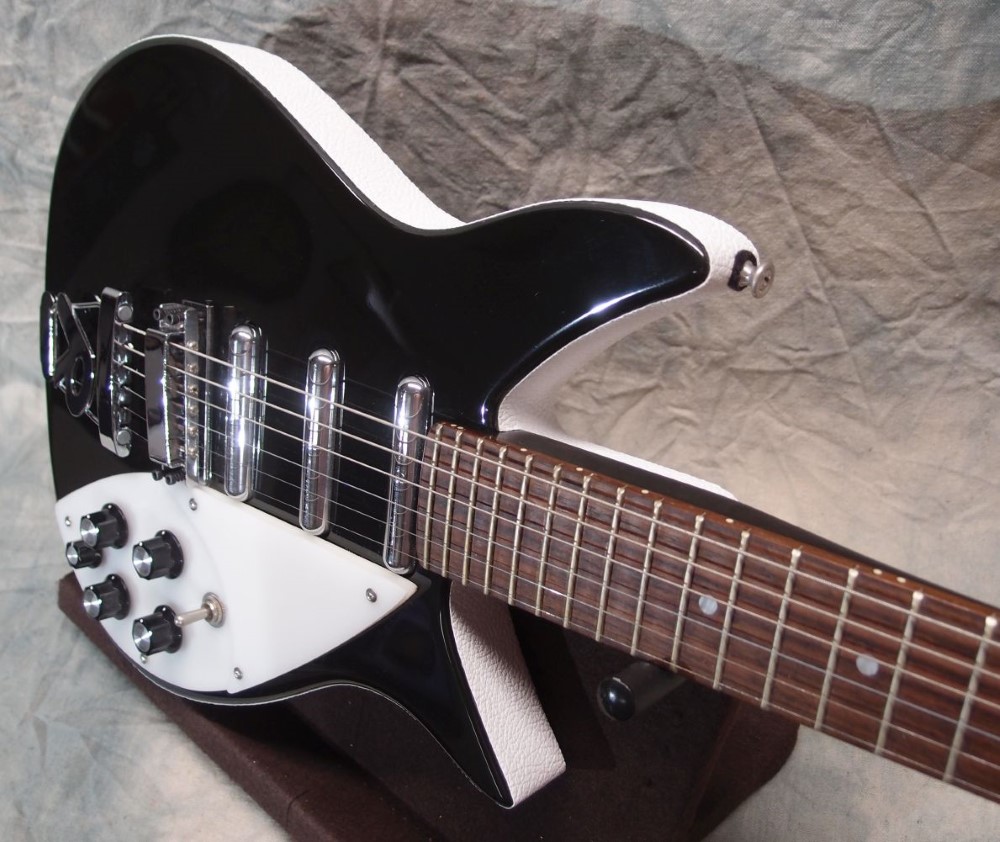
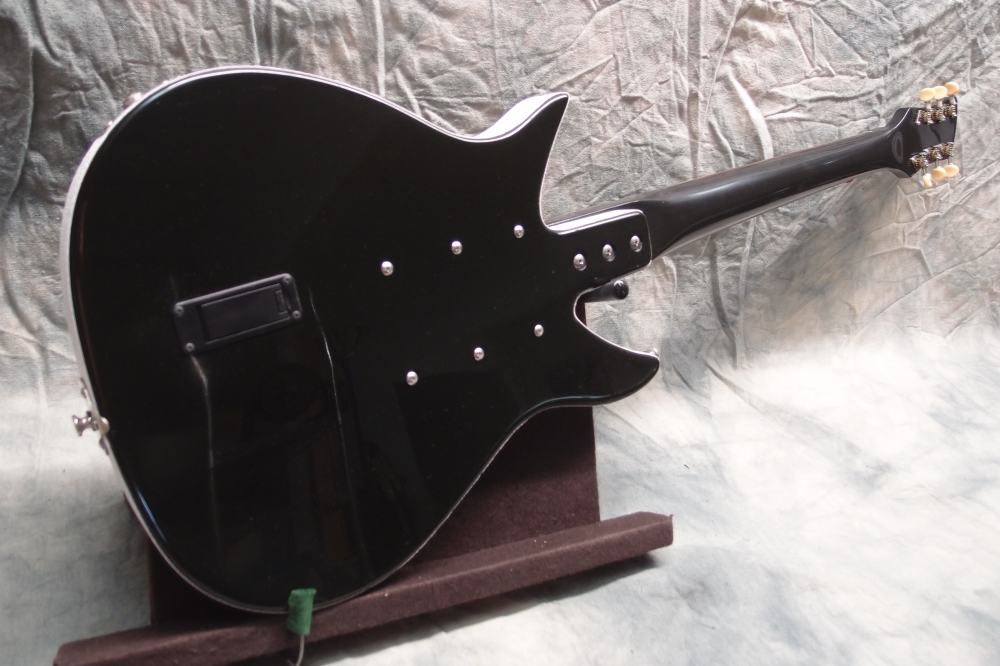
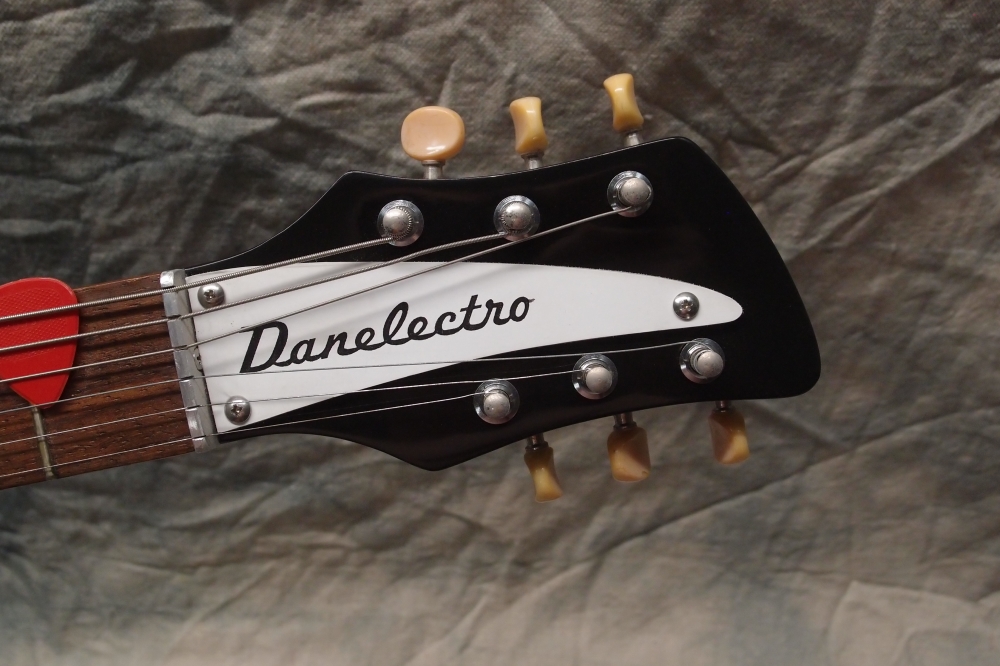
A faithful reproduction of John Lennon's Rickenbacker, but built as a Danelectro. Masonite over hollow plywood body. Poplar neck. Passive electronics with active distortion on the fifth knob.
More: Rickenbacker 325 Guitar ...
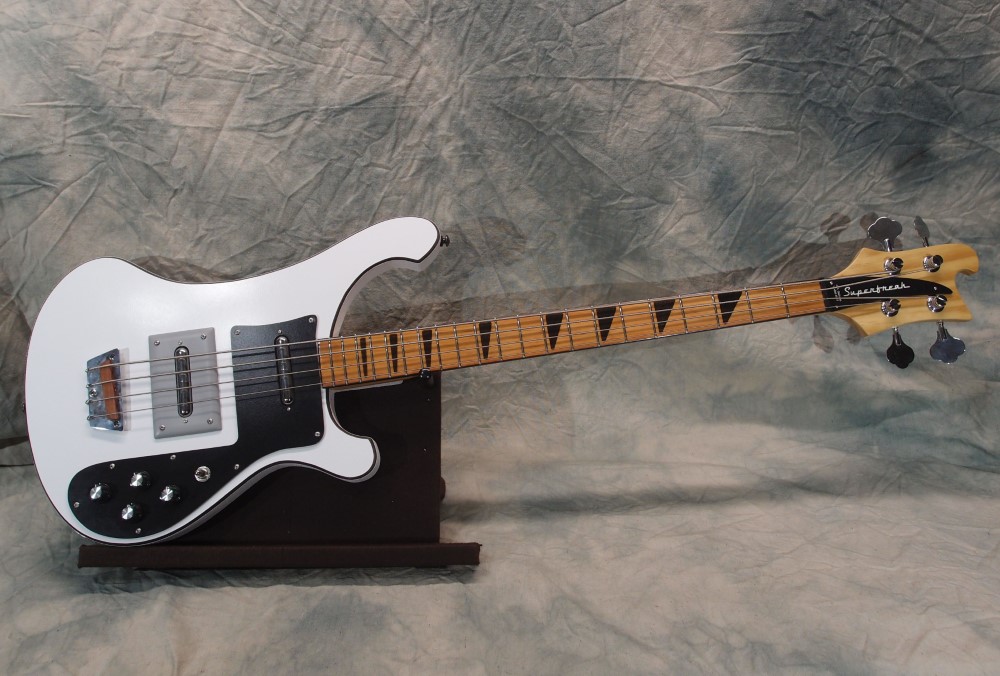
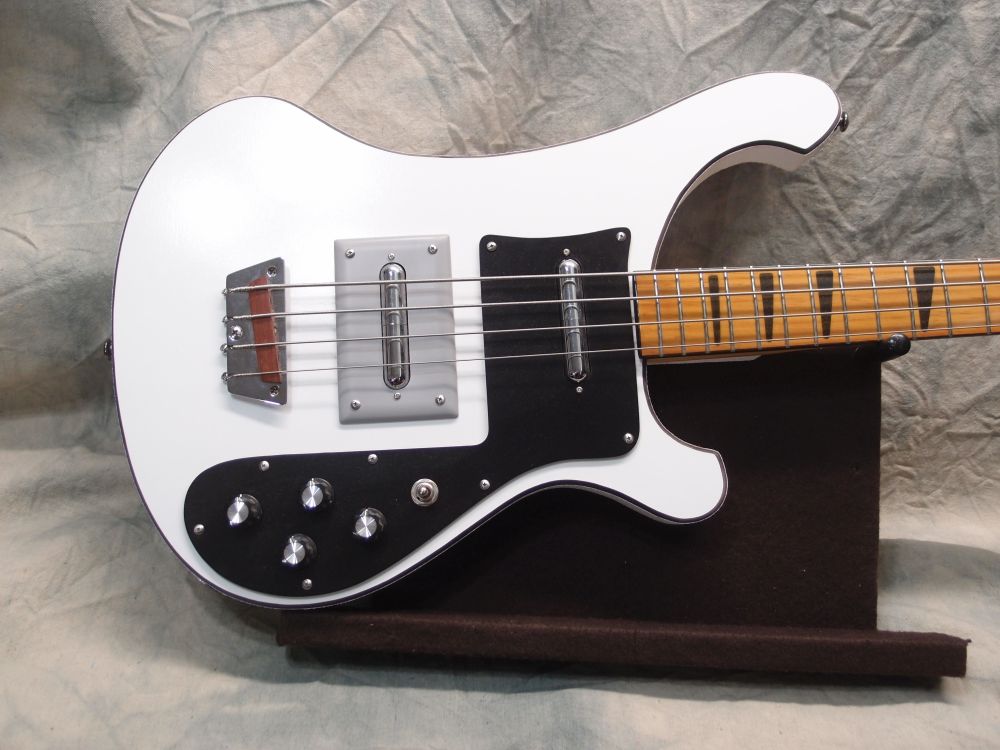
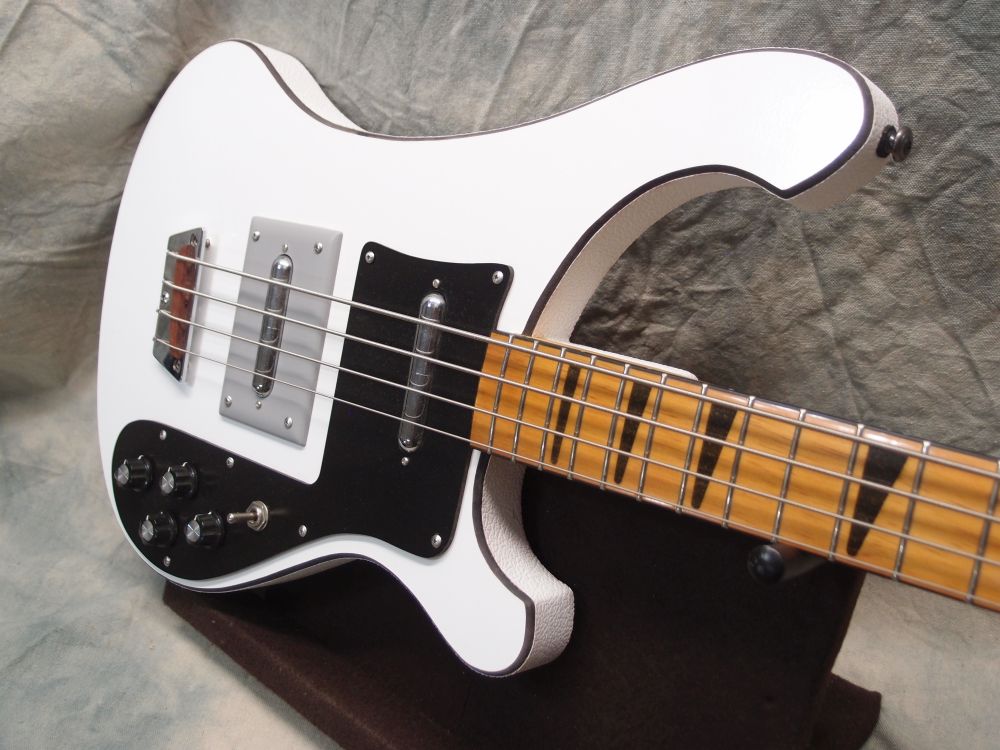
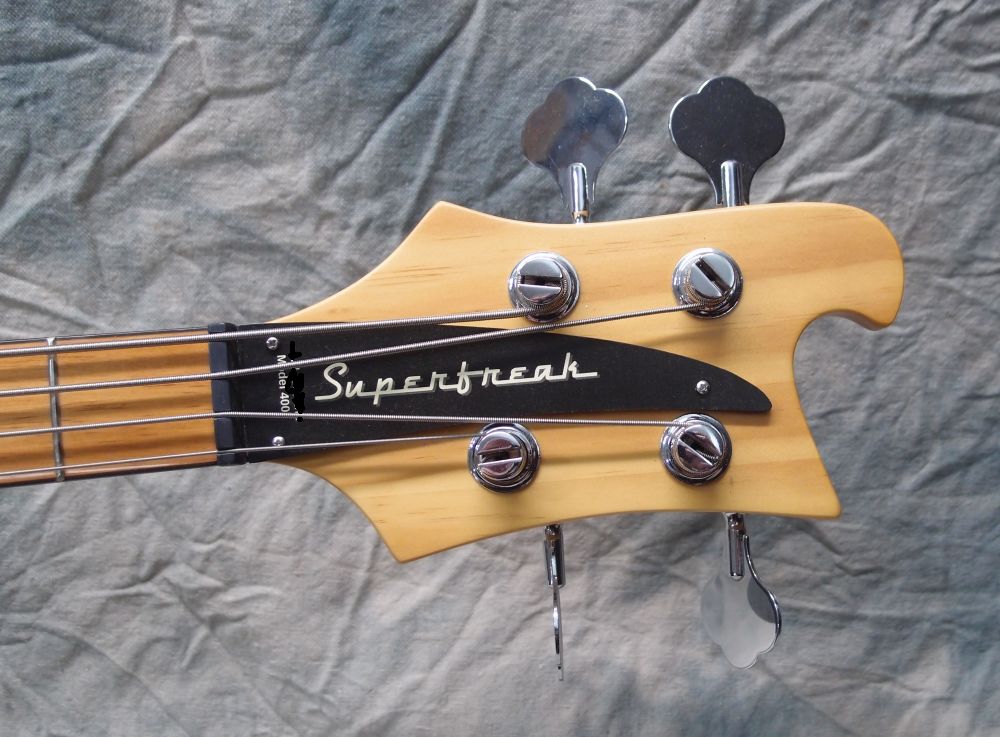
This one is kind of a joke and an experiment in just how cheap you can build a guitar. The body is dry-erase board over plywood - no finish - with Tolex side binding. Dry-erase board is Masonite covered with Melamine. The neck is 100% Radiata pine, even the fretboard. The "inlays" are glitter and CA glue. The pickguard is the other side of the dry-erase board - 'chalkboard'. The pickup mount is a 57 cent switch plate.
More: Rickenbacker 4001 Bass 1 ...
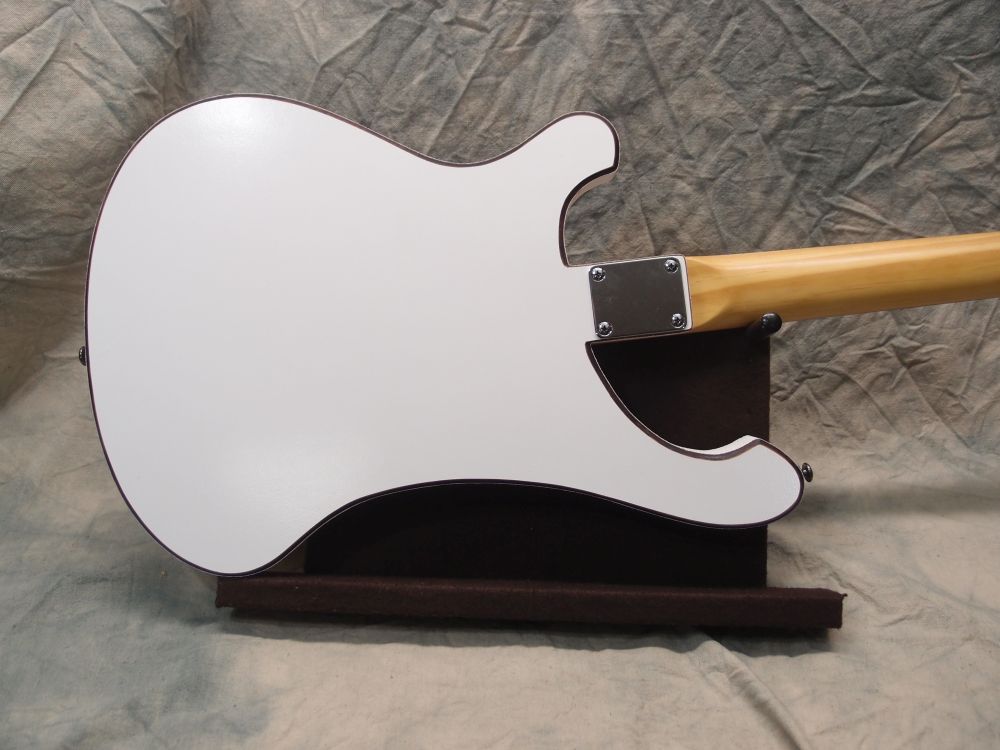
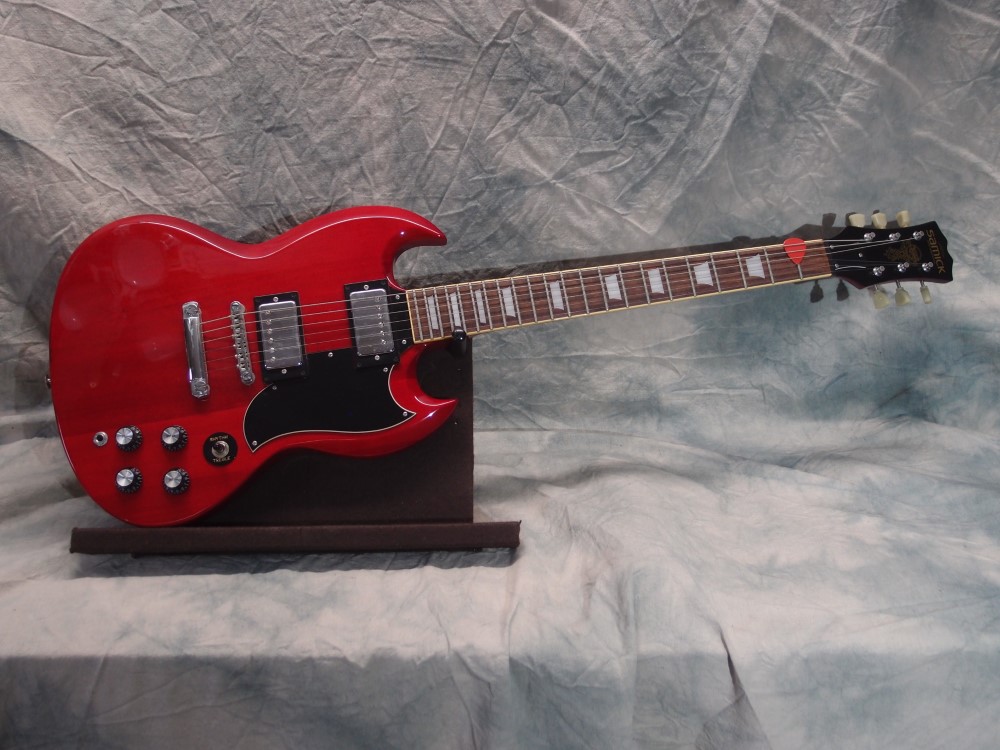
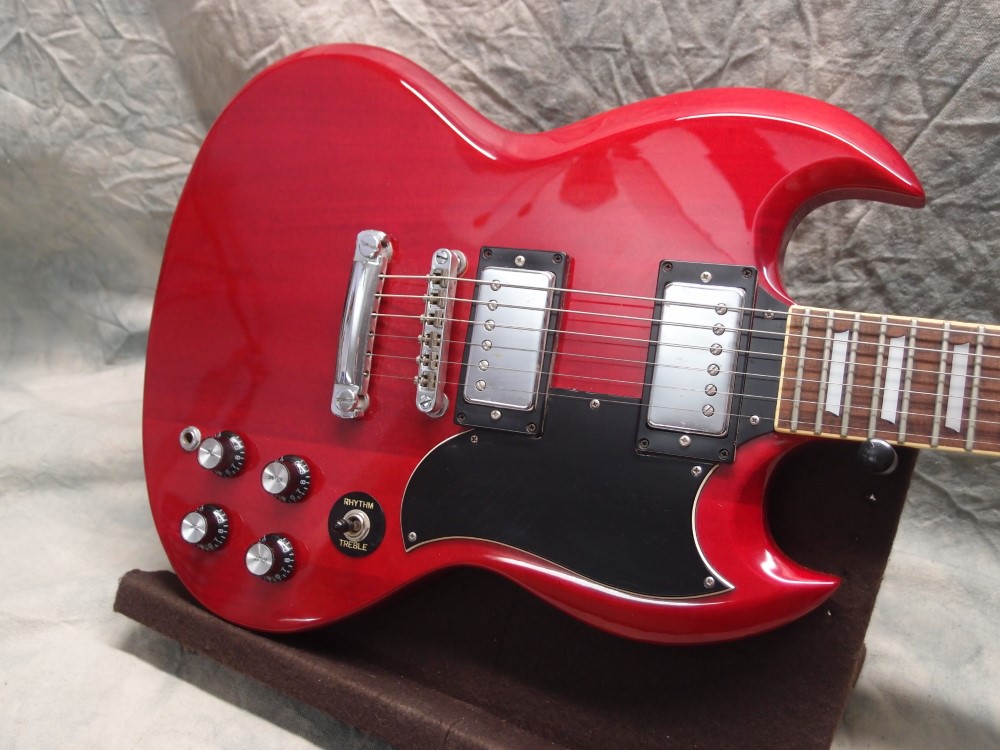
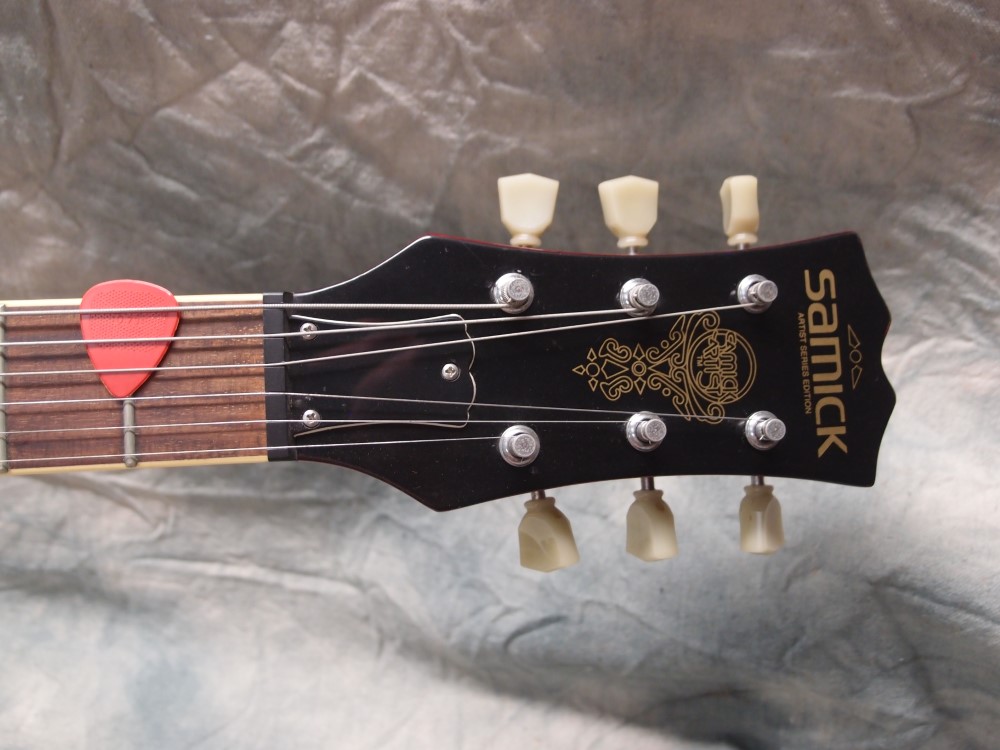
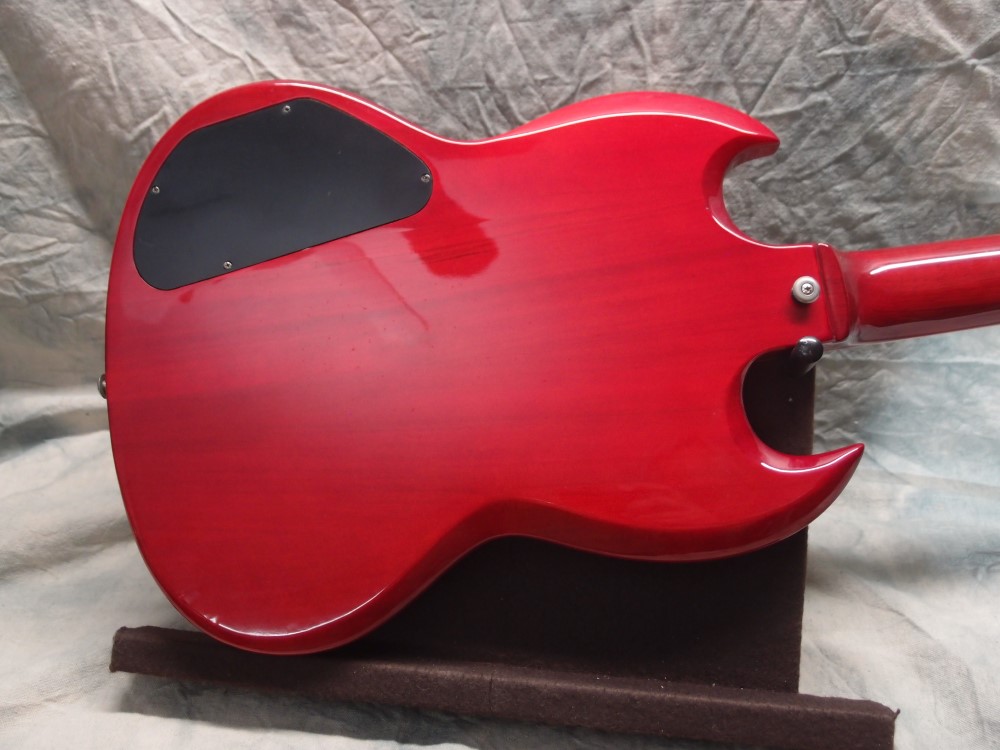
The SG, or 'Spanish Guitar', is without a doubt Gibson's best solid-body guitar design. Unlike the massive overweight Les Paul, the SG is small and light and just feels like fun in your hands. Sound-wise, the two are indistinguishable. The SG body has comfortable bevels and round-overs in place of the Les Paul's arm-gouging sharp bound edges. And the little devil horns are unmistakable.
More: Samick Artist Series SG450 ...
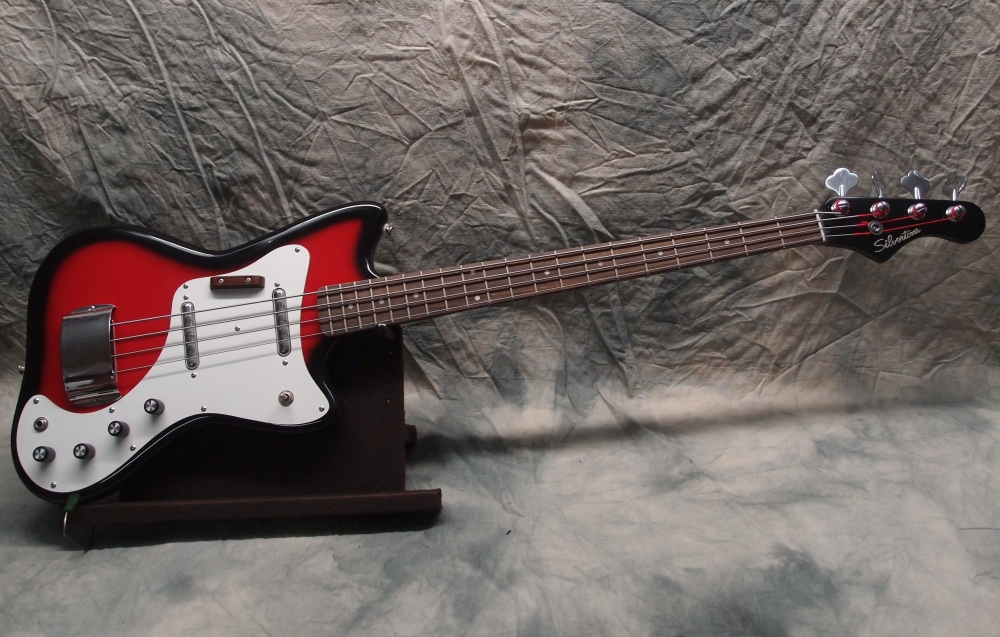
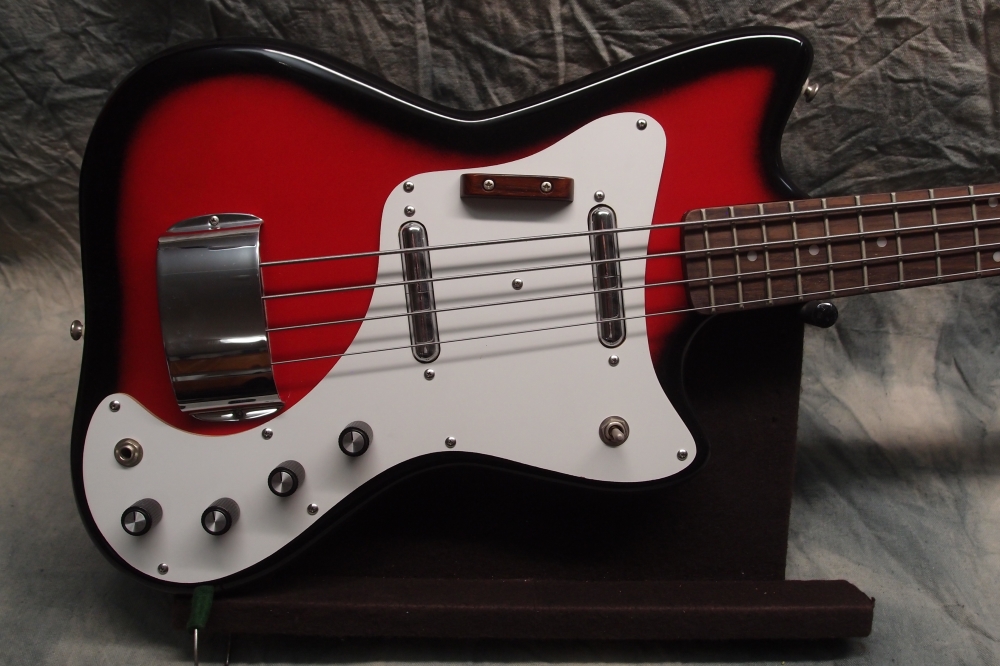
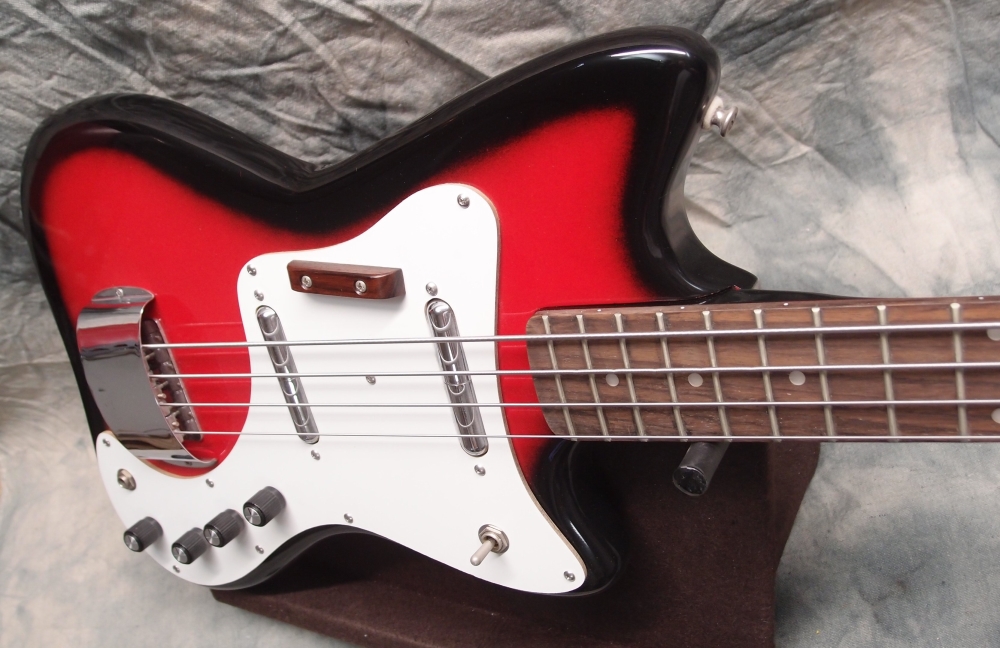
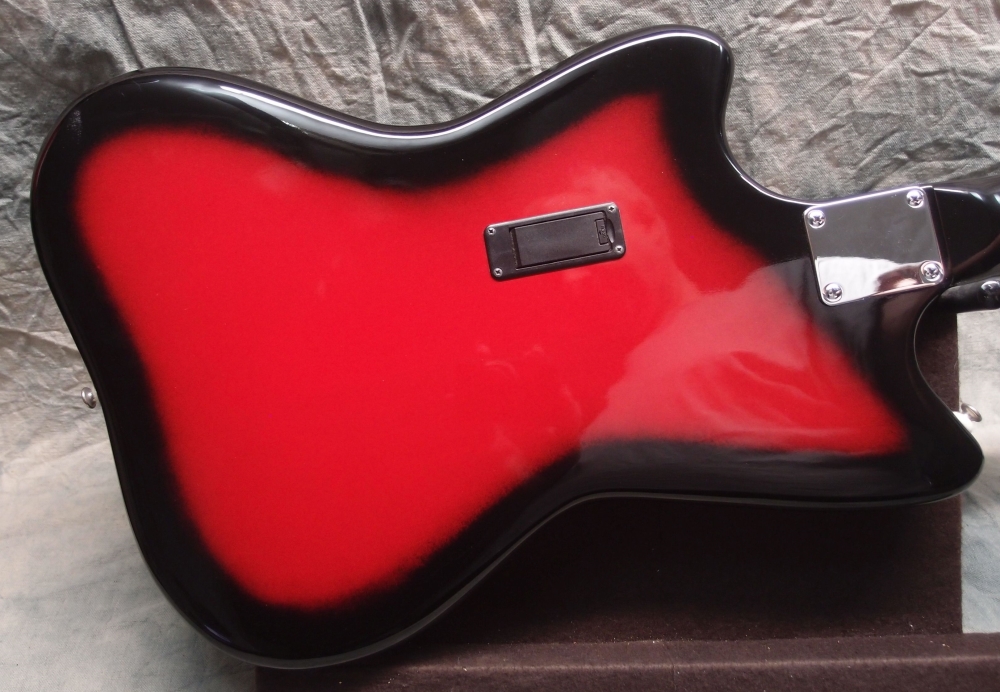
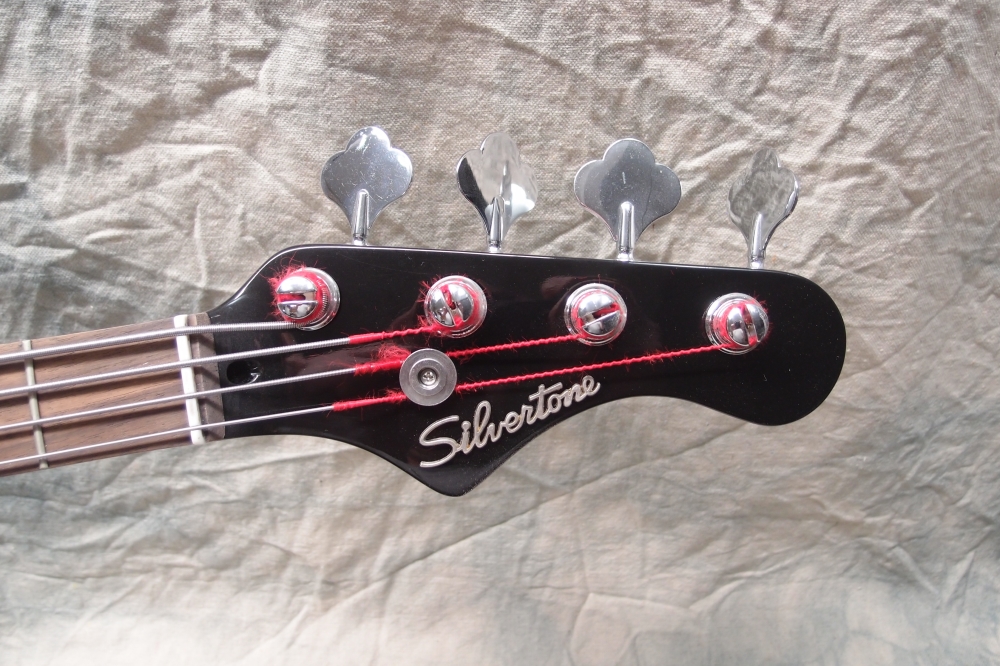
Danelectro Silvertone 1443 Bass
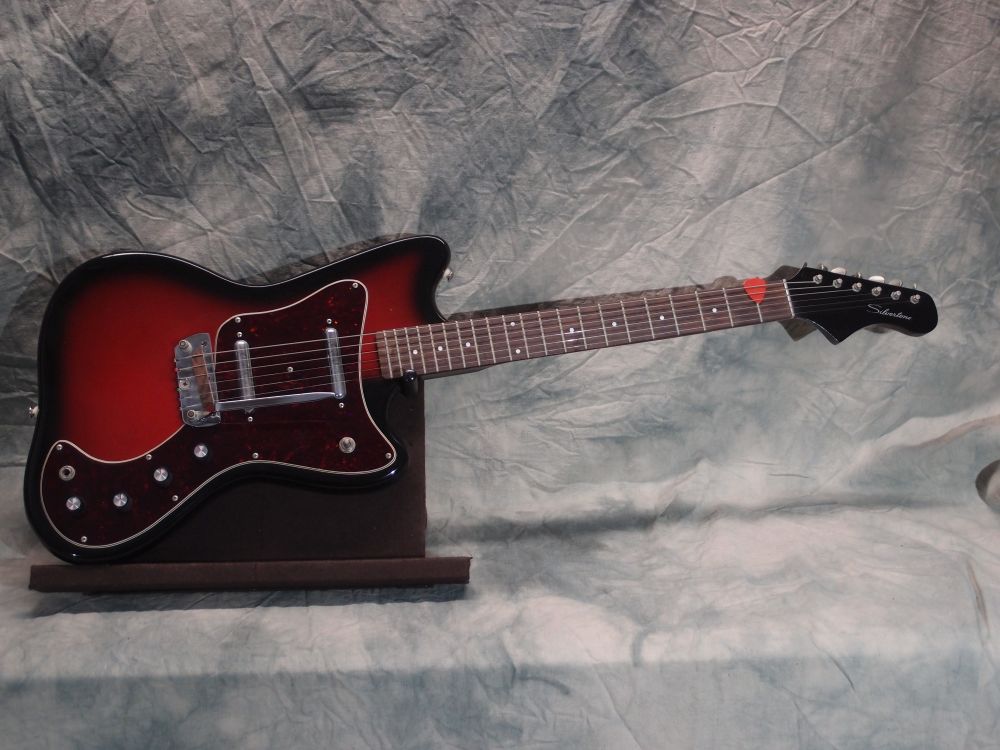
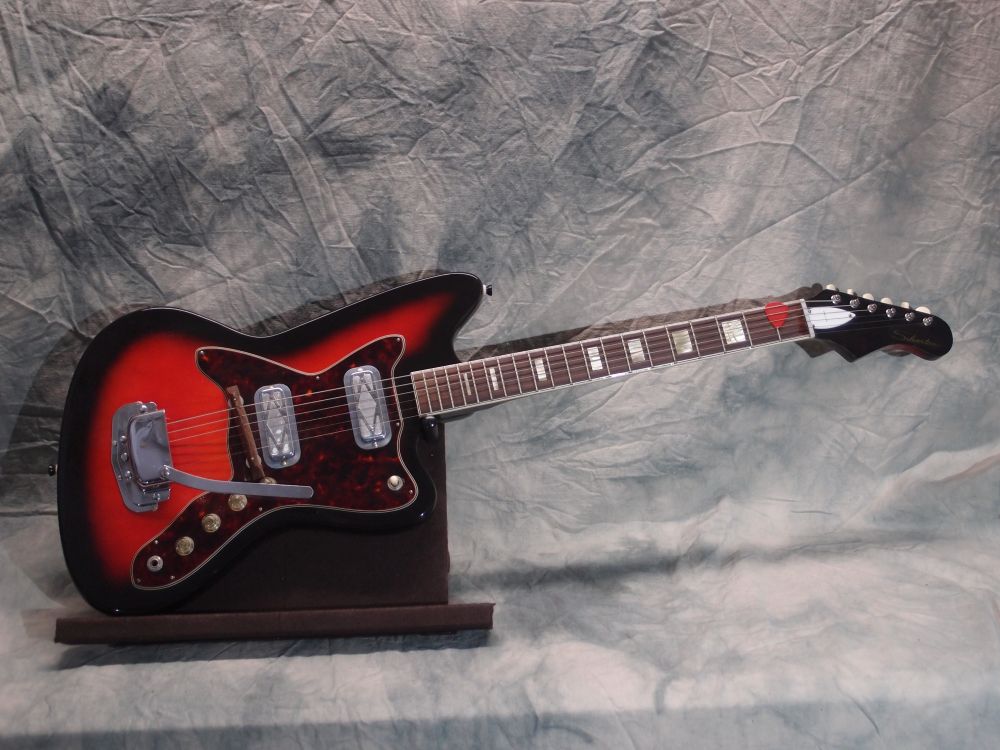
This is a project that took a long time, mainly due to the lacquer sunburst, which took several tries to get right. In the end, I even 'bursted the back of the neck. While it looks like an old Silvertone, it is actually thoroughly modern inside. 90's Danelectro lipstick pickups - the good ones, wired in series with a selector switch like they should be.
More: Silvertone 1443 Bass ...
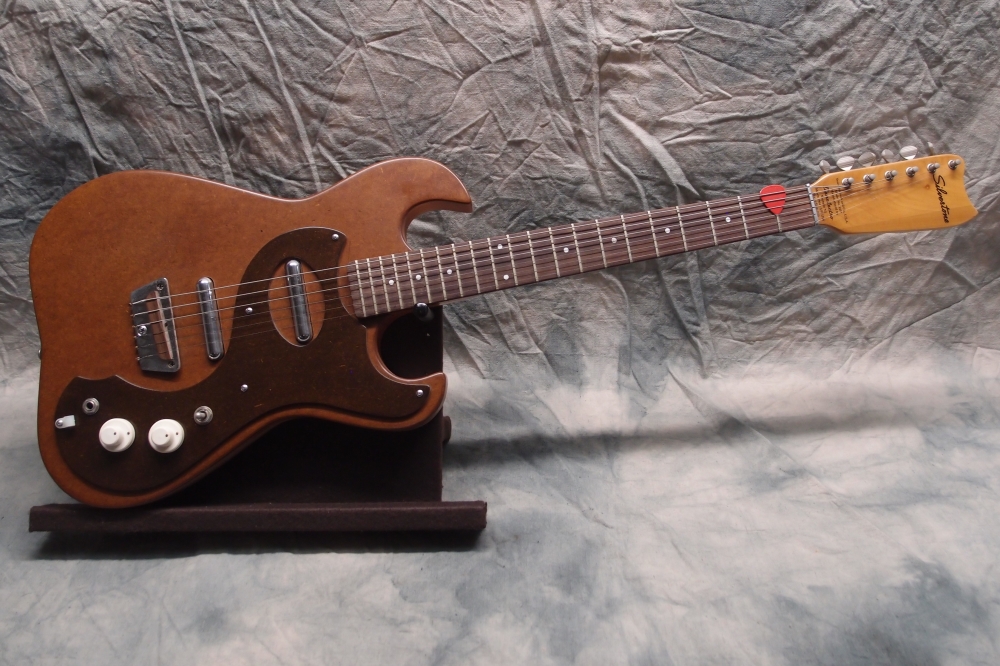
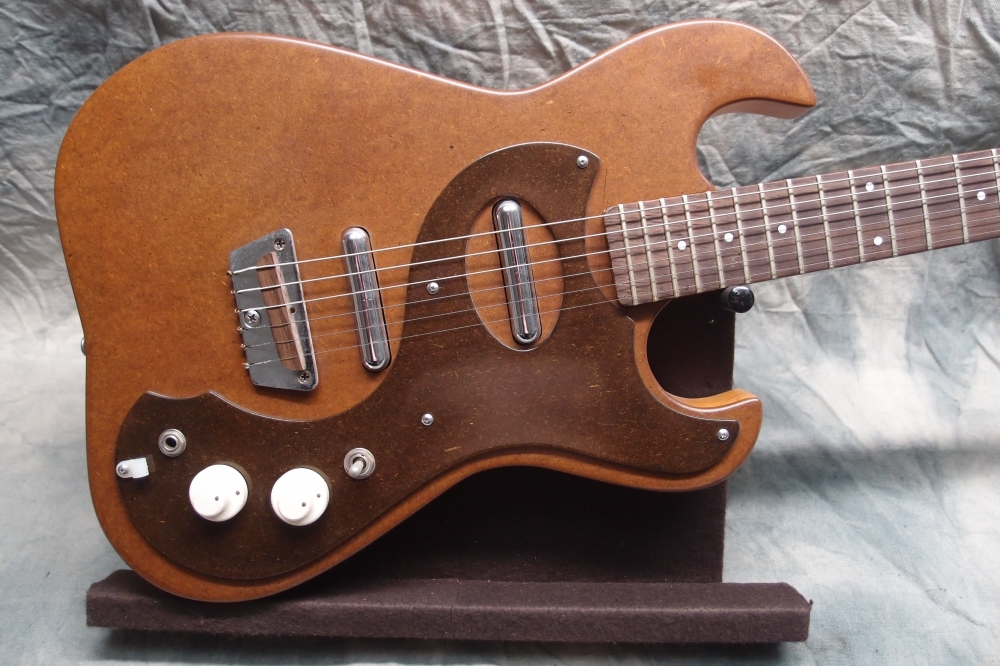
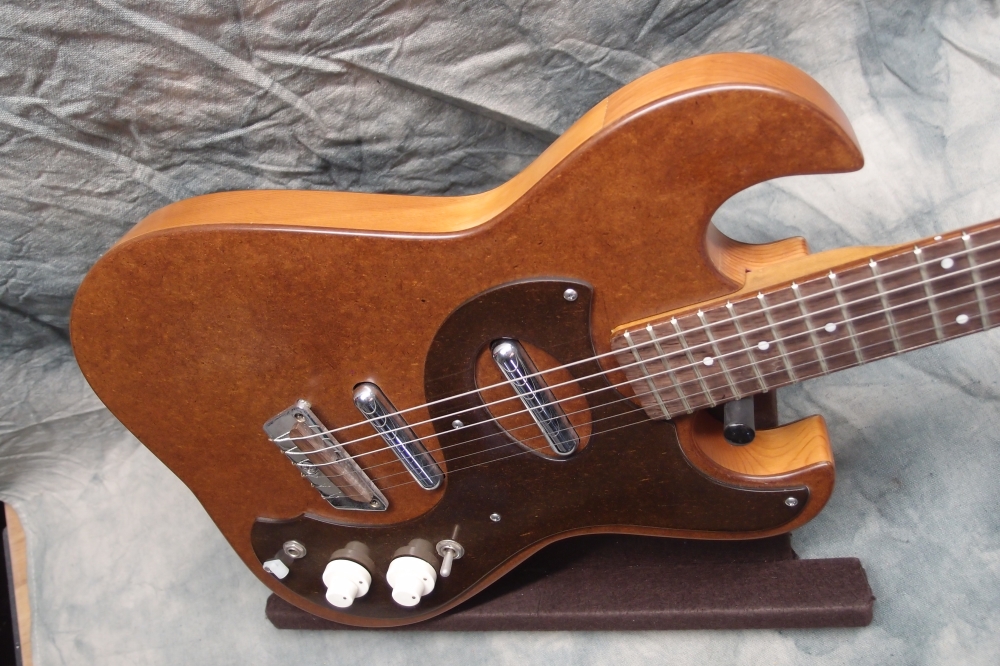
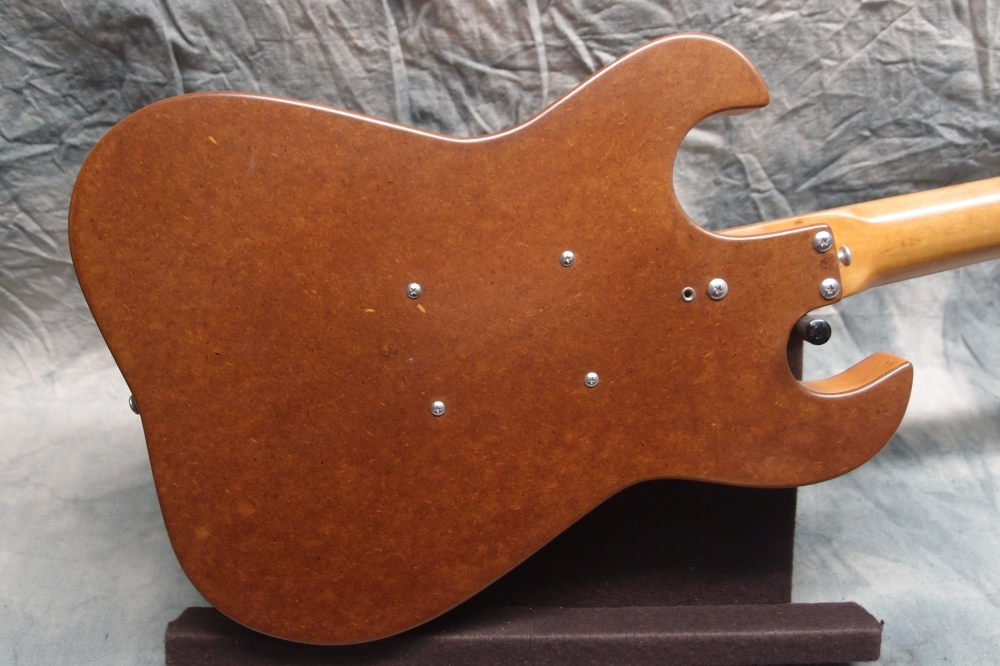
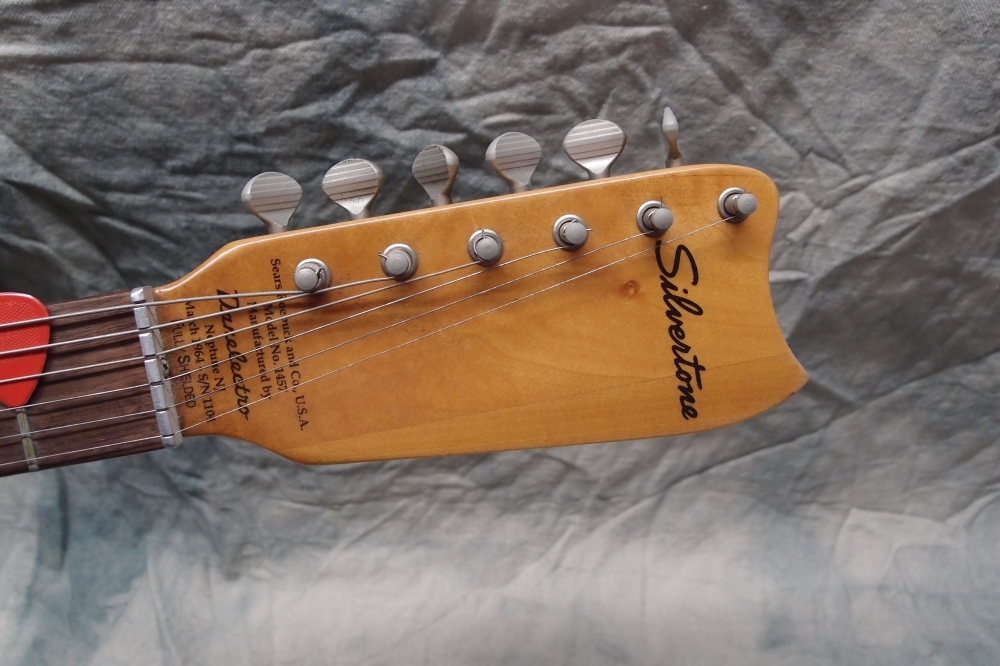
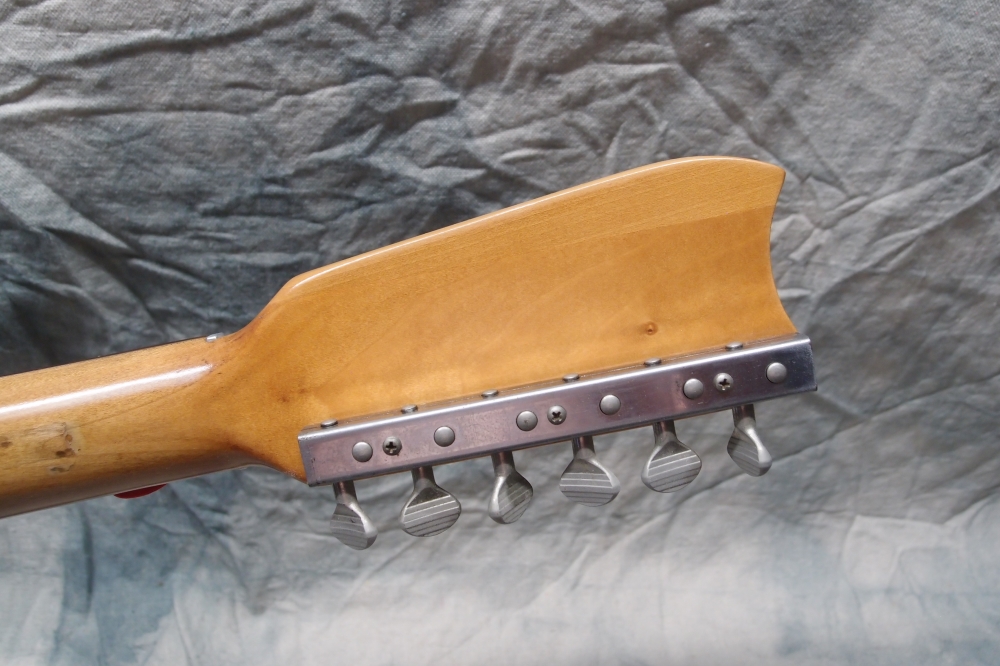
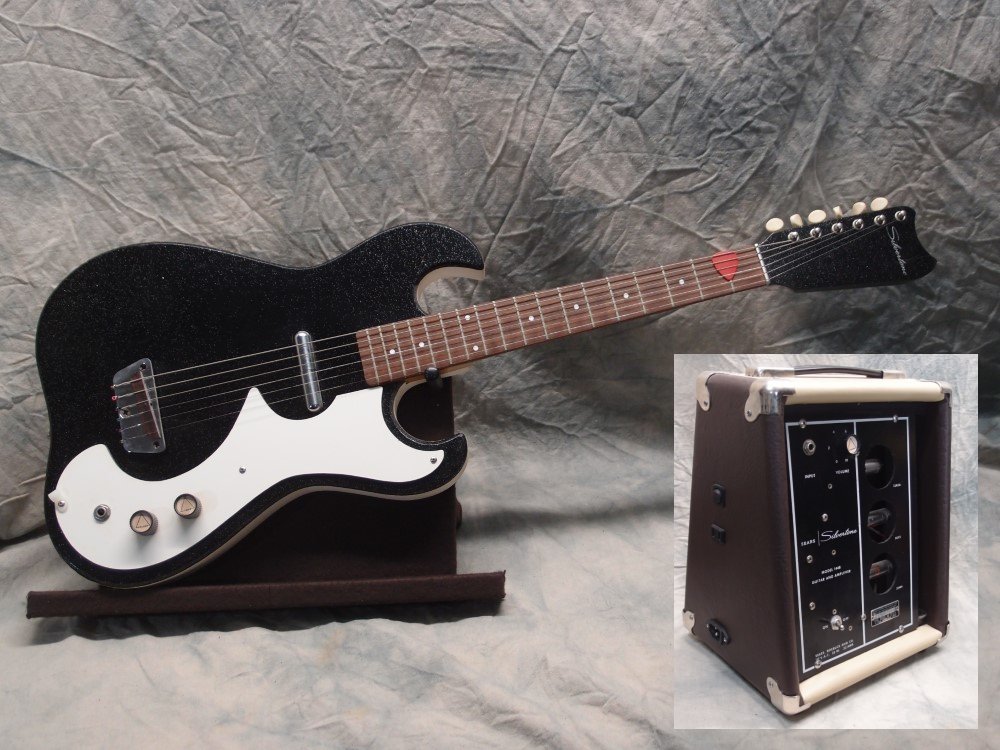
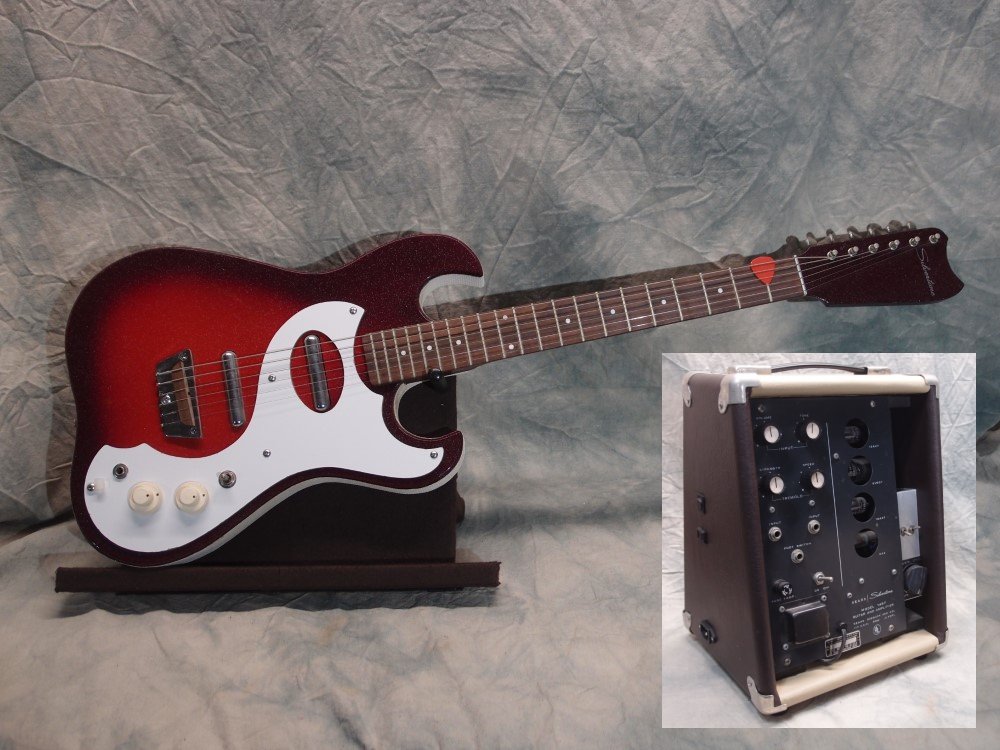
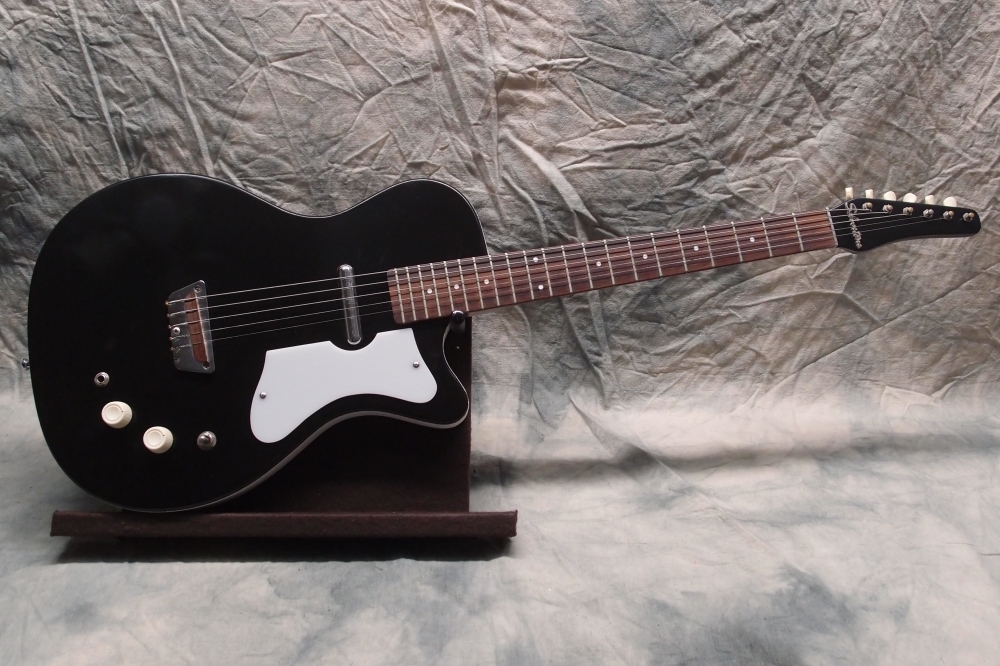
This is a real Danelectro Silvertone 1452 from the 1960s. When I got it, it was a sad box of parts. Some hillbilly had stripped it, by rubbing it on the sidewalk, I think. The fretboard had delaminated, and the old repair had simply made the problem permanent. I repaired the neck and fixed all the other issues, replaced the lipstick tubes, which had split, and clear-coated the whole thing in modern poly. I was not able to fully repair the neck, there's just not enough wood left, so I don't keep it under tension. The pickguard is stained dark for contrast. I cleaned tarnish off the old metal bits with oven cleaner, and replaced all the corroded fasteners with shiny new stainless ones.
More: Silvertone 1457 "Rescue" Guitar ...


