July 17, 2020
Radiatabacker Part I
July 17, 2020
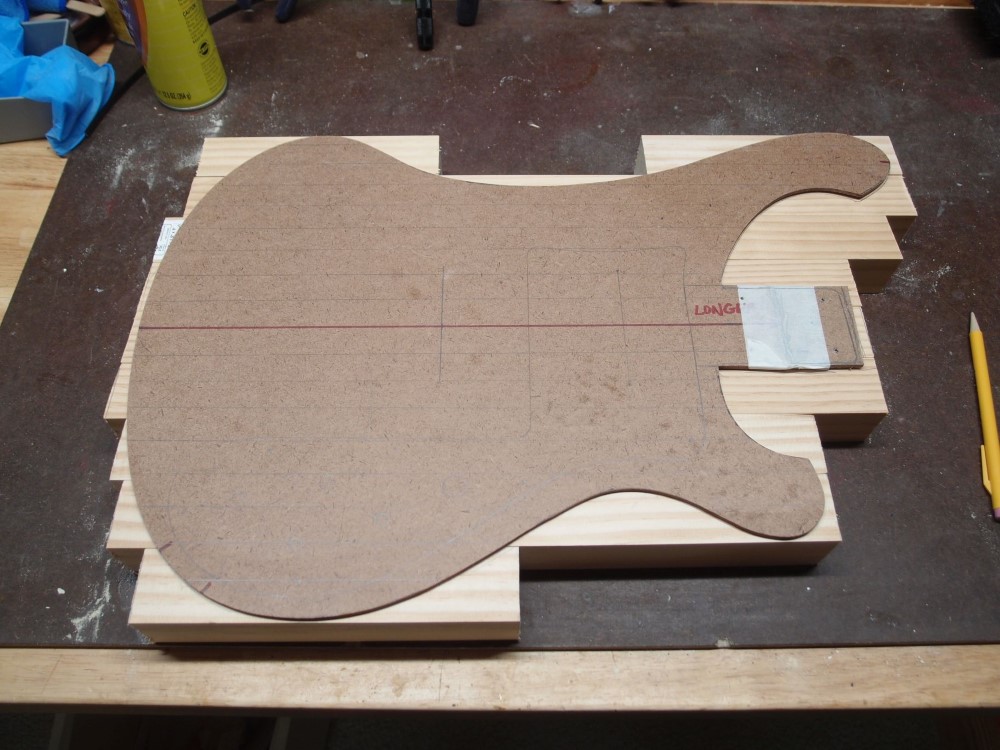
This is the Ric body template I made earlier. What's the point of making a template if you only use it once? Underneath are the sections for the new body. I used about 13 feet of 2x2" lumber, under $20 at Home Depot. I arranged the pieces so the stripier faces show. I'm also extending the tongue on the template. I had a brain fart and cut it too short when I made it.
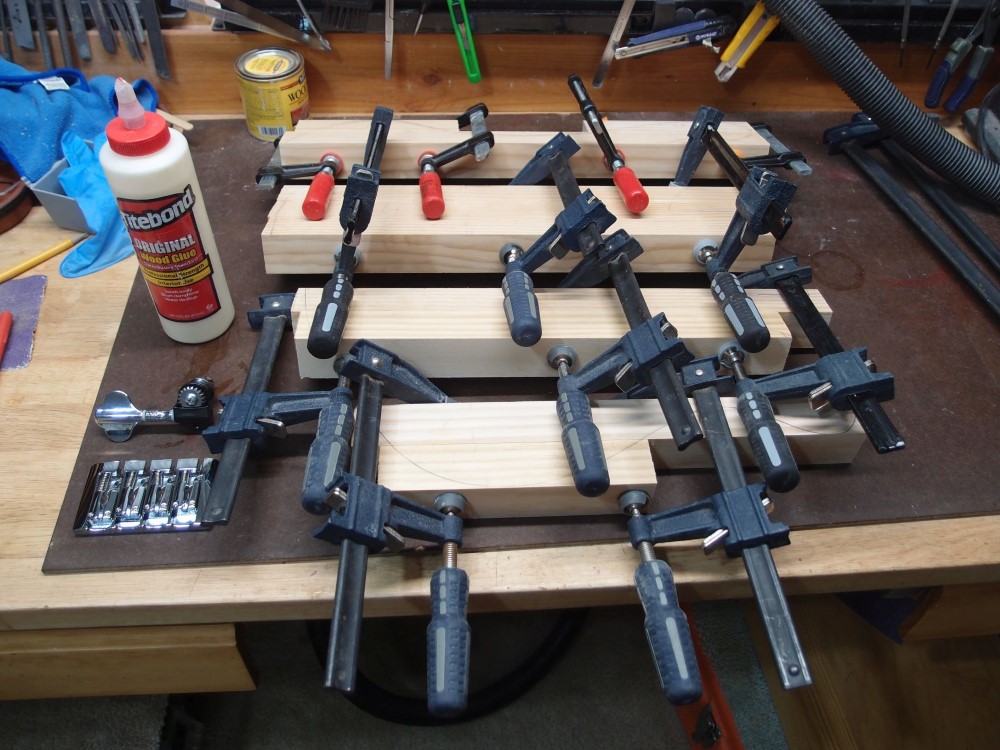
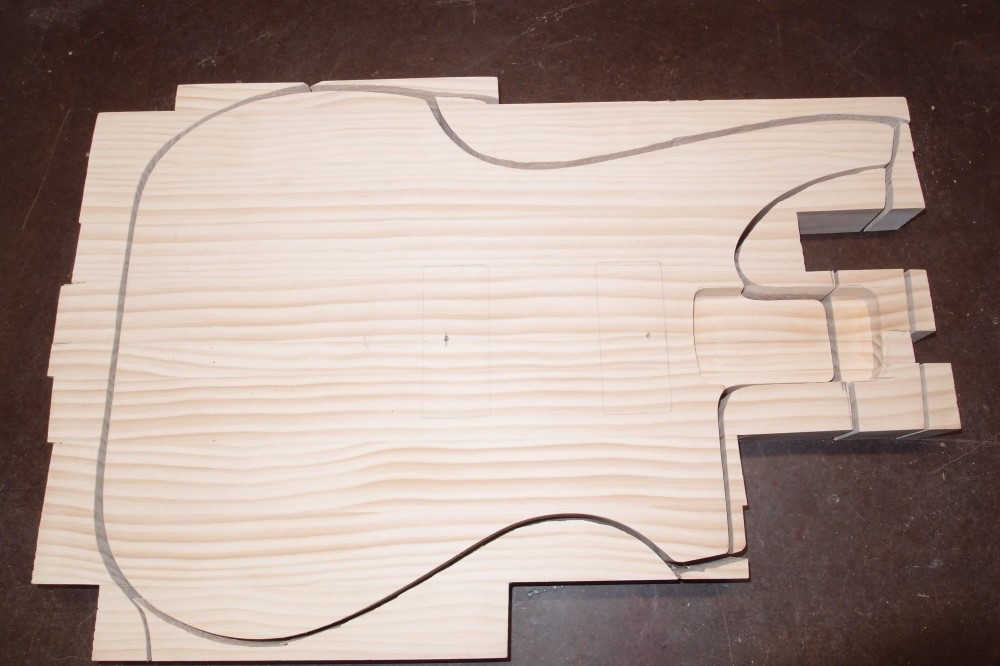
Now gluing the pieces together. I'm trying something a little different - I aligned all the back sides flush, so all the mismatches in thickness will be on the front. On previous builds, I collected all the differences on the back, this is easier. Ten pieces become four, then two, and then one. Then belt- and block-sand both sides flat and smooth and re-trace the outline. The blocks are arranged so that there are no small orphans at the top and bottom. This makes a much nicer edge if I leave the grain showing.
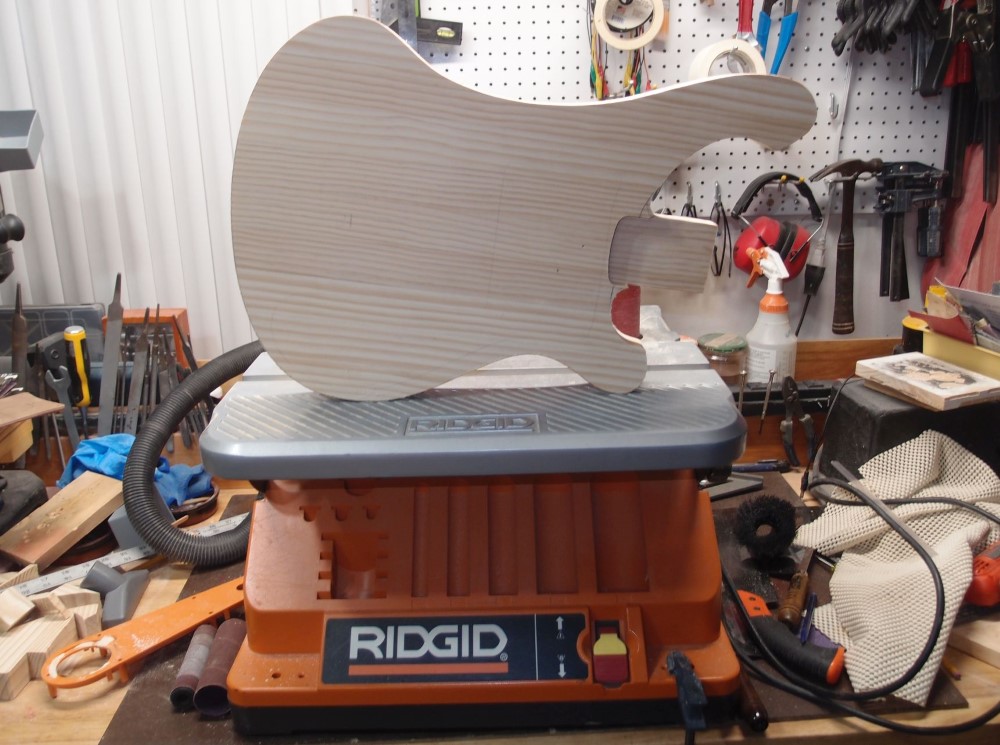
This will come out a little thicker than a real 4001, but the pine is lighter than maple, so it will be a wash on weight. You can also see the nice bridge I got at the lower-left, and one of the tuners. The string geometry will be 32", Fender spacing. Obviously, the neck will be a bolt-on. Finishing a separate neck and body is easy. Finishing almost four feet of neck-through is bigger than the facilities I have, unless I go with a lousy oil-rubbed finish like everyone in the talk_ass "build-offs". If I'm going to do something, I'm going to do it right.
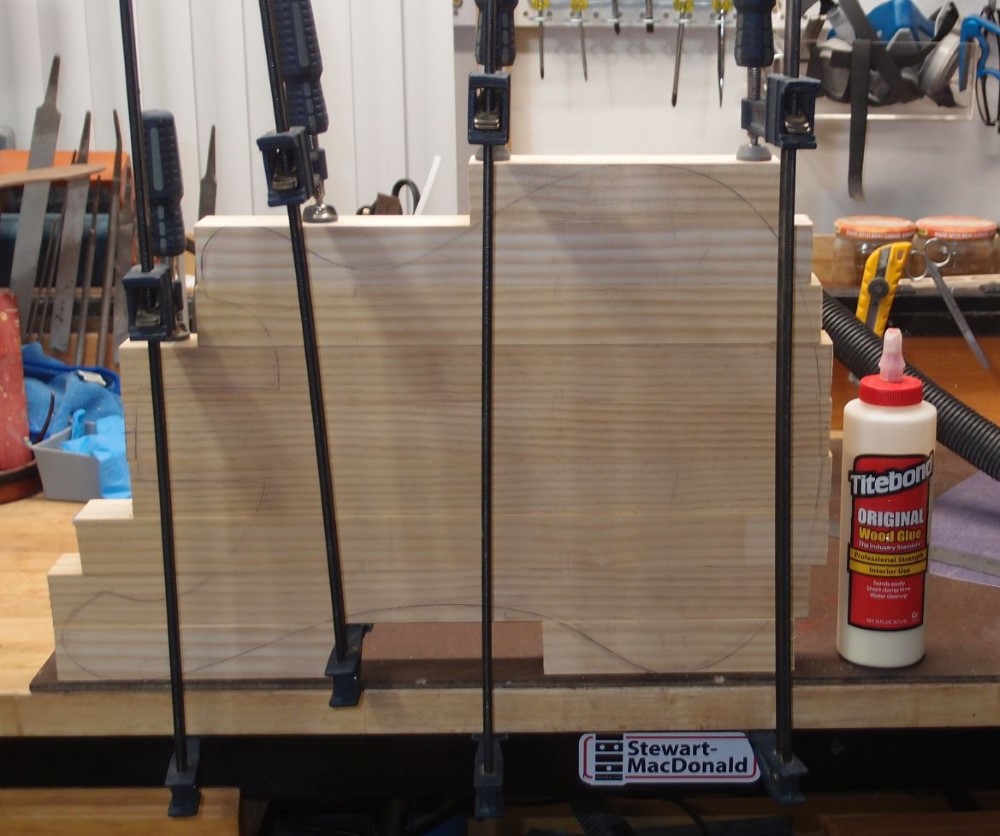
And here is the final assembly, upside-down. It is clamped vertically to the workbench. I never did it this way before; it seems easier. The blank has a bit of cup on the back side, maybe 1/16", and a corresponding bulge on the front. On previous builds I flipped the pieces around to minimize that; I didn't bother on this build, I just trusted that the parts were pretty square and let the random universe take care of the rest. It will all sand out when I dress the faces. This can sit overnight.
I used about an inch of glue from that bottle. You really don't need a lot of glue, just a thin layer on both sides of the joint and then lots of clamps and a damp rag to clean up the squeeze-out. Don't over-tighten the clamps and squeeze all the glue out. They need to be just tight enough to close up the gaps. With just those four two-foot Harbor Freight clamps and a hand saw, you could do all this in your kitchen. What I really love about this is the beautiful result you get without resorting to over-priced "luthier grade" materials; just a couple of sticks from Home Depot. Search this site for "radiata" to see.