Sitar Bridge

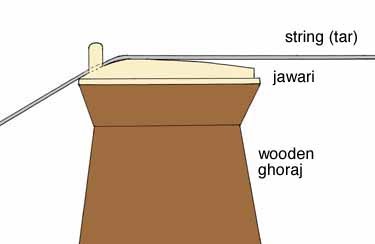
The key is the shallow angle between the saddle and the string. A proper guitar bridge has a sharp break between the saddle and the string. This shallow angle causes the classic sitar buzz. This is a very easy part to make from any decently hard wood. A scrap of fretboard blank is ideal. A little experimenting, and you will get it. Then you can convert any guitar into a "sitar".

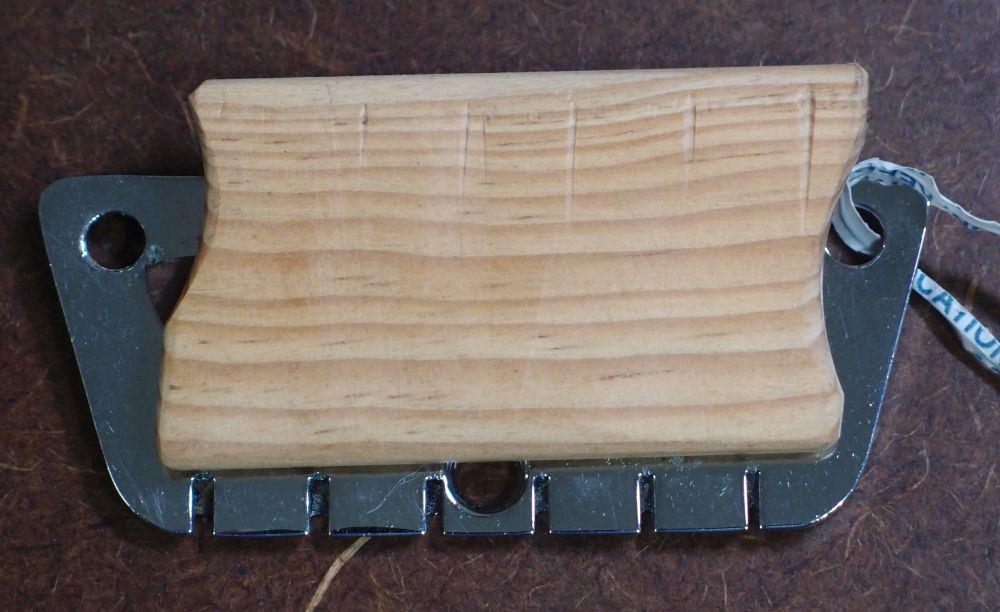
This might be an old piece of pine door molding, I don't remember.
A functional sitar bridge saddle that I carved from a piece of scrap wood, lying on a Danelectro guitar bridge. In use, the sitar saddle replaces the rosewood guitar saddle. The trick is to get the angle just right, so the bridge interferes with the string and causes it to buzz. You can see the long shallow notches I made for the strings. This is much the same way a bad fret will cause a buzz, but in this case, since it is the bridge, every note on every string buzzes.
After some testing, I took the sitar saddle off and put the rosewood saddle back. This part was never intended for anything but an experiment. With a little creativity, you can make a sitar adapter for just about any style of bridge. Never seen one on a bass though. What would that sound like?

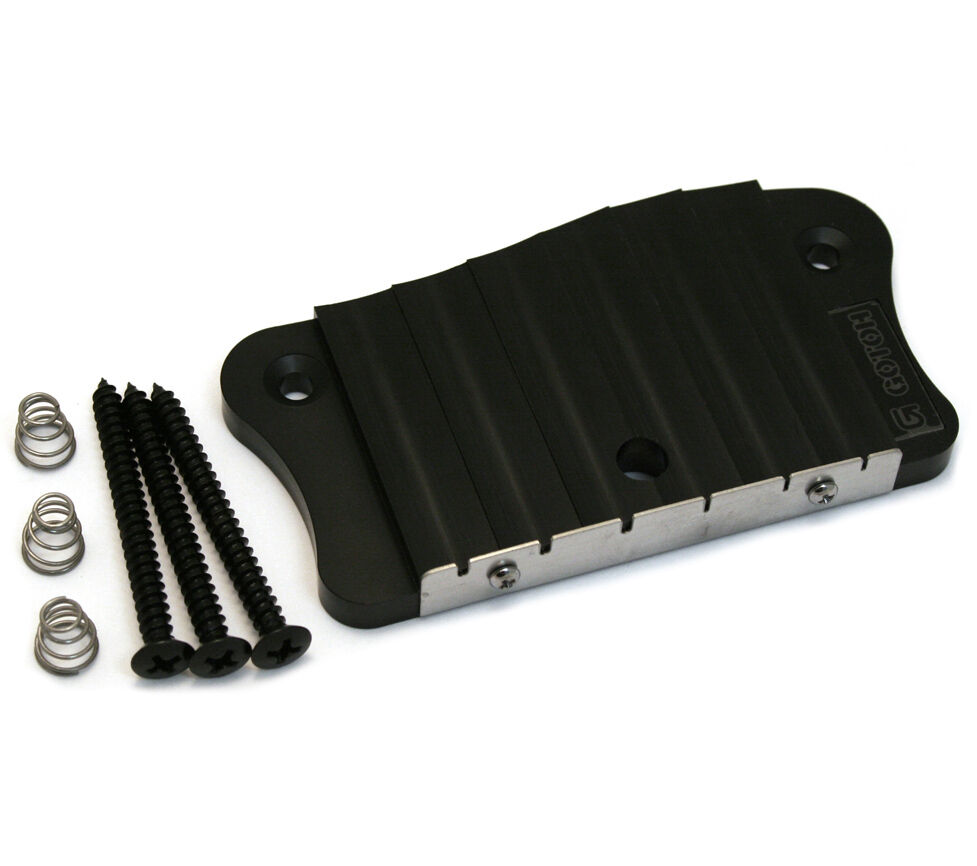
Here is a Gotoh sitar bridge made for a Danelectro. Unlike my saddle, this replaces the entire bridge. You can still find these for sale, but they are not cheap!
To instantly get an 'Indian' sound on a sitar, pick any scale, and then play only notes that aren't in it!

Questions or Inquiries?
Just want to say Hello? Sign the .