July 25, 2020
Radiatabacker Part IIe
July 25, 2020
The first side came out good, now I am installing the second side. I trimmed both pieces so that I could use the short clamps. Using long clamps for a job like this would be a pain in the butt.
Here is a side shot showing the angle compared to a standard scarf-joint test piece that I had lying around. You can see the angle of the scarf joint is much greater, and also the length of the joint. The test piece is Radiata, and it came out good, so it will probably get used someday. The next trick will be removing the excess maple between the wings.
Skipping a lot of work, this is the result. Again I took it outside, and this time I used the hand-held belt sander to grind the maple down to match the cherry. I put several layers of masking tape over the cherry to keep from accidentally gouging it. The same process on both sides. I left material for a volute on the back side.
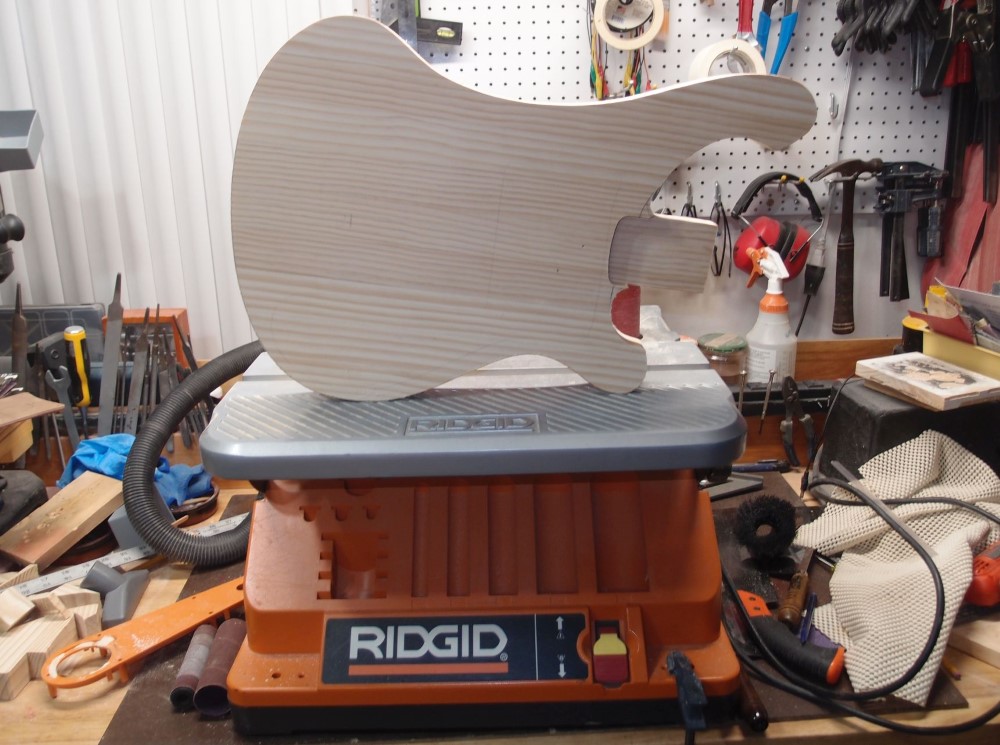
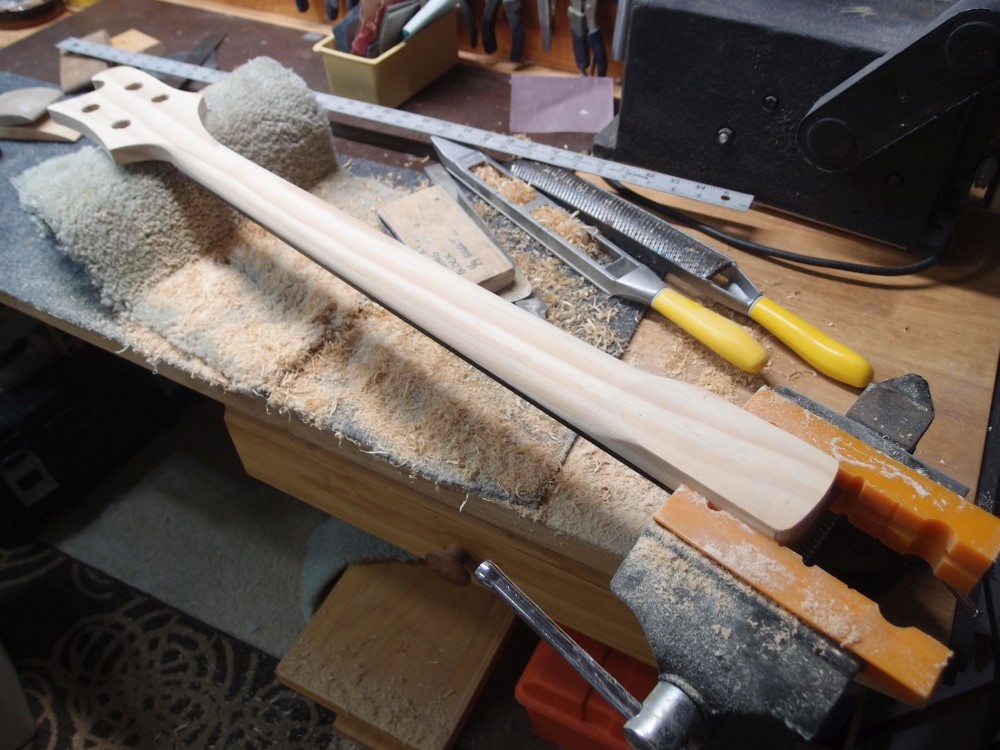
Then I went back inside and roughed-out the shape on the band saw, and finished it on the spindle sander, using a block of scrap underneath so the sides will be square. Finally, I took out all the tool marks with the drywall sander. Right now, there is still extra material on both sides of the neck, it looks like a club.
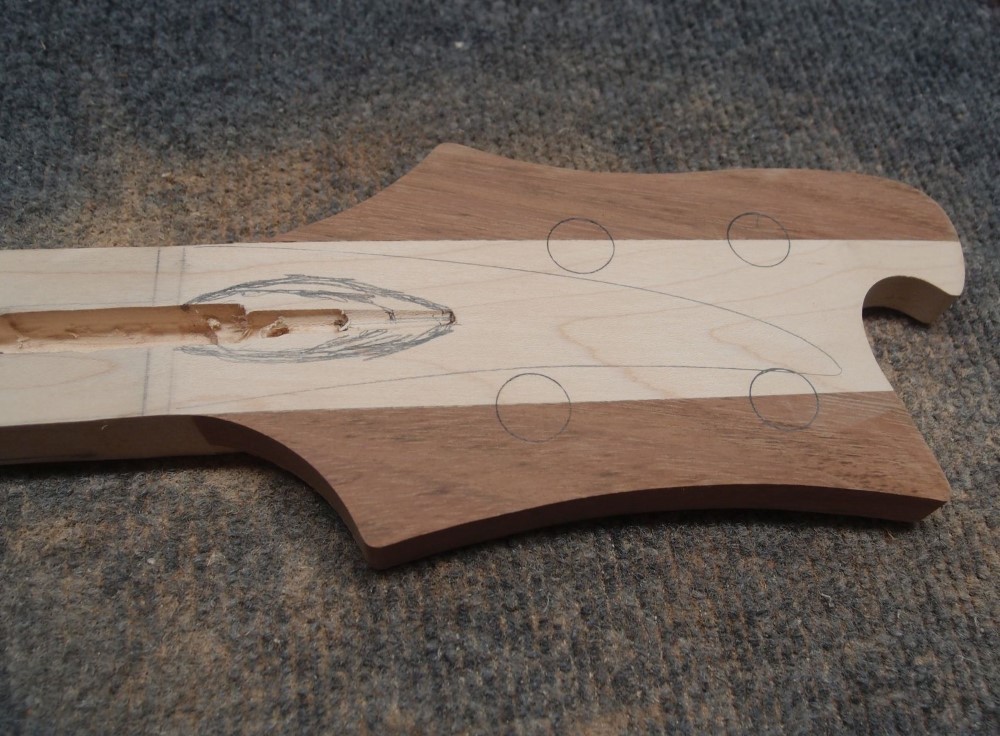
It is not my best glue job. This Brazilian Cherry is so hard that it has absolutely no give, and little gaps don't crush. In the future, I'll use either walnut, as on previous builds, or real cherry. The contrasting wood colors will hide any imperfections. I'll need to grain-fill the cherry, which will fill the joints as well. Considering I never did an angled headstock this way before, and it came out usable, I'm satisfied.

A shower and a nap and I feel better enough to do some stain tests. This is the same red I used on the Mosrite. I worked out a 50/50 dilution with mineral spirits works the best on these woods. Full-strength obliterates the grain of any wood, it is more like paint. For poplar, I used dilution of 3:1.
At the lower-left are some scraps from the neck, mostly cherry. I don't like that at all. It's that ugly Gibson red-brown color you see on SGs. Above that and in the middle are some scraps of maple. Maple doesn't stain well, it is tending towards pink. And the grain largely vanishes, no matter how you do it. At the right is Radiata. The piece at the right I really like - good color and good grain. That will be the body, red like my real Ric ( Burgundy Glo. ) The neck will stay natural, like a Fender. It will be an odd bird.
This stain also mixes well with poly ( oil-based! ) That defeats the yellowing effect you get with poly, I am surprised how the red on the Mosrite really pops, even though the stain itself is more of a brick color. If you spray a light coat, it is translucent, if you make it heavy enough, it turns into paint. The front of the Mosrite shows grain, while the back is solid. I'll do that on the edges of the Ric body to hide all the seams.

Next up is the fretboard, but not today. I'm bushed.