July 24, 2020
Radiatabacker Part IId
July 24, 2020
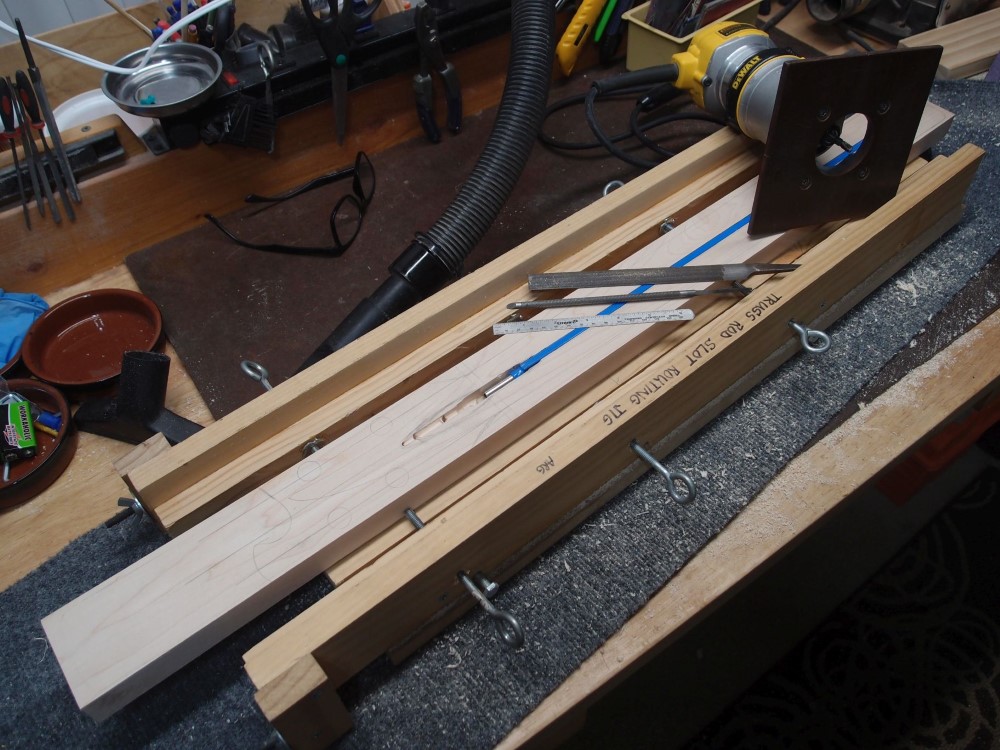
I've cut out the slot for the truss rod. This is a standard 540mm truss rod for a 34" scale bass. To make it fit in a 32" neck, I need to add one more fret. So my project will have one more fret than an actual Ric, just another way it will be better than the real thing. The jig and tools and method are all described in the Laboratory. Most of the work was done in the jig, with a little free-hand nipping for the adjuster end. I haven't carved out the access for the adjuster yet.
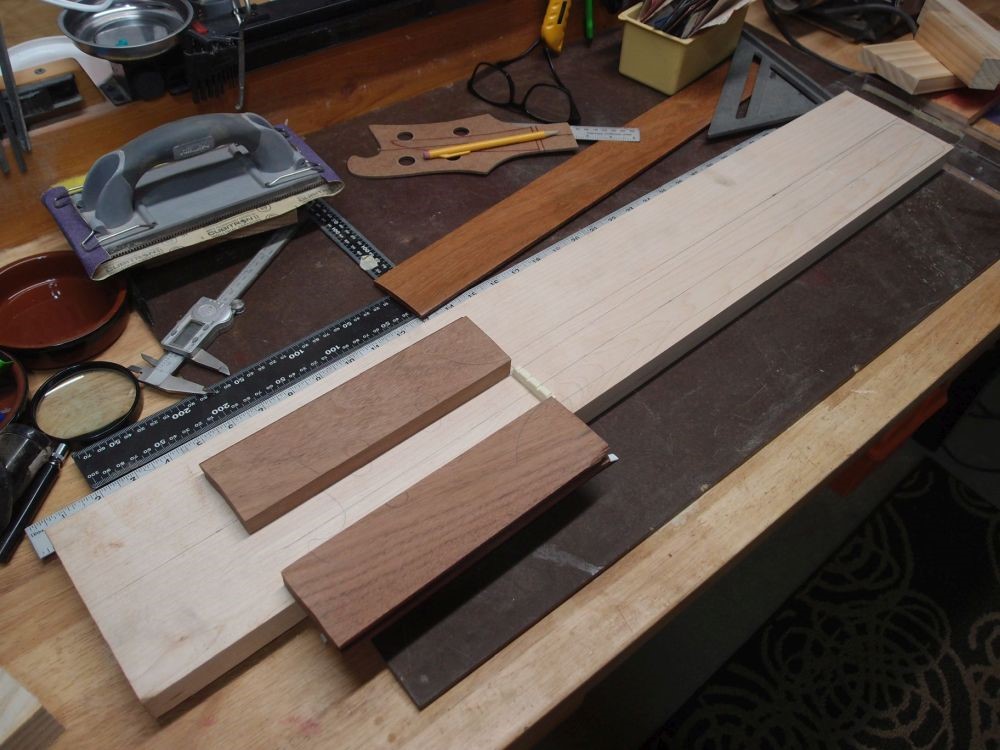
Now I have roughly cut out the outline on the bandsaw. The trick is to stay well outside your lines - bandsaws have a tendency to wander unless you are infinitely slow and patient, which I am not. Instead, use a sander to do all your shaping, it is a much more accurate tool. I've laid the headstock wings in place. The maple center is about the width of the nut. My Ric actually has a narrow walnut strip down the center with maple on both sides. I'm doing it this way because I like it.
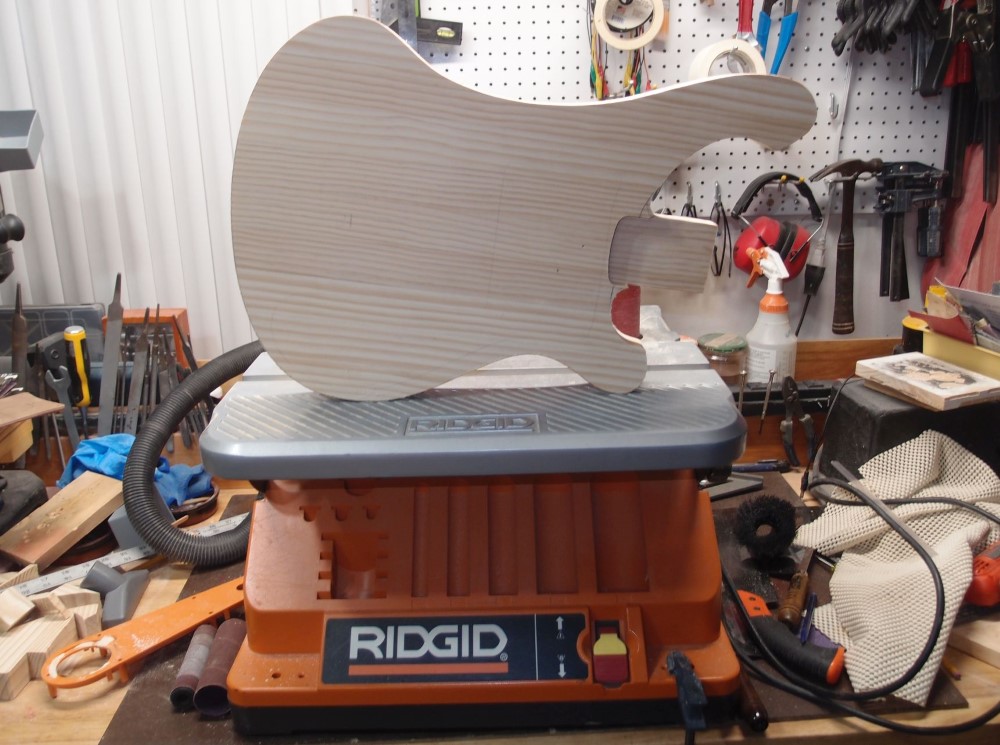
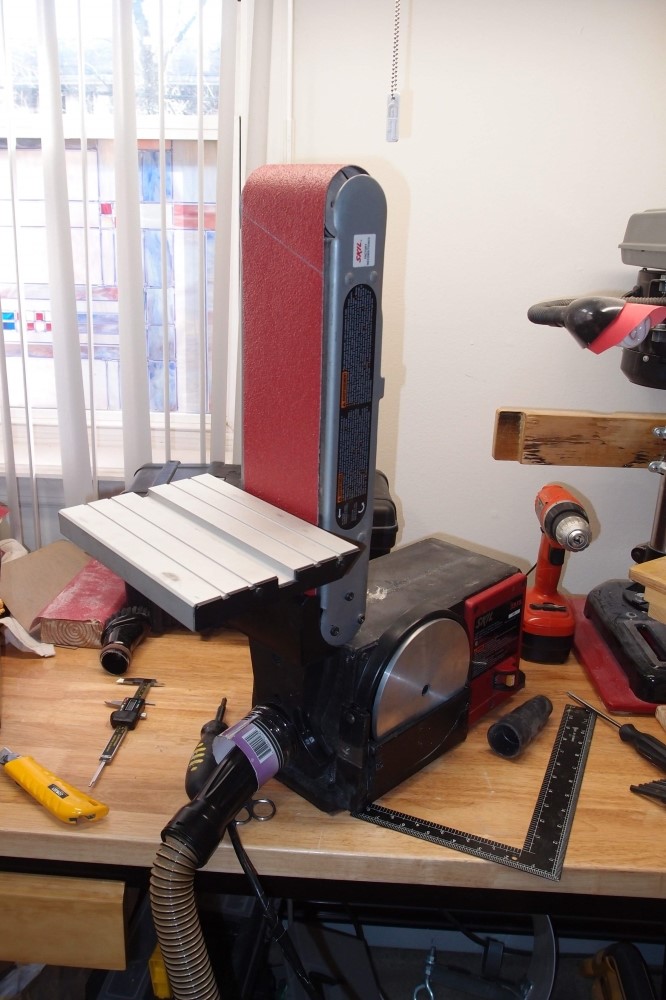
The next part of the job was a giant mess, so I took it outside. I got the basic outline done on the Rigid belt sander with a 35 belt. Then I got most of the excess material removed from the back with a jointer, and finished the job with the sander. When I was done, I was standing in a pile of sawdust that I cleaned up with the leaf blower.
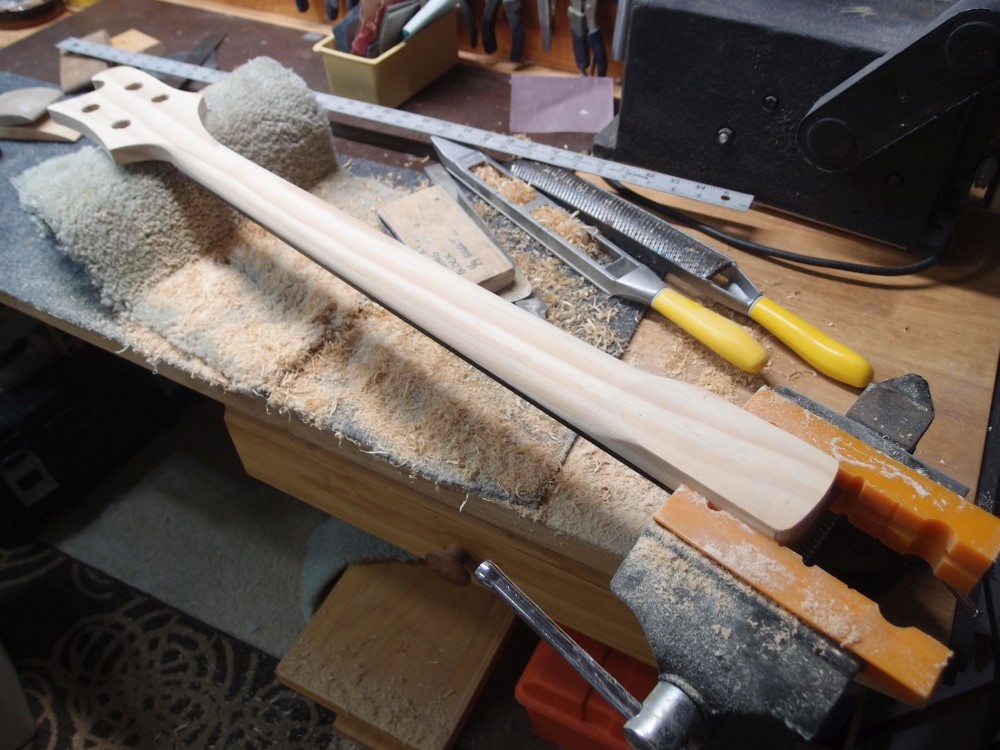
Here I have laid a headstock wing at something like the right angle. The sides of the headstock are near-perfect, flat, straight and true. I guess I have developed a really good touch with the belt sander.
So I'll carefully glue one side one tonight, and the other tomorrow. The angle is whatever it turns out to be. Looks like about 5 degrees, shallower than I would try to do a scarf joint.
I also did some fussing with the neck/body joint, now that I have both pieces. Got a lot done today, go to yesterday and look at the uncut wood.
