Pickguards (1/2)

The easiest way to make a pickguard is to go to eBay and buy one, ready-made. However, if that doesn't suit your project, you can also find a wide assortment of blank materials to make your own design from. Work out your design full-sized on paper first.
Plastic Pickguards
In a factory setting, pickguards are laser-cut. For lower production runs, it may be worth it to make a template and use a router. However, I must remind you that your router hates the world, and will do everything it can to ruin your project. It is very easy to wreck a costly piece of pickguard material with a router.
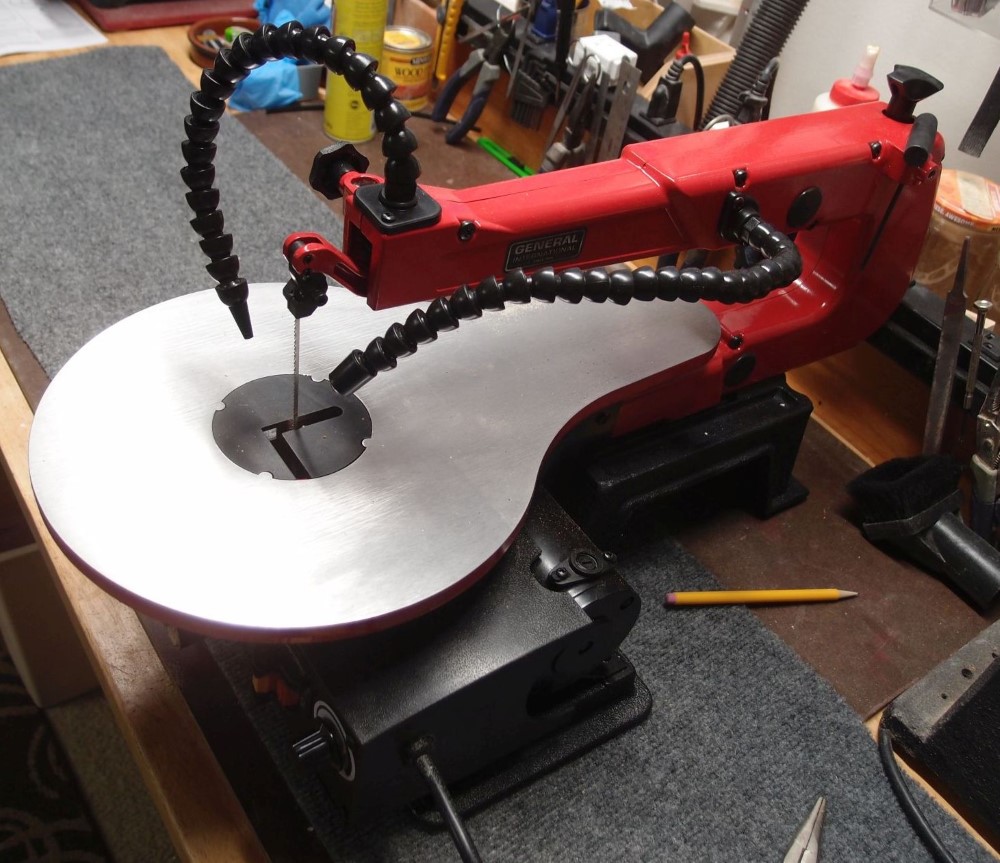
If you are only making a few pieces, or even just one, a much safer route is to make a tracing template, and rough out the shape with a scroll saw, belt sander, and drill press. Final shaping and beveling can be done with hand files. The result is often better than what a router would do, and far less risky. I have ruined enough expensive pieces of plastic with the router, it is my last resort.
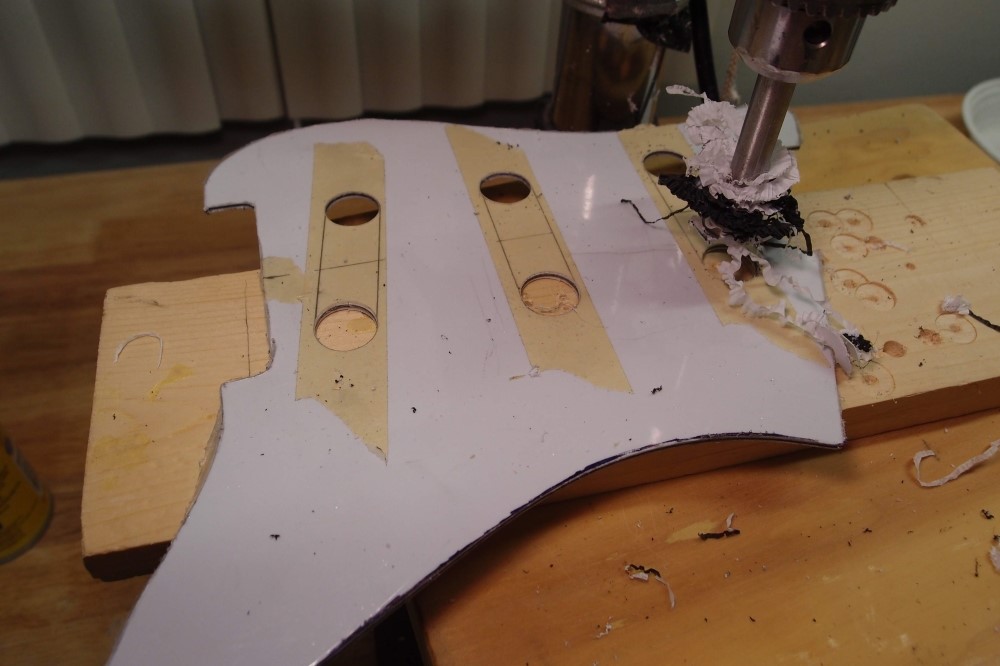
At this point, I have already done the rough outline and the fine work for the neck and bridge. First I cut it out on a scroll saw and finished shaping as much as possible on the belt sander. The neck and bridge are too small for the belt sander, so I fitted those with files. Here I am drilling the ends of the pickup mounting holes with an 11/16" Forstner bit on the drill press. A typical set of Forstners is 1/8" sizes. It is really worth it to get a set of 1/16" sizes. Try Rockler.
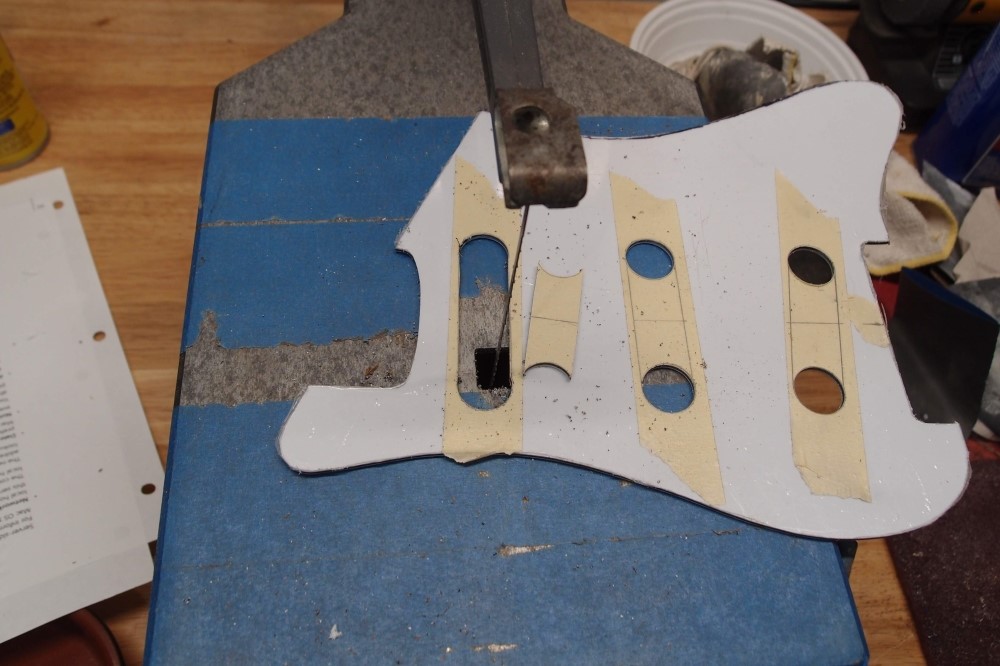
Connecting the holes on the scroll saw. You could do all of this with a drill and a coping saw.
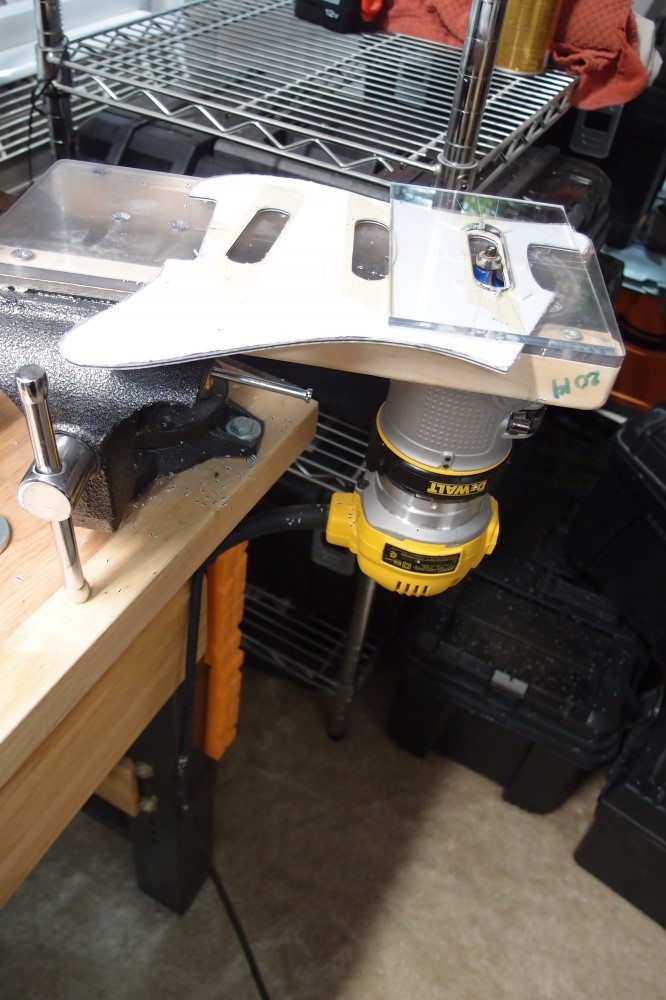
And the pickups don't fit. So I set up my little router upside down in a vise as a mini-table. I have attached a template with a minimum of double-sided tape and fitted a 1/2" bottom-bearing bit. The router just needs to nip a tiny bit of material out. You need to take care when routing this plastic. Make sure it is well-supported from both sides and take very small bites, otherwise the router may grab and tear it.
You could also use hand files for this part, but that would have taken a very long time.
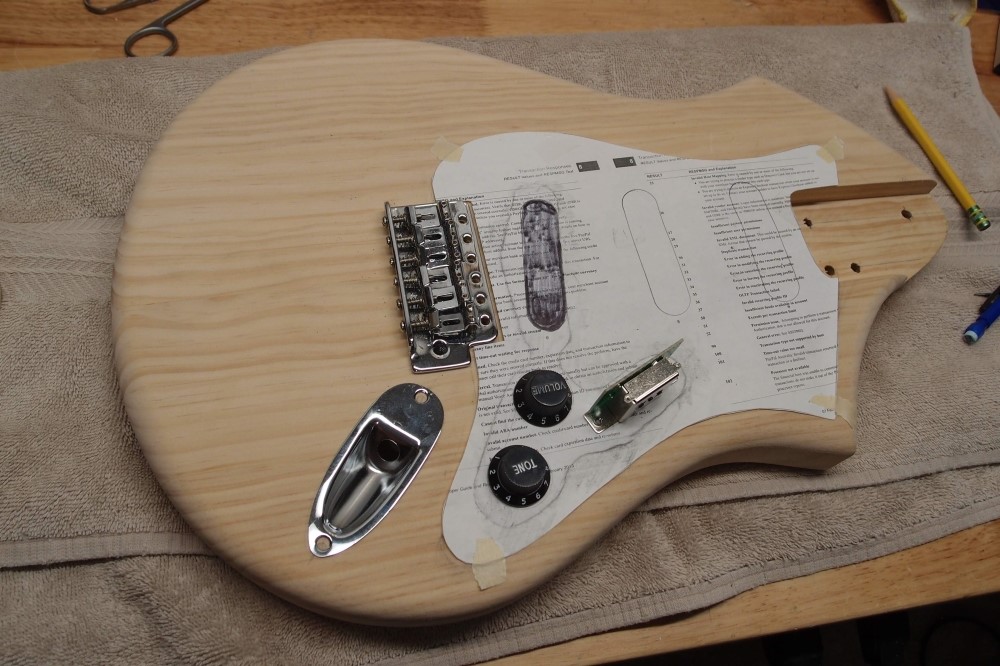
Now I need to lay out the controls. I made a new paper template off the pickguard and taped it in place, and rubbed the edges of the control cavity with a pencil, like rubbing a penny in kindergarten. Then I laid out the actual knobs I will use, and traced them onto the paper. I cut a slot in the paper and placed the switch in it upside down, and marked the holes. Finally, I transferred the holes to the plastic and drilled them.
The slot for the switch is a little tricky. I've done them in the past, but I was never really happy with the method or the result. This time I tried something new. I took a Dremel wheel, the bigger kind, not the tiny thin kind, and tested it on some scrap. I expected the plastic to melt into a mess, but instead, it cut very cleanly, even at high speed. The slot needs to be 1 inch long, so I worked at cutting a stone in half with the wheel until it was about 1-1/8" in diameter. At that size, a single plunge most of the way into the plastic made a perfect slot. ( I did about half a dozen test cuts first. ) I took that wheel off the Dremel and saved it with my luthiery tools.
BTW, I'm not actually using a Dremel, but a tiny bench sander from Harbor Freight that has a Dremel attachment. This tool is awesome. Stewmac has started selling the exact same model for about twice the price, without the Dremel attachment.
The final work on the pickguard is the beveled edge that gives the black stripe. This is typically done with a 45 degree bit on a router, but that requires a template, and I never made one for this pickguard. As I said, I don't like routing this plastic anyway. Instead, I cut the bevel by hand with an assortment of files. Hold the file at a 45-degree angle and swipe downwards and sideways. Soon enough the black will reveal itself, and eventually the lower white layer. Work until you get an even white stripe around the outside.
For inside curves, use a round-backed file, obviously. For outside curves, use a straight file. For the initial cutting, use a primarily downward stroke. For finishing, switch to a fine file and work it sideways around the periphery, as much as possible. To finally remove all the tool marks, switch to fine sandpaper. 1000 was the first thing I laid my hand on, and it worked fine.
This may sound difficult, but it's not. This plastic is soft and easy to work, it just takes practice and patience. You should already have plenty of scrap to work out the techniques on. Is this how factory pickguards are made? Of course not. Looking at a factory Fender pickguard, I think everything was punched out in one blow. But if you are just making one oddball piece like here, this technique works fine, and you don't need to make a routing template.
Finally, I marked out and drilled the mounting screw holes. I did all the countersinks by hand, turning the countersink bit between thumb and fingers rather than drilling. Doing it by hand using a pickguard screw as a guide gives much better results. You can generally stop when the bottom white layer just forms a ring.
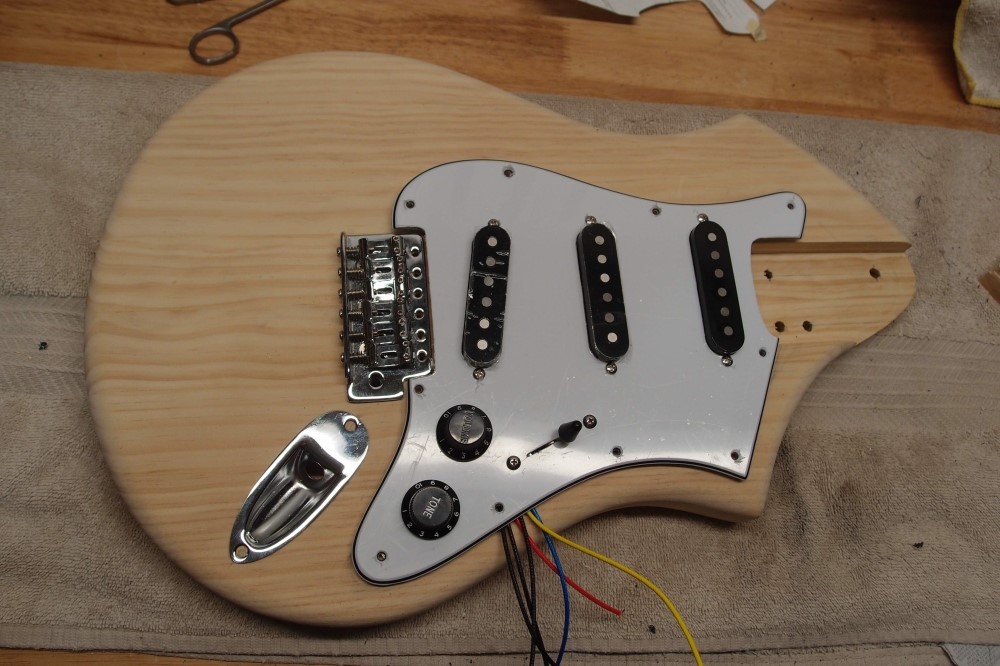
And finally this. The second layer of protective plastic is still on. A piece of aluminum flashing tape serves as a shield/ground on the back. It still needs to be soldered, but I am pretty happy with the results so far. And that's how you make your own pickguard, with little more than hand tools.

Questions or Inquiries?
Just want to say Hello? Sign the .