Single-Acting Truss Rod (2/2)
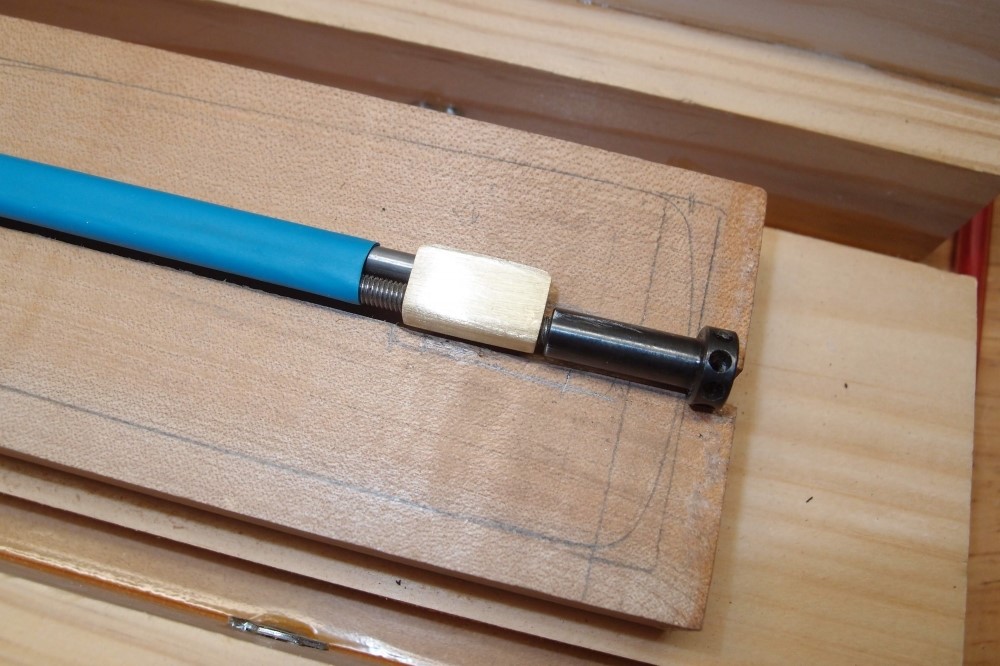
Slip the bearing over the threaded end and onto the unthreaded end and screw on the nut. The unthreaded rod is a tight fit, but a tap with the hammer will disassemble it. No need to fix it with epoxy or anything, it is not going anywhere.
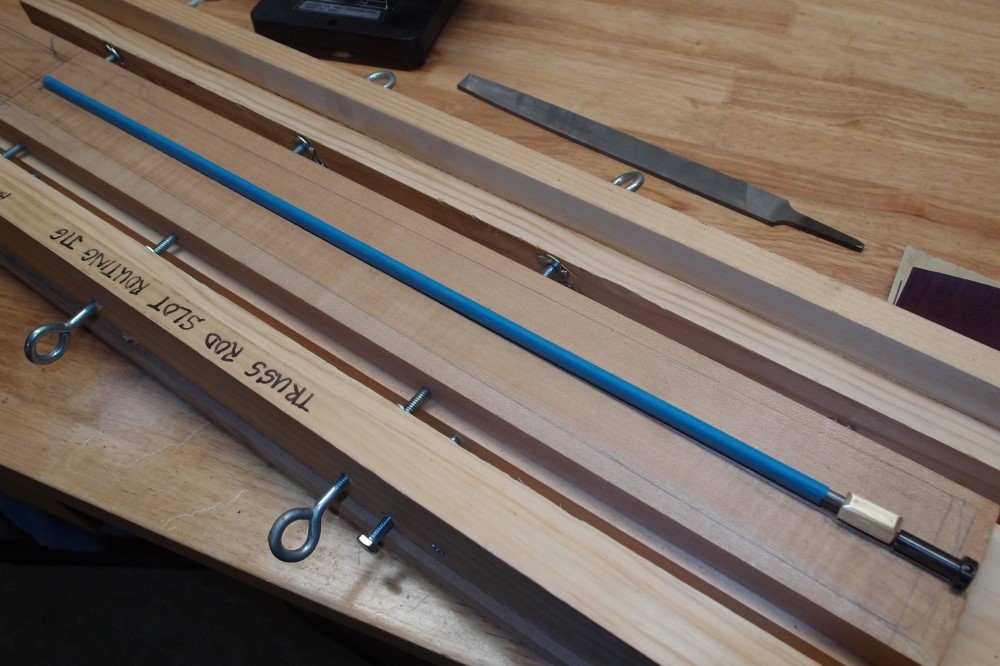
Some 1/2" heat-shrink tubing completes the job. It looks so good, I wish it was on the outside of the guitar. The heat shrink tubing serves a number of purposes - it gives a nice snug fit for the 3/16" rods in the 1/4" channel, it protects the rod from glue, and stifles any rattles. In this case, the nut is removable, so I will take it off for shaping and finishing the neck. If it was not removable, I would arrange for the entire rod to be removable, which this could be as well.
There are a number of advantages to a removable truss rod. Of course, the obvious one is that if it breaks, I can replace it. Not that I am worried about that - this design is so over-built, it will never break. I could also take it out and re-use it in another neck if this one doesn't come out the way I want. Finally, I could replace the single-acting rod with a double-acting rod if that turned out to be necessary. I could even rebuild this rod to be double-acting.
So what is the point of this? With tools that any decent workshop should have, materials that are easily available at the hardware store or online, and no specialized skills like silver brazing, in a short time, I just built a truss rod to a custom length, with my preferred spoke nut. And it is an excellent modern truss rod that will give no problems down the road.
It is also easy to install - in a straight channel about 1/4"x1/2". I make the channel round-bottomed, but you don't have to. The mechanism is in the heel, where there is plenty of room, and you can use any type of nut you like.
I can think of lots of variations on this design, some of them double-acting. But I like the absolute simplicity of this. In fact, this is going to be my new standard long rod, I'll make some more of those brass blocks before I put away the tools. If I want a custom double-acting rod, I just buy a long one for ten bucks and shorten it. That's a dead-simple job, either brazed or welded.
This design is mechanically similar to the truss rods on my Rickenbacker 4001, but much better made. A few years ago I refurbished the entire guitar and was very surprised when the truss rods simply fell out as I was working on it. It's hard to imagine why Ric made them so thin and flimsy when there is plenty of room in that fat neck for something like this.
I'm not claiming this is an original design. I didn't copy it from anyone, but I'm sure others have done it before me.
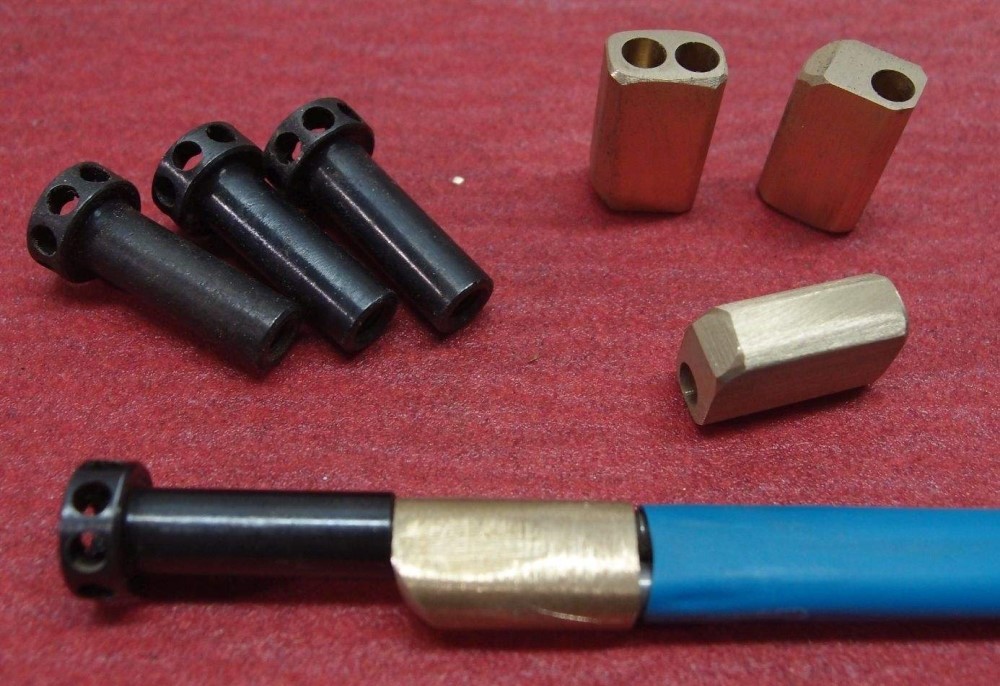
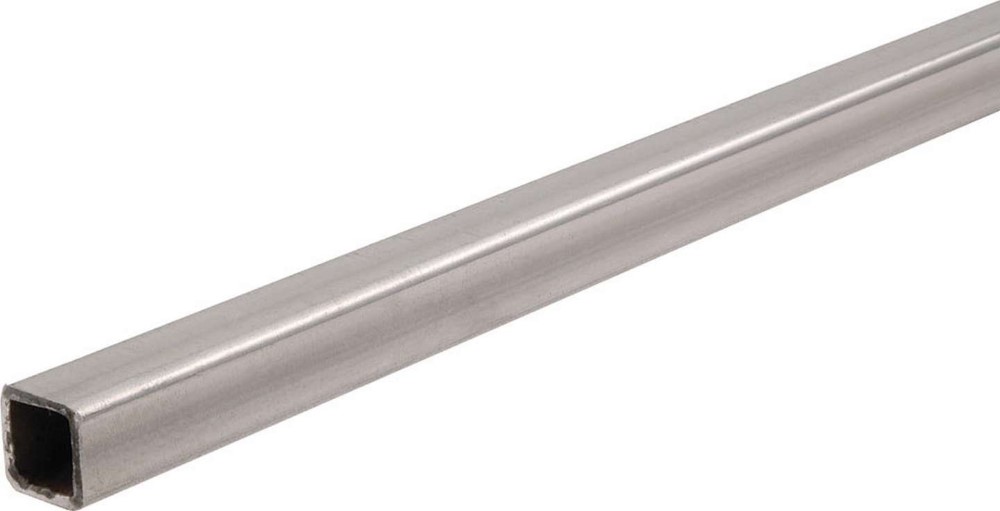
Here are all the fixin's for three more long-scale bass truss rods. My machining is not perfect, but it's good enough for this. The spoke nuts are about $5 each from StewMac, the only source I've ever found for them. The 48"x3/16" steel rod is $4 from any hardware store. The 1/4"x1/2" brass stock can be found on eBay, as well as the long roll of 1/2" heat-shrink tubing.
Special tools required:
- drill press
- tap & die set, or at least a 10-32 die
- propane torch
All of these are readily available at the hardware store, and I assume you have basic hand tools.
As I said at the beginning, a great feature of this design is that with a little planning, it is reversible. By that I mean you can take it out, flip it, put it back, and have it push instead of pull. I actually did this on one bass I built that ended up slightly back-bowed after installing the frets. After several months, the neck settled-in, and I pulled the rod and re-installed it conventionally. Since this was a completed neck, it took a bit of doing to hog out enough wood in the heel to flip the rod. Since then, I simply make the channel deep enough to install the rod in either orientation. This operation is only needed once in the life of the instrument when it is new.
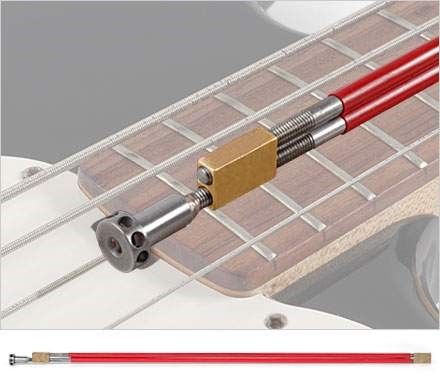
This is StewMac's "Hot Rod". You can see it also uses a brass block, and another at the other end, but that is where the similarity ends. StewMac's rod is double-acting, mine is single-acting. StewMac's design is far more complicated than my dead-simple model. In StewMac's rod, all the holes are threaded, as are two separate rods at both ends. In addition, half the threads are left-hand. Finally, the nut is tack-welded to the rod to keep it from spinning. This is not over-design, this is just indicative of the level of complexity involved in building a double-acting truss rod. Also, assembling this rod must be a neat trick.
I could build one of these, but I think my own design for a double-acting rod is better - it has no lump at the other end and can be slid right out of the channel. You would have to route an impractically large channel for this truss rod for it to be removable, and if it is not, the nut protruding from the neck will complicate shaping and finishing.
Questions or Inquiries?
Just want to say Hello? Sign the .