July 2, 2020
Strung Up
July 2, 2020
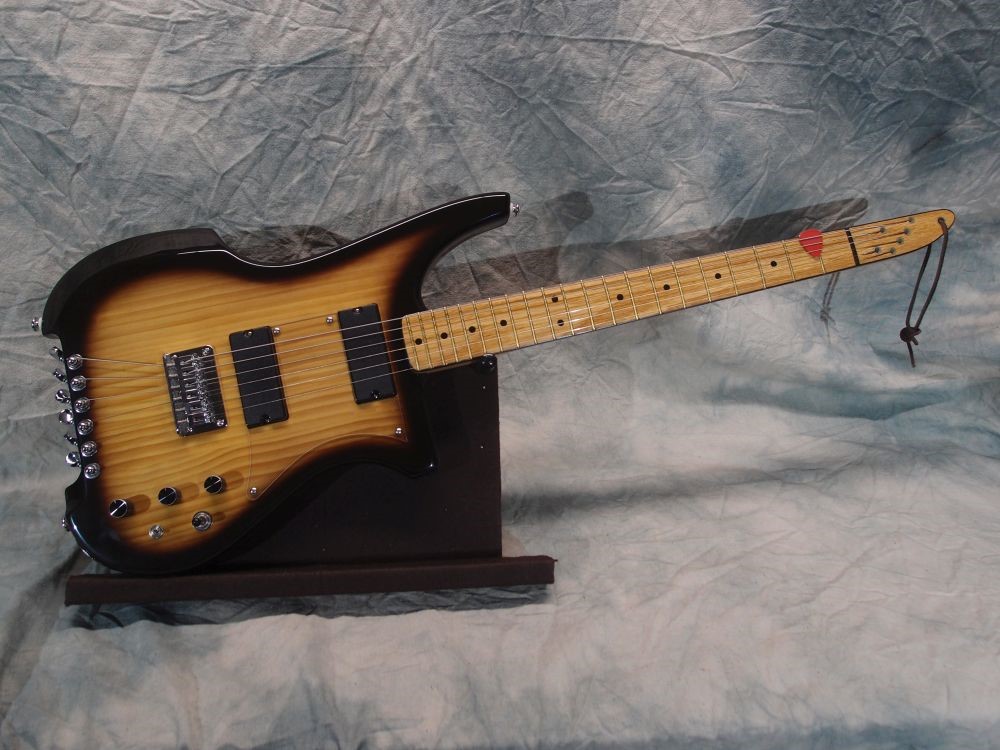
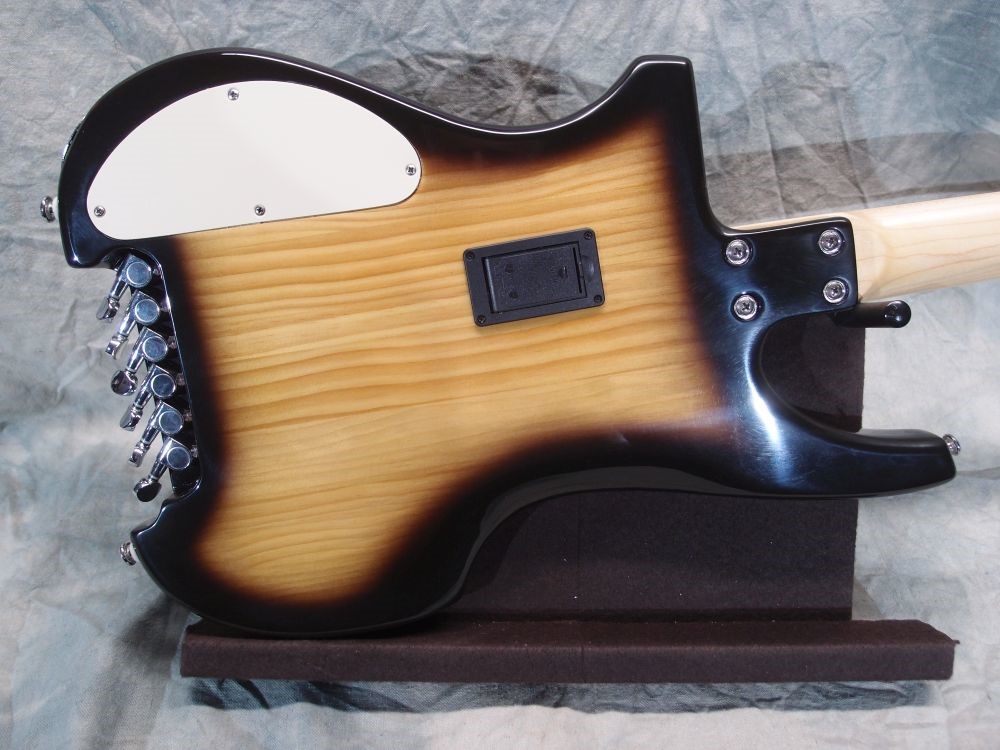
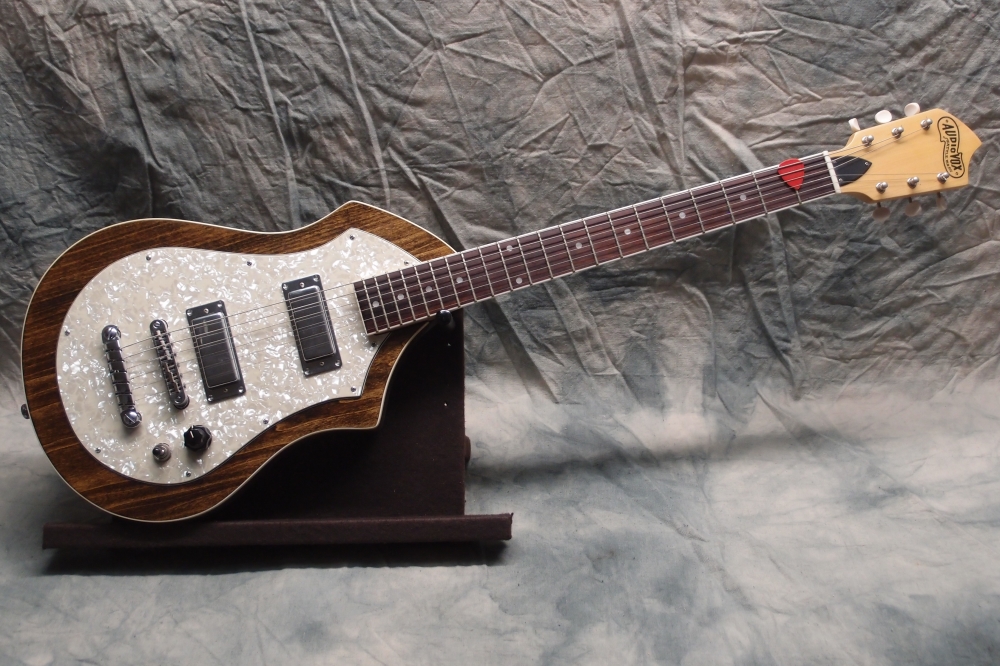
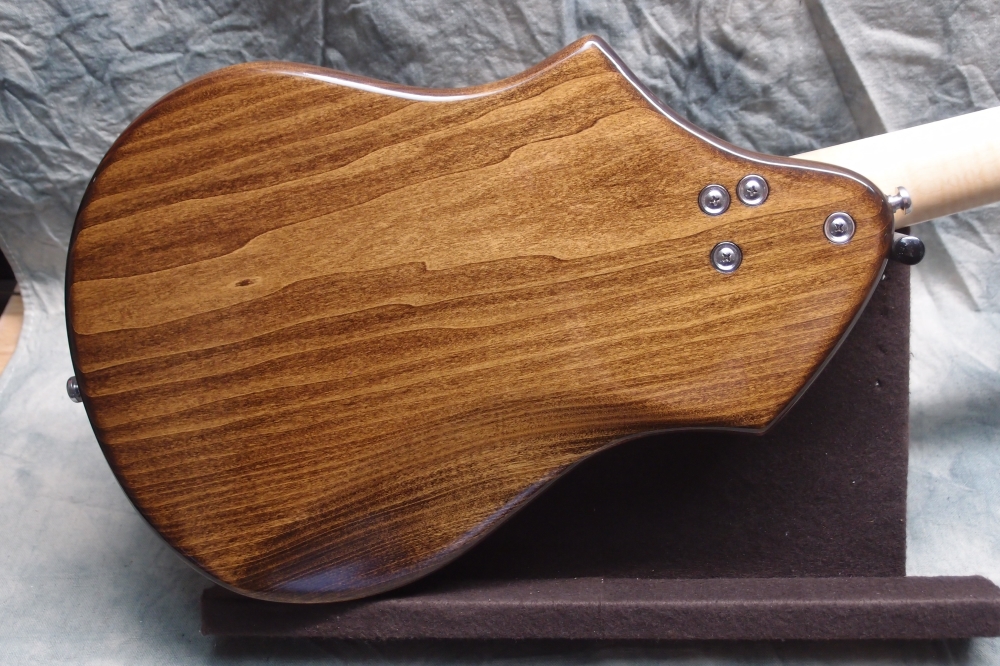
Strung up with a rough setup. Everything tweaked and tightened. Feels good, haven't plugged it in yet. The guitar stands nicely on its two strap button feet without a stand, so you can safely lean it against a wall or amplifier. At least until your drummer gets loose, then nothing is safe. You can use the leather loop on the headstock to hang it up out of reach.
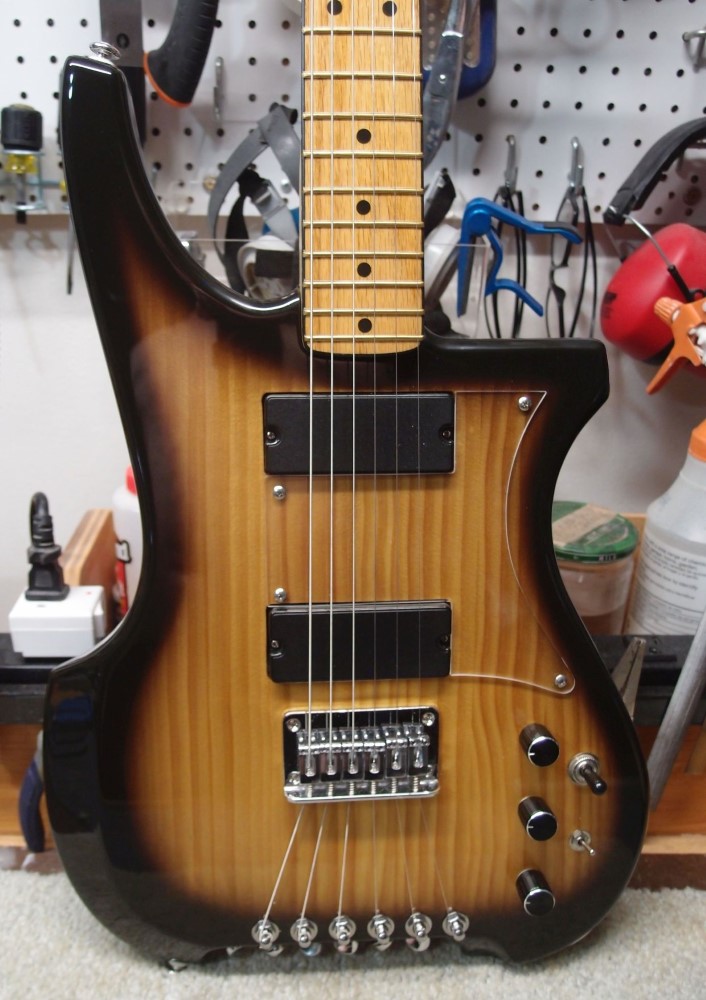
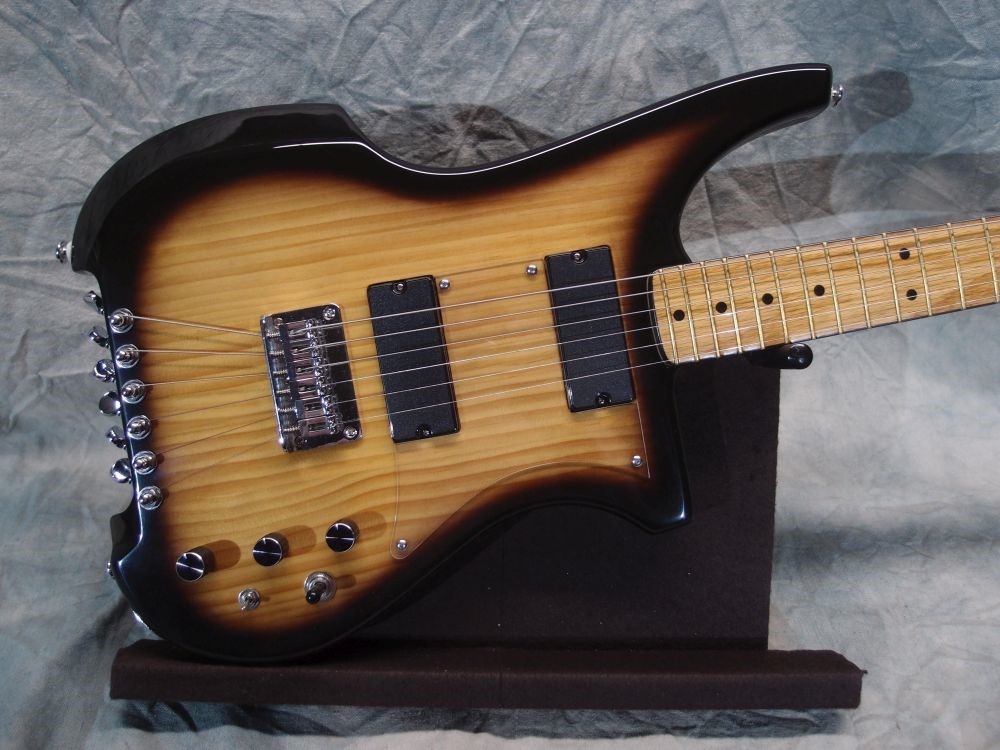
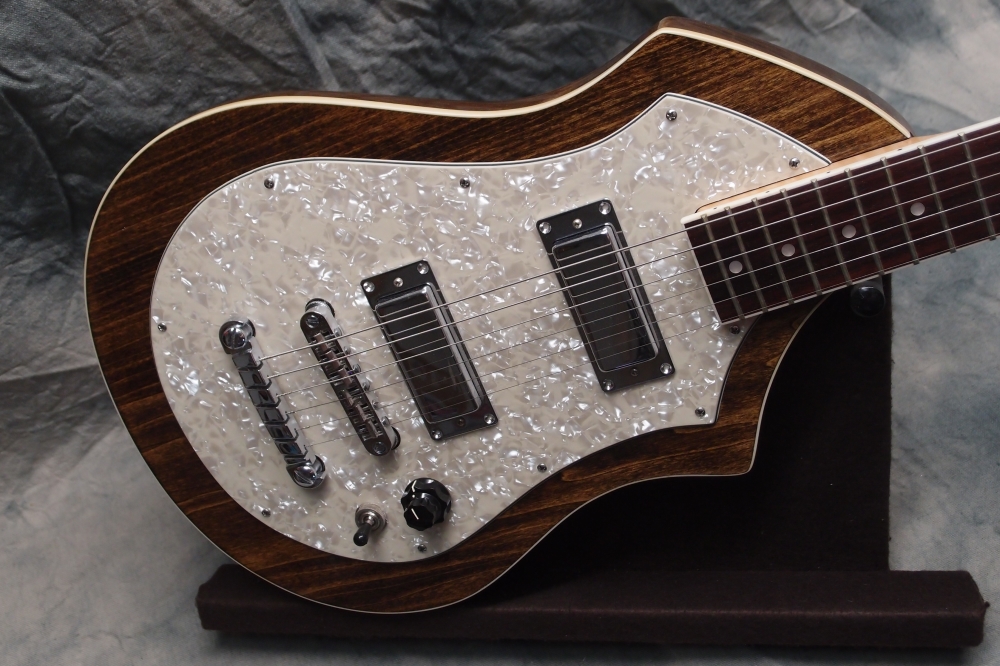
The crowded tuners were a bit of a pain when stringing. But once you get it tuned-up, they are not a problem. I should have put a pickup behind the bridge too! The extensions are (hi to low) E A# G# E B F# and sound kind of like a harp.

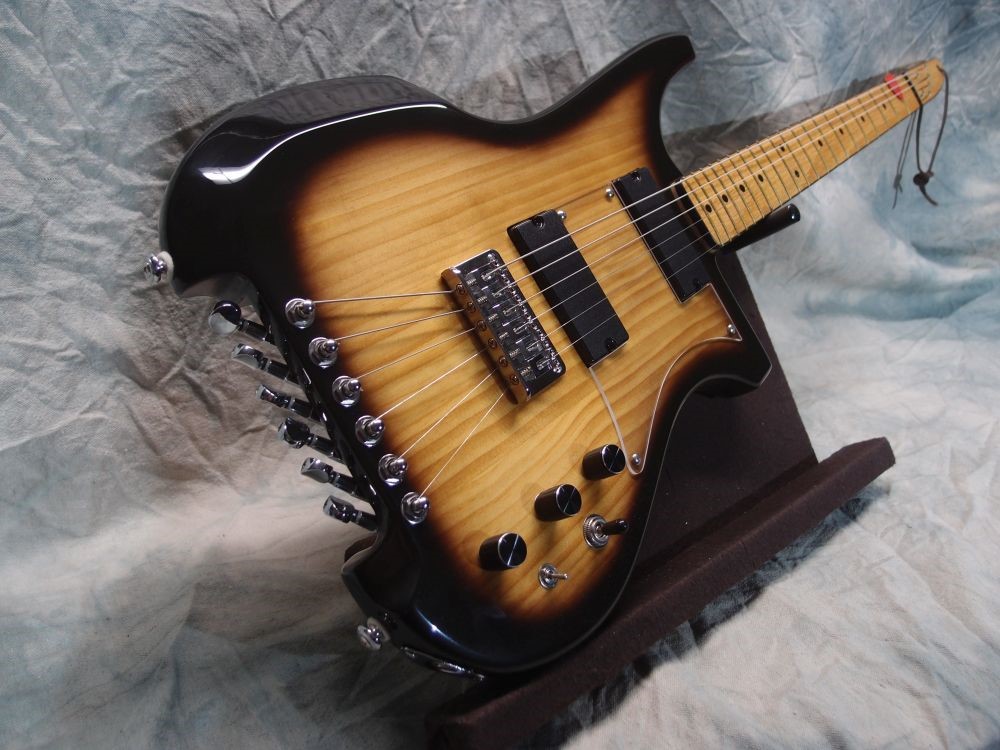
This is what you're dealing with at the business end. The tuners are angled up at you. Actually, mounting them straight out would have been only slightly wider, and might work better. But this works, and looks cool.

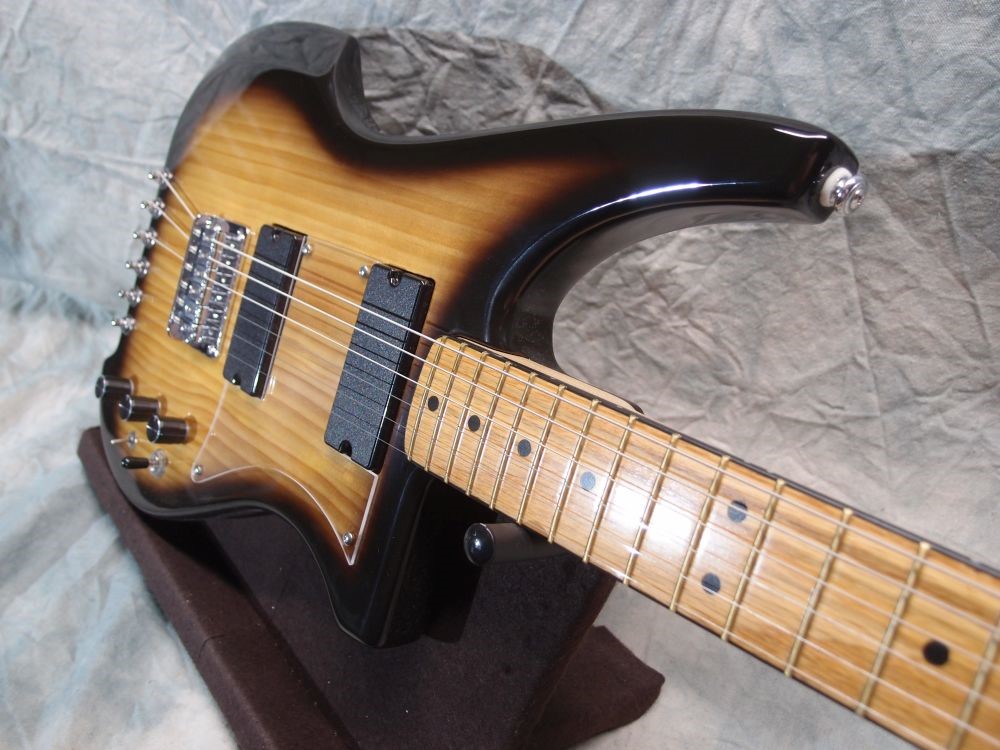
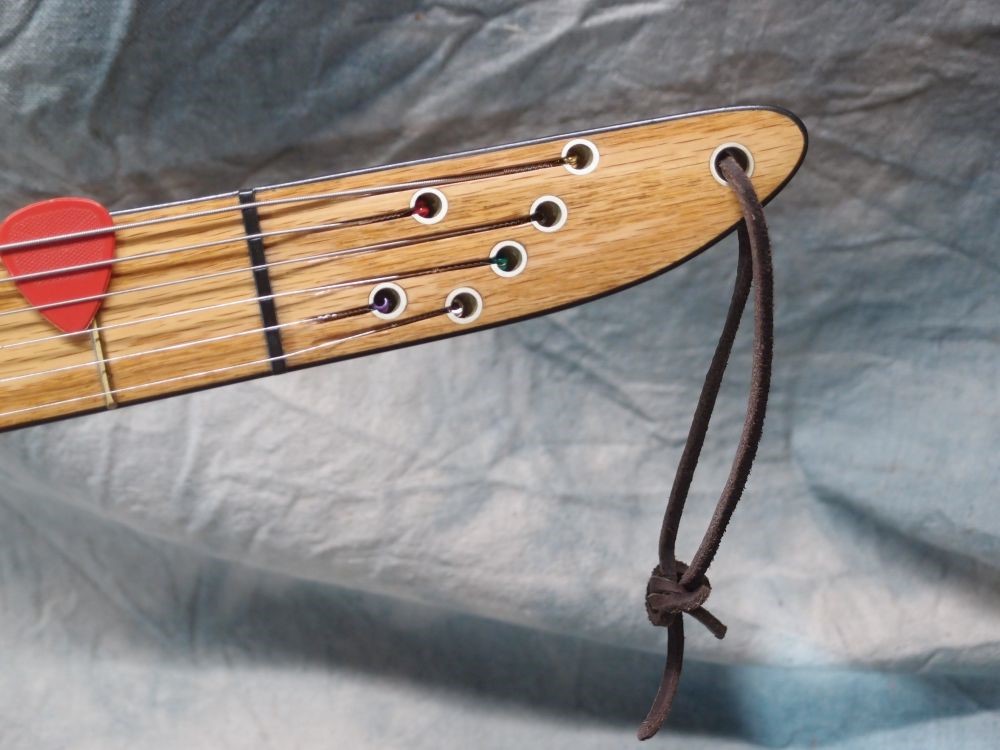
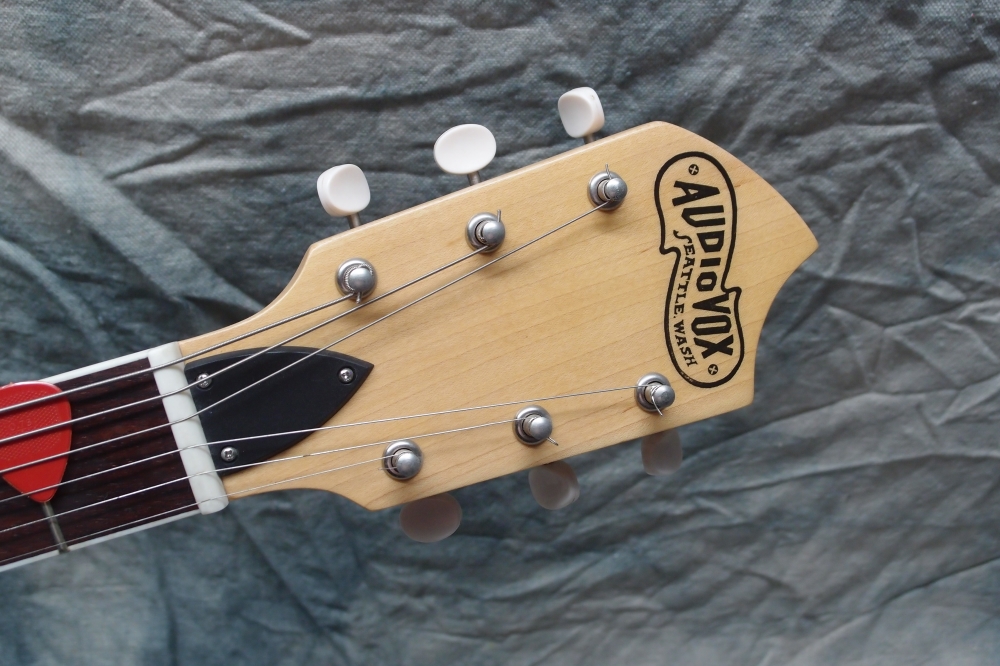
Here is how the strings fit in the headstock. Just a smaller version of the bass. The fretboard is oak from the hardware store. The guitar inherited that from the bass. Oak (or maple) was the only thing that I could find that would be long enough to cover a 24-fret bass neck and the headstock in one piece, needed 48". I have used oak before for a fretboard, and it works fine, just a bit of extra work filling and finishing.
As usual with my guitar builds, this neck has a fixed steel bar for a truss rod. There will be no adjusting it: level the frets, set the saddle heights, and you're done, forever. It is already quite good, but I am sure as I play with it I will find a few high spots in the frets that can be stoned-down to perfection.
Now I have just one more old project to finish off.