July 30, 2020
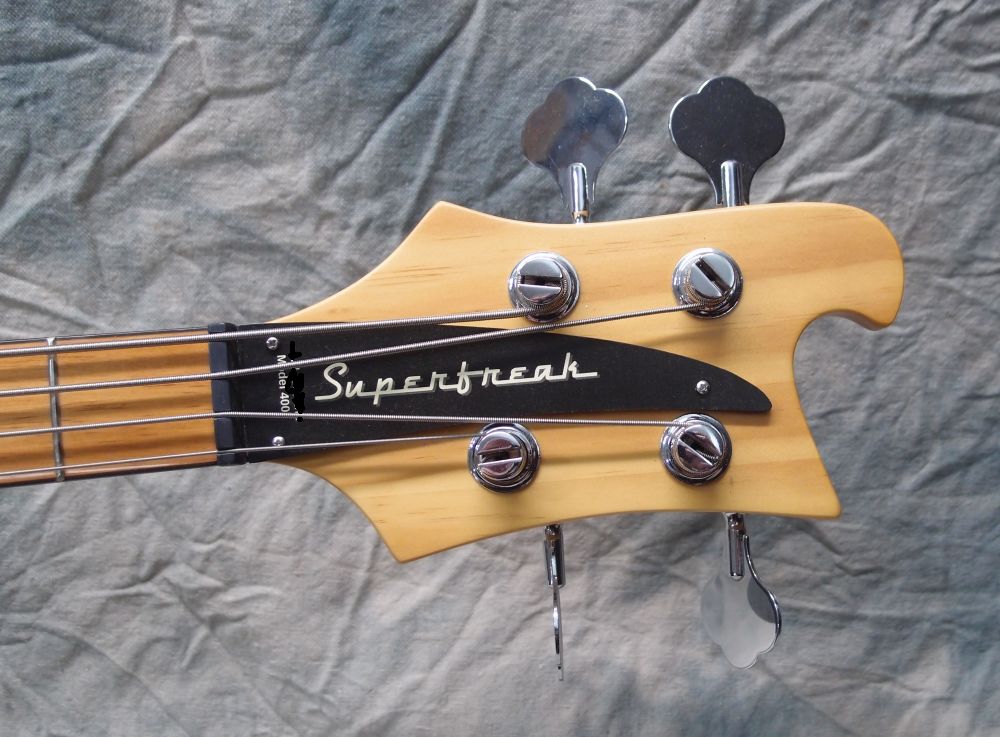
Superfreaky Part V
July 30, 2020
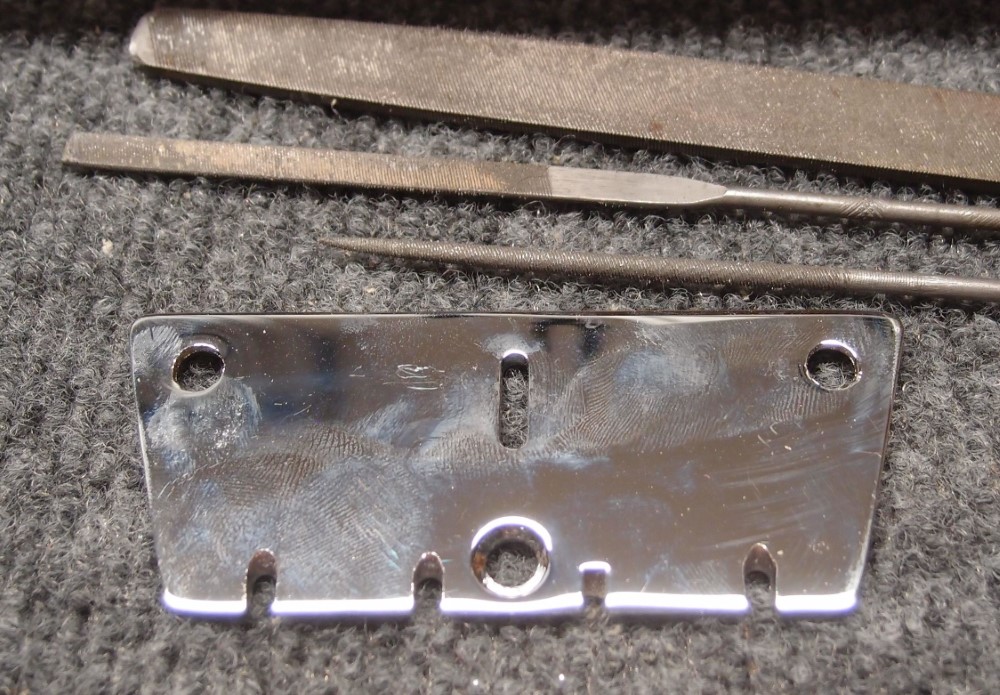
There is a problem with this bridge. At best, the string retention is a balancing act based mostly on good intentions. As I recall now, this is not a Danelectro part, it was made by someone else. The string notches are too small, and a very thick layer of chrome finished the job, they are totally ineffective. This was also a left-handed bridge, so the notches are reversed in size.
The solution is simple, and I was expecting to do it all along. Above, you can see I have enlarged and re-shaped three of the notches. I also filed the back edge of the plate to a better angle. None of this will show in the final assembly. The bridge now holds the string ball ends very securely, I just need to do the last notch.
I made the same modifications to a 1960s bridge plate that I used on the Pro-1 Bass. See there for some interesting history concerning John Enwistle and "My Generation".
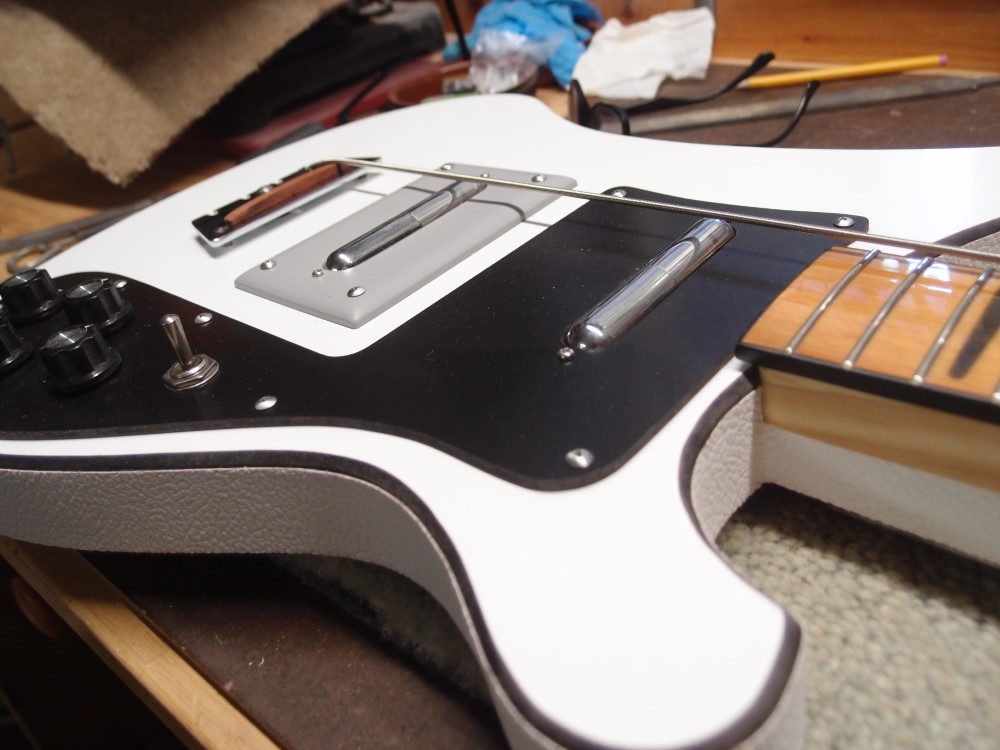
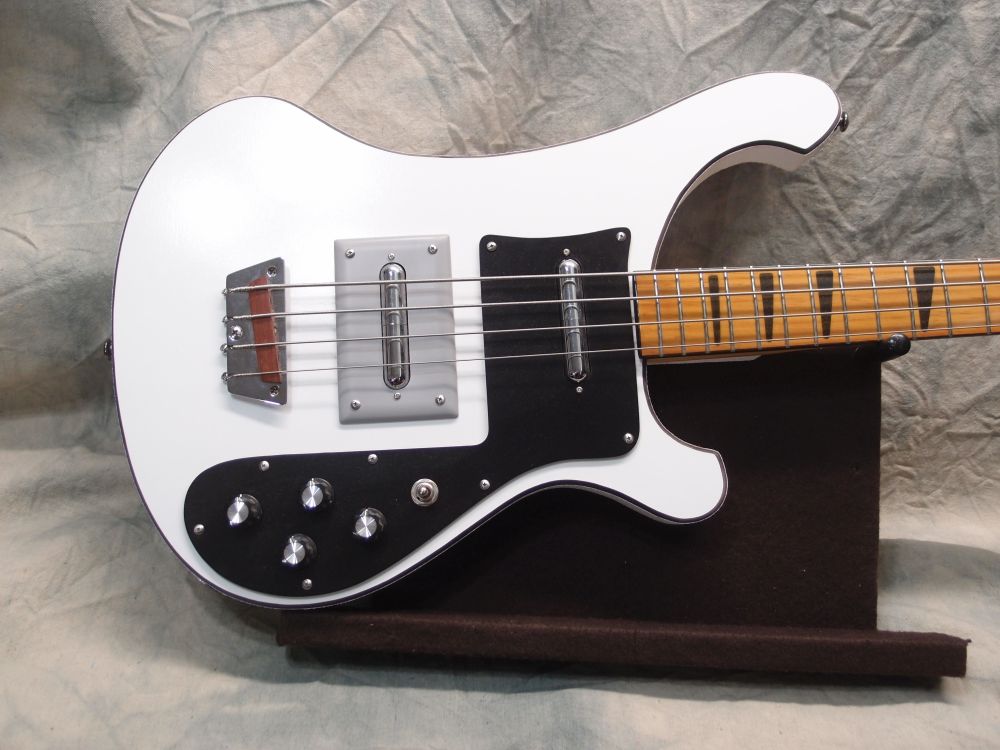
My deluxe extra-thick saddle turned out to not work so well, so I thinned it down on the belt sander, and the action fell into place. I'll shim the neck back just a bit to give myself some wiggle room in the setup. Also, the notches in the nut are more just placeholders than anything useful, each one will have to be custom-cut. But it's only plastic. This is going to take a while. Cheaply-made does not mean badly-made.
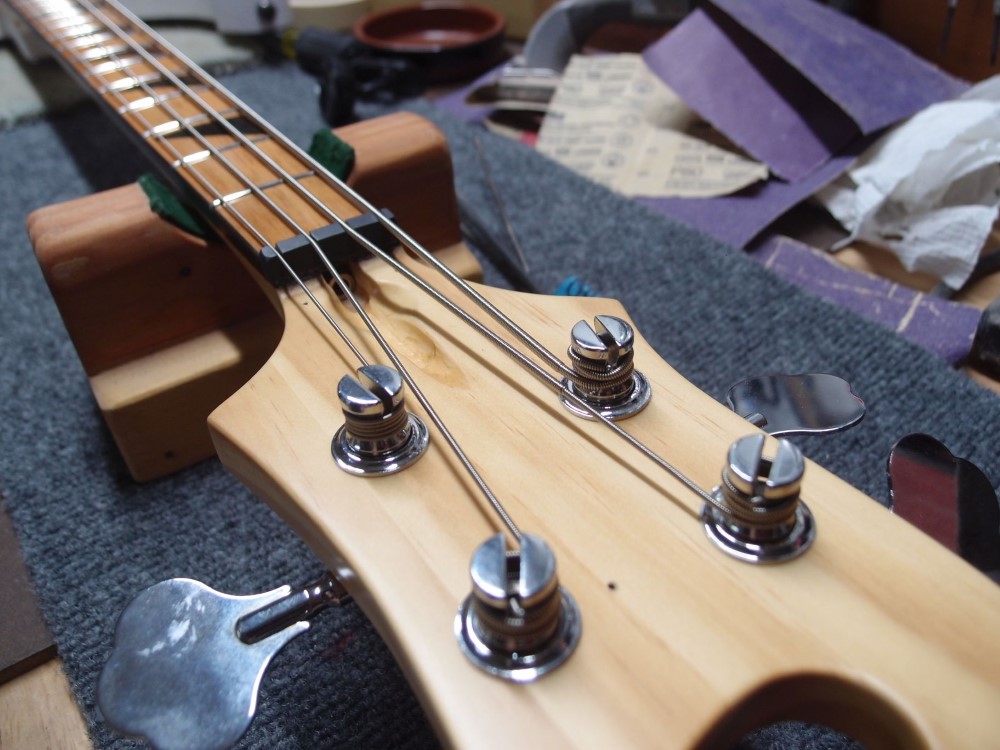
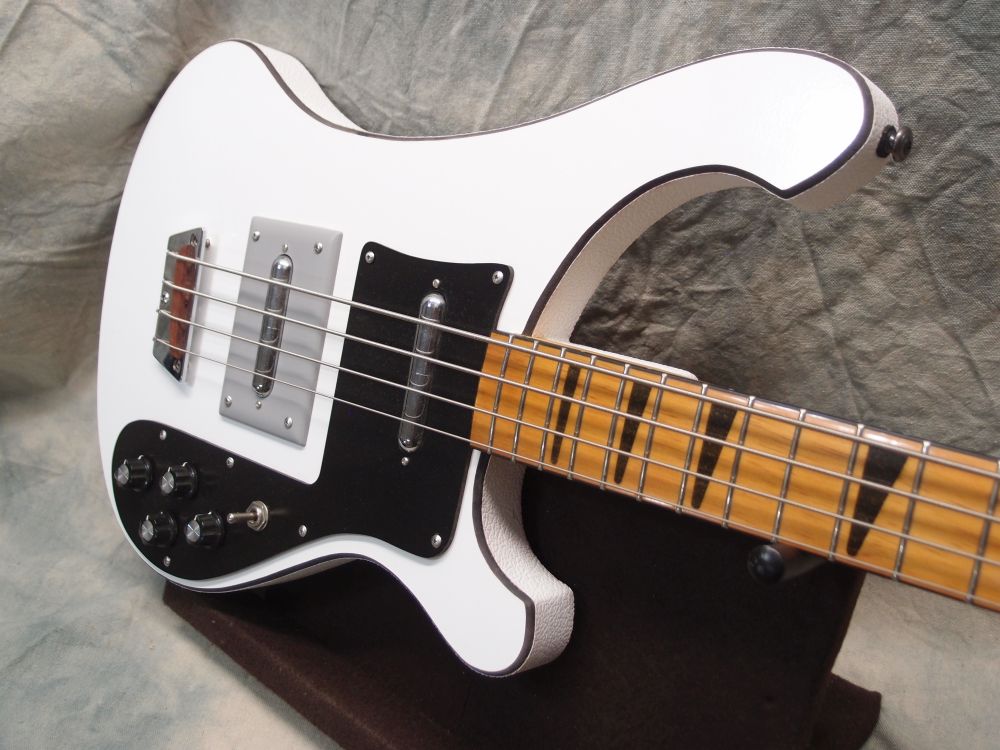
And the "Alice" strings are all on, nut slots done, truss rod set. I knew this Gibson-style nut would be a little short, so I pre-installed a piece of black binding to lift it up. This gives the height needed to make the nuts slots deep enough to completely swallow up the strings. This is necessary because of the very shallow break-over angle. The result is that the strings stay put even under the most aggressive popping. A real Rickenbacker has a very tall nut with very deep slots.
It feels ok for an initial setup. That's enough for now.
To be continued ...