June 28, 2020
Today's Lootherization
June 28, 2020
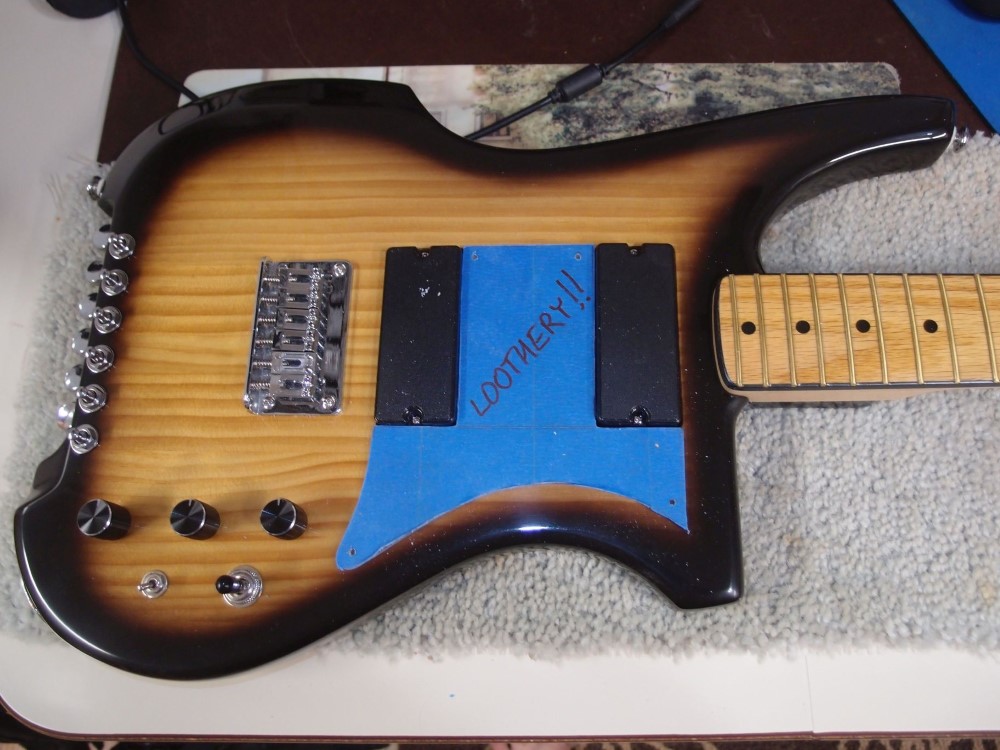
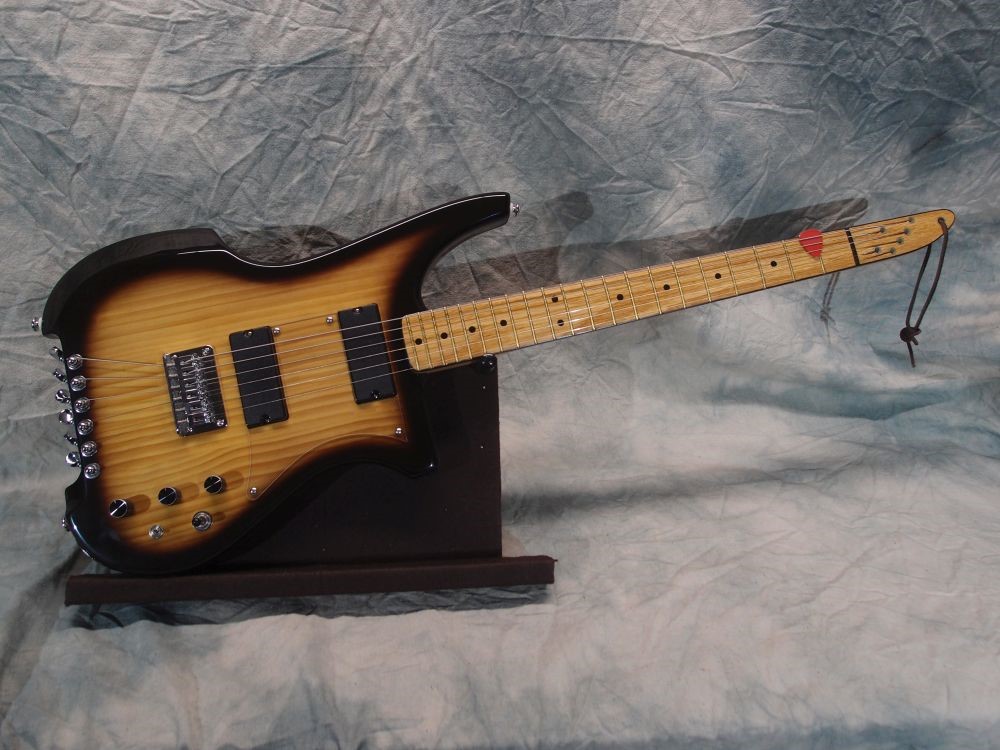
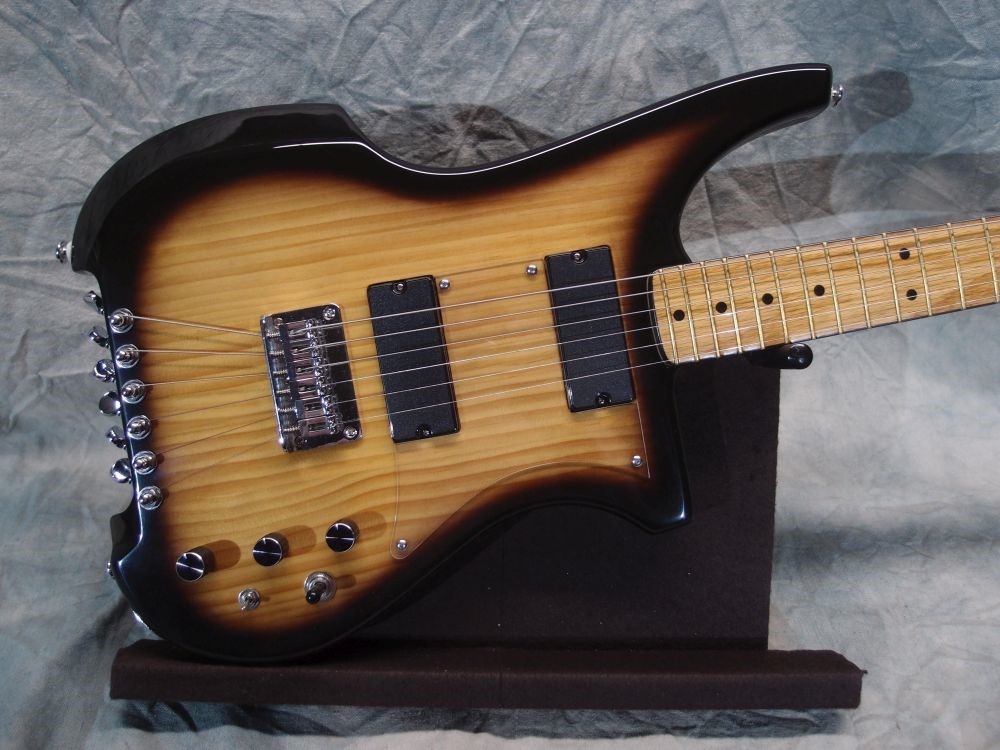
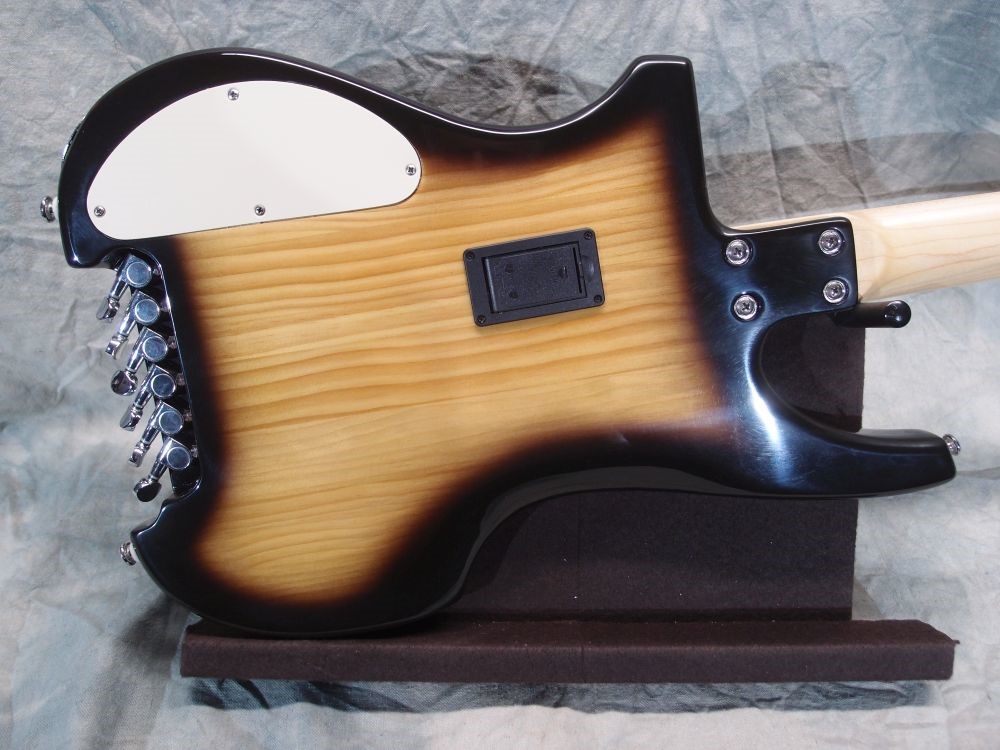
I'm making the clear pickguard for the guitar. It is a near copy of the bass, so this is easy. I traced the old one onto the masking tape and roughed it out on the scroll saw with a very coarse blade and a light touch. You don't want to melt the blade into the plastic - that is a do-over!
Then I did the rest of the rough shaping on both benchtop sanders. Tight corners and stuff were done with files. Just to see what happens, I broke out my wheel-polishing rig, and now both pickguards really shine.
After thinking about it, I could probably have done the whole piece on just my handheld belt sander, using the flat for the straights and the roller for the curves. I built a whole bass with nothing but the handheld belt sander.
Notice that the one tool I did not use is the one every noob gets told to use - the router. Especially with brittle clear plastic, a high-speed router is just going to shoot shards of plastic all over the workshop, and then you can start over. I make all my pickguards by hand like this. Even a 45-degree bevel is remarkably easy to do with a file.
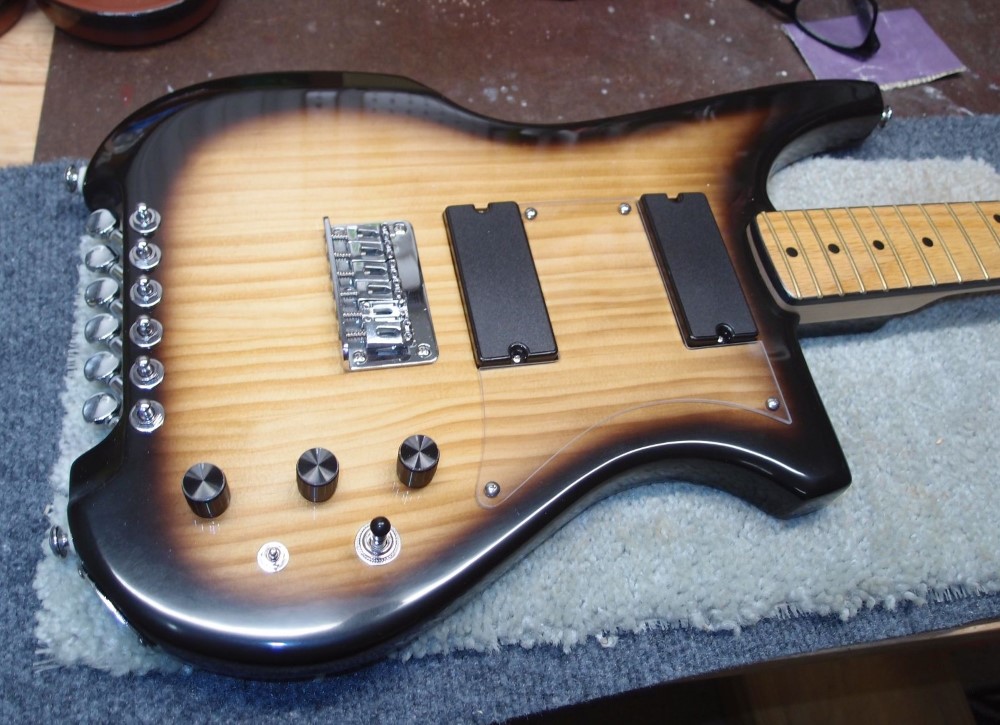
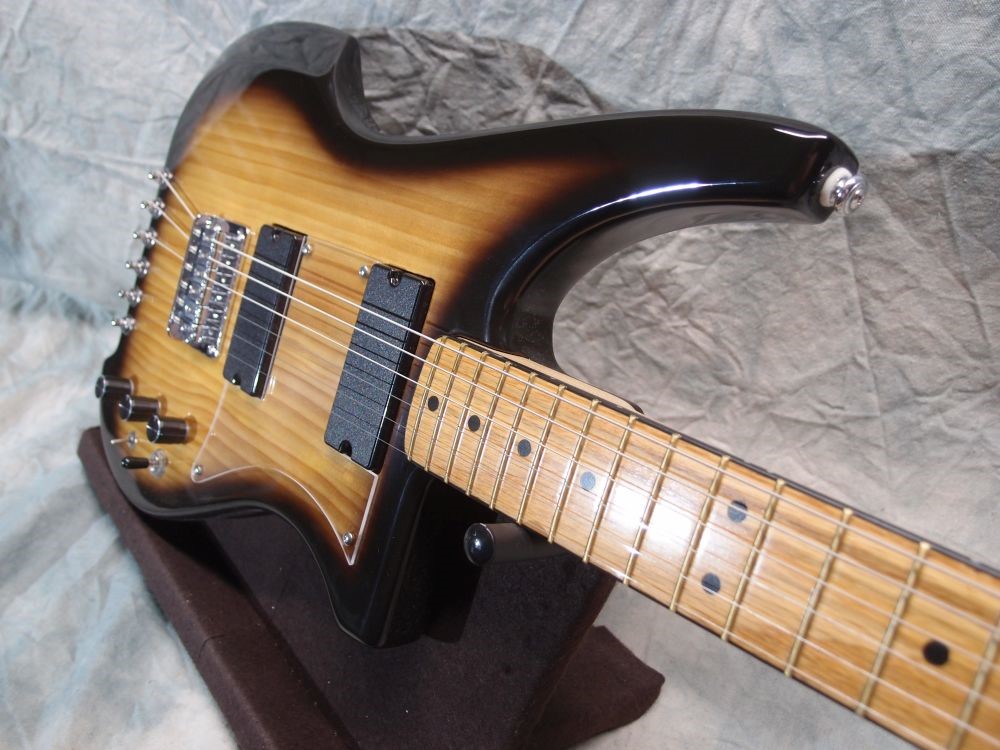
I noticed that the logo layer on the bass had become a little cloudy, or maybe it always was but it really shows with the new body finish. So I decided not to use it. I could print a decal instead, and apply it to the now-slick body under the clear plastic. I think I'll just leave it this way, it's not needed - the burst adds some visual appeal that was lacking before.
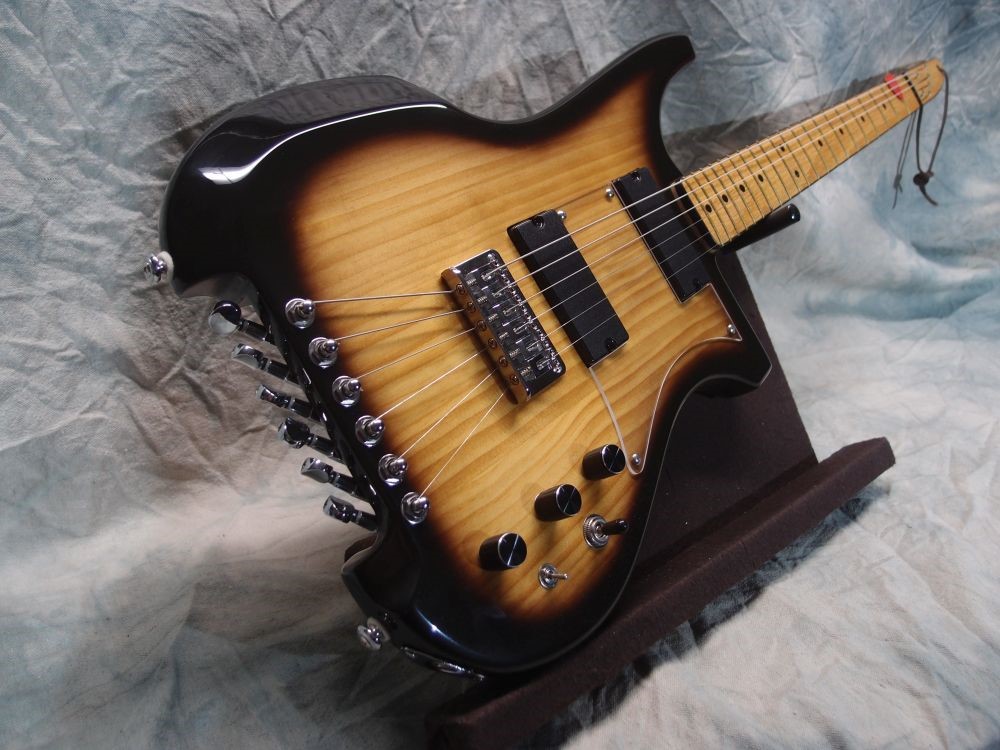
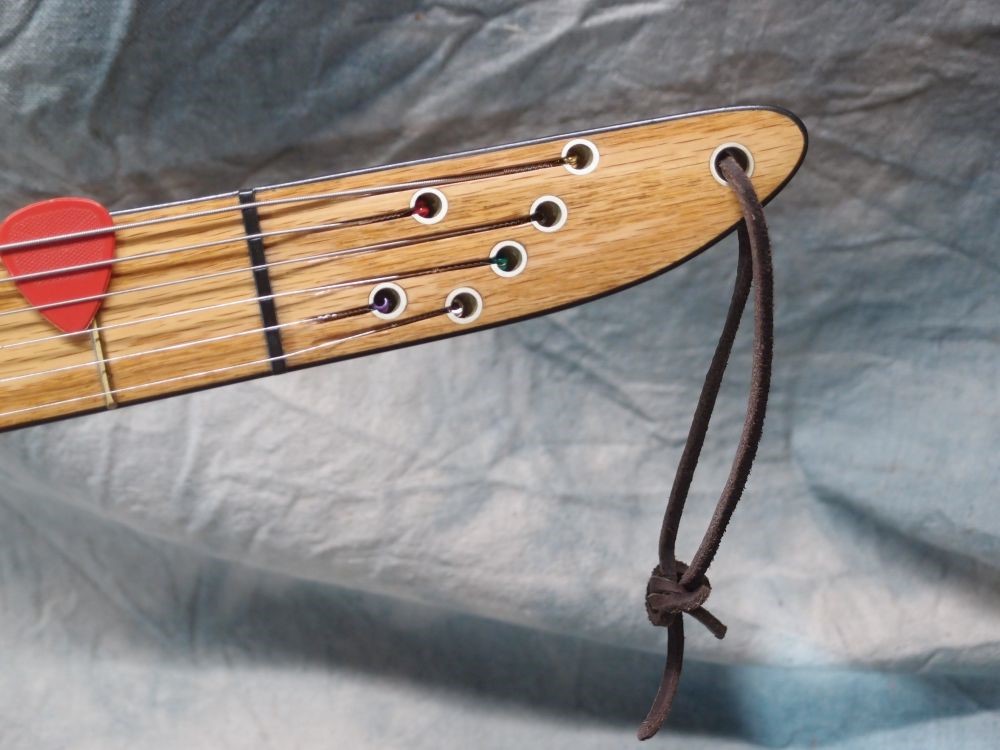
The pickguard is installed with Danelectro-style truss-head screws - no countersinking, doesn't get any easier. This entire guitar ( and the bass ) is entirely Home Depot wood - Radiata body, maple neck, oak fretboard. The pickguard is an old windowpane, and the finish is oil-based poly, so pretty much the entire build is from the hardware store.
All it needs now is strings.