March 16, 2020
All Apart Now
March 16, 2020
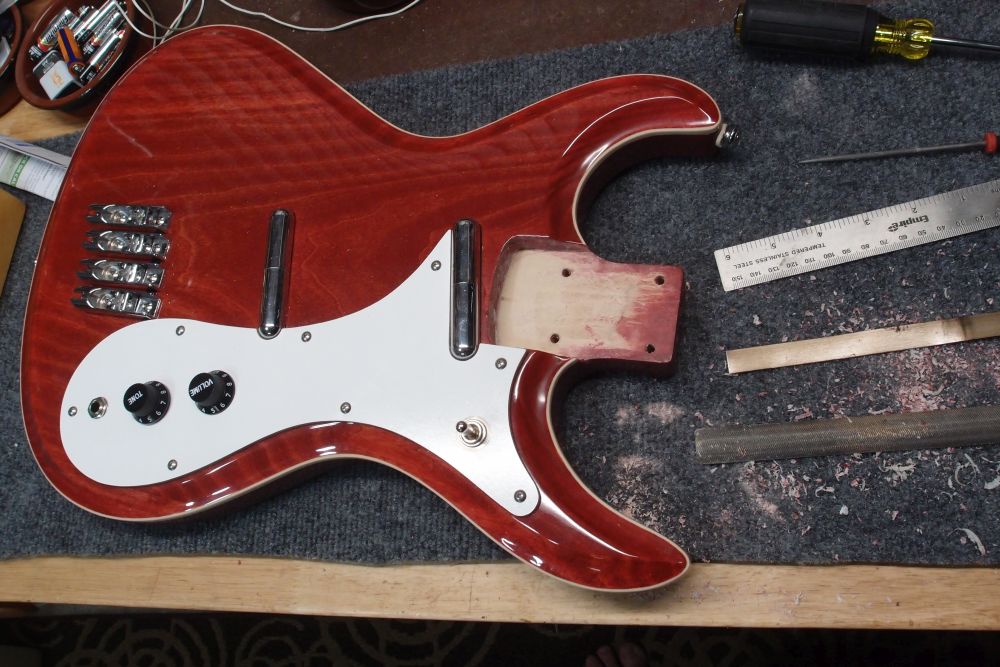
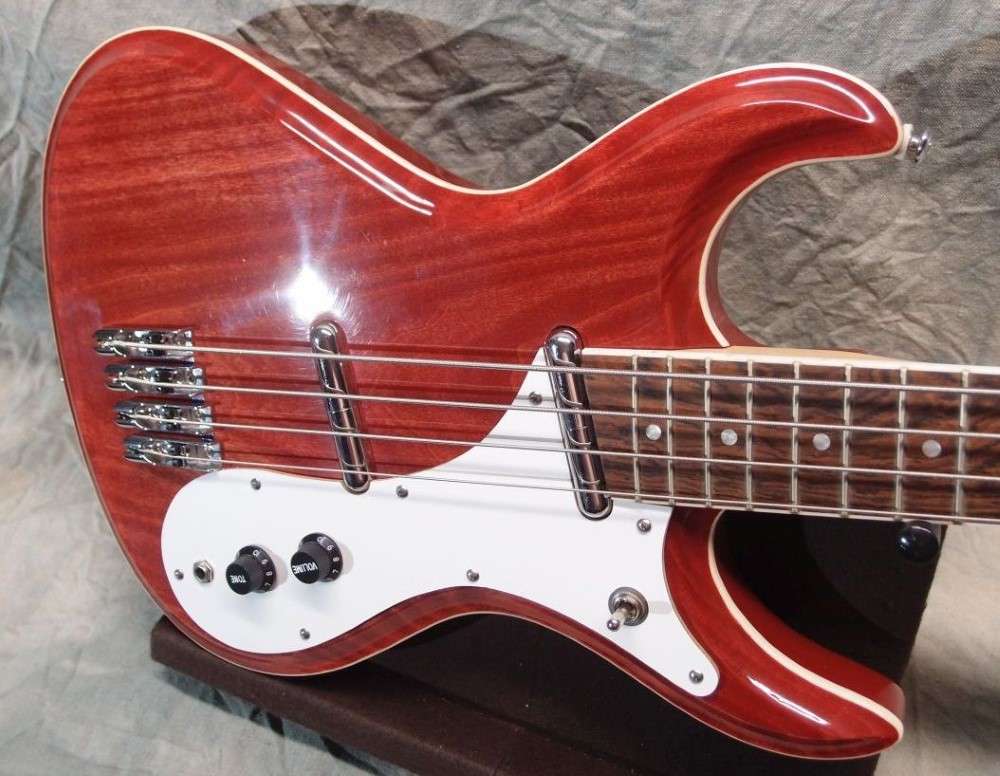
After settling for two weeks, it is time to set up this baby. This bass is new territory for me in a lot of ways. One of those is the individual bridge-lets. I used up pretty much all the height adjustment. That shouldn't happen, so I took everything apart to look for the reason, and I found it, I think.
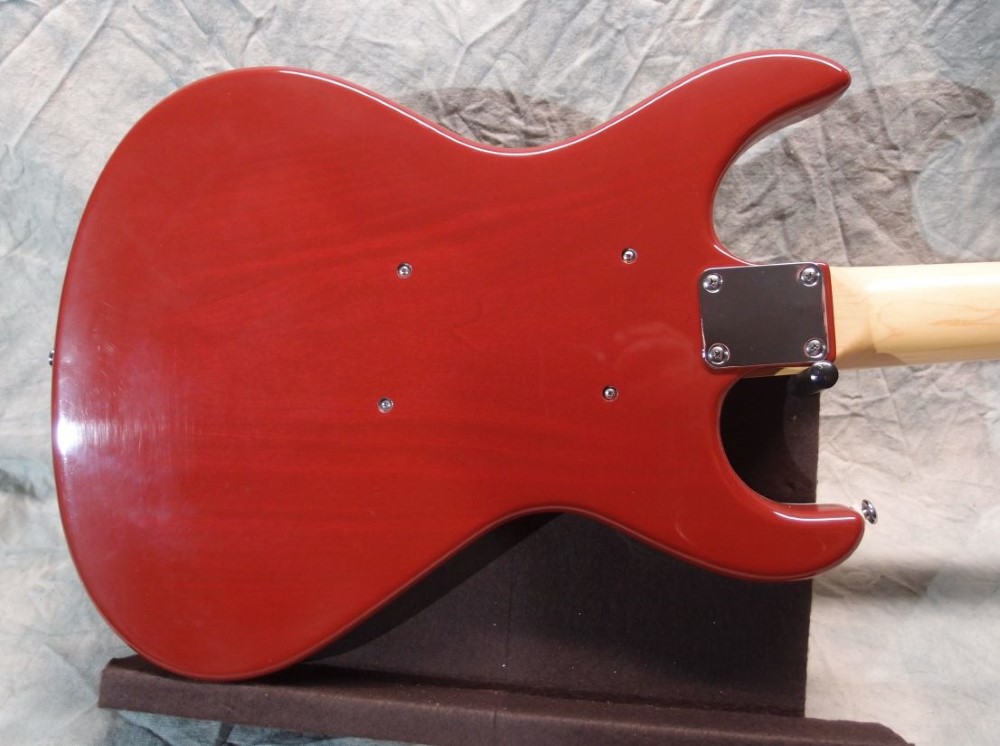
There was a build-up of finish inside the neck pocket that was acting as a back-shim. ( No doubt left over from the water-based misadventure. ) I scraped it all out with the piece of steel in the picture, which was perfect for the job. Then I smoothed and leveled the pocket with a file. I probably took out about half a millimeter of gunk, which would be a decent-sized shim. Before I put it back together, I'll add a few layers of masking tape to the other end, just to be sure the neck angle comes out right.
I also re-leveled the frets and polished them, although the rocker said they didn't need it. I simply rubbed a nine-inch file over the whole fretboard, gently. This will take any high spots off. A final check with the fret rocker and it is all good, so I cleaned the fretboard with lemon oil. The fretboard is permanently oiled with linseed oil, I just used lemon oil as a cleaning agent.
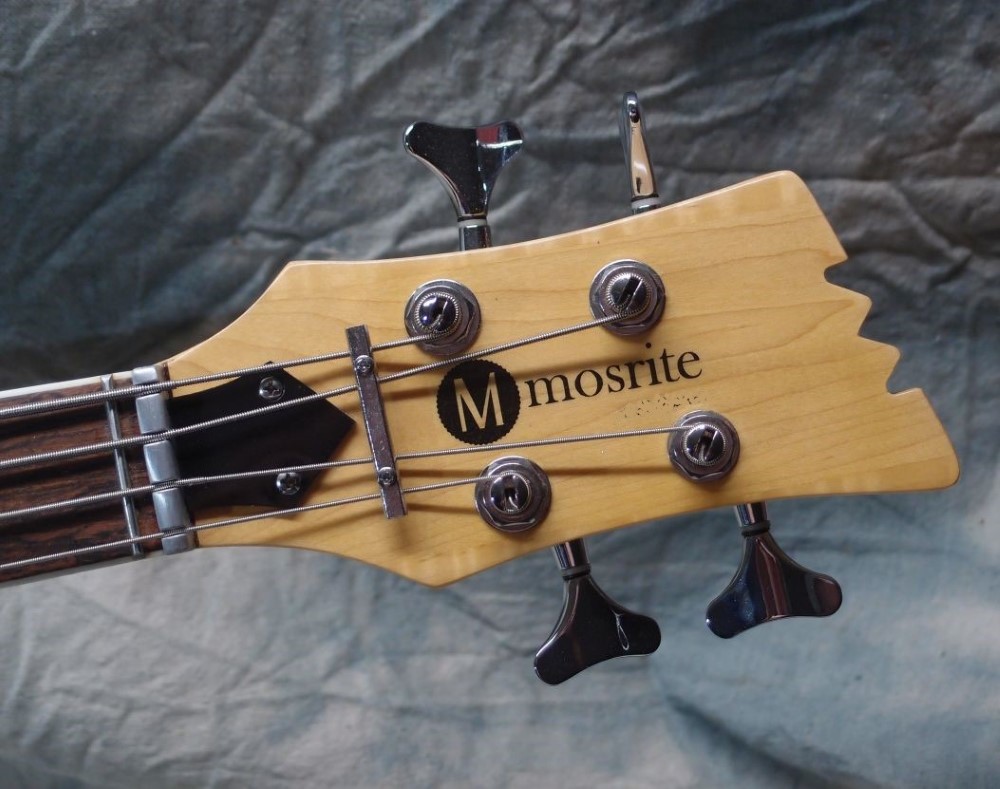
I also did some work on the nut and headstock. I'll detail that when I get it all back together. Before that, I can see a few spots on the body that could use some hand-polishing.
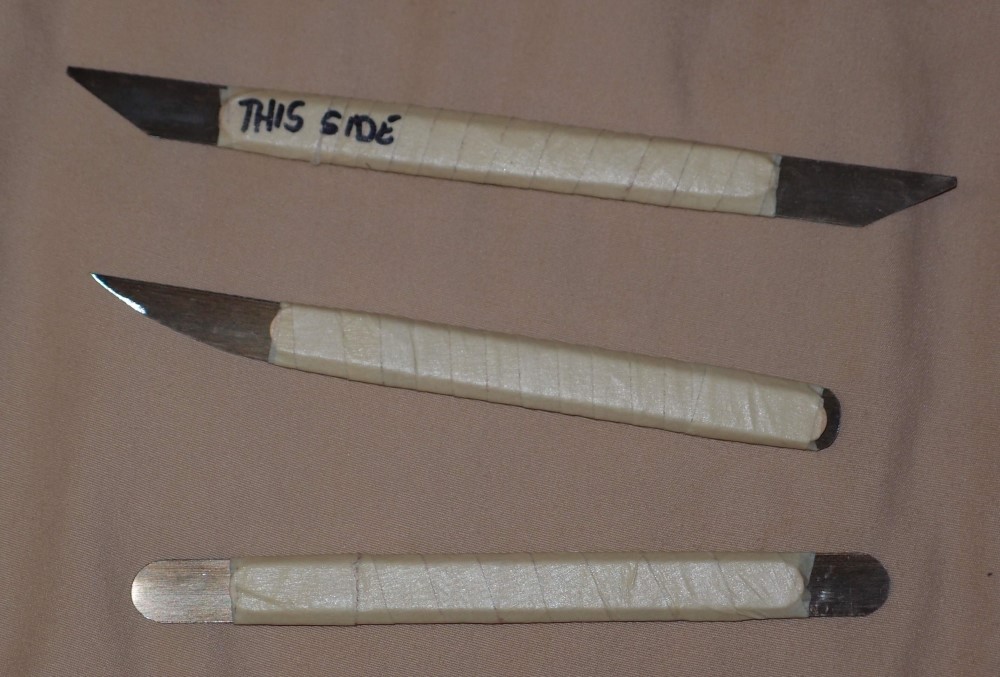
The aforementioned piece of steel is a section of 1/2" strapping, the kind that is used on very large packages. It is actually perfect for making small scrapers and other tools. Scrapers don't need to be very hard steel, in fact, they shouldn't be - it would be hard to get that tiny scraper lip. This piece had the lip ready-made from the cut end.